Manage OceanBase for MySQL with NineData
NineData Database DevOps provides a governed workspace for managing OceanBase for MySQL data sources. Use this guide to add an OceanBase data source, then attach SQL development standards so future SQL operations follow your organization's control rules.
Overview
Database DevOps includes data asset management, SQL query and execution, data editing, data import and export, SQL approval workflows, SQL standard prechecks, and sensitive data protection. These capabilities help teams manage database operations across environments with clearer controls.
- SQL Editor: Supports AI collaboration, intelligent SQL, syntax highlighting, auto-completion, object recognition, error prompts, and related editing capabilities.
- Access Control: Uses roles to manage enterprise-level permissions and supports custom permissions for individual users when finer control is required.
- Companion Tools: SQL tasks, schema design and changes, data import and export, SQL review, batch query changes, sensitive data protection, and related capabilities help teams manage the full database lifecycle more efficiently and securely.
- SQL Development Standards: Defines enterprise SQL writing standards with more than 200 rules. These rules help improve SQL quality, prevent slow SQL, maintain consistent coding styles, and reduce potential errors and performance issues. For example:
- Conflict-check rules can require separate execution when OceanBase for MySQL changes may cause syntax conflicts.
- Rules can require a partition key in the WHERE clause when querying or updating partitioned tables in OceanBase for MySQL. This helps locate the shard more quickly and improve execution efficiency.
- Approval Process: Standardizes complex requests, decisions, and approvals through a unified process. Configurable approval processes can also adapt to different enterprise scenarios.
- SSO: Centralizes identity management for enterprise members, simplifies user access, and reduces password-related security risks.
- Audit Logs: NineData provides centralized user behavior records so enterprises can audit user activity, track security events, and take necessary action.
Before you begin
Register a NineData platform account. See Register NineData Account.
Under DevOps Enterprise (organization mode), you must have read-only, DML, or DDL permissions for the target data source.
tipRead-only permissions only support viewing the database and querying data operations.
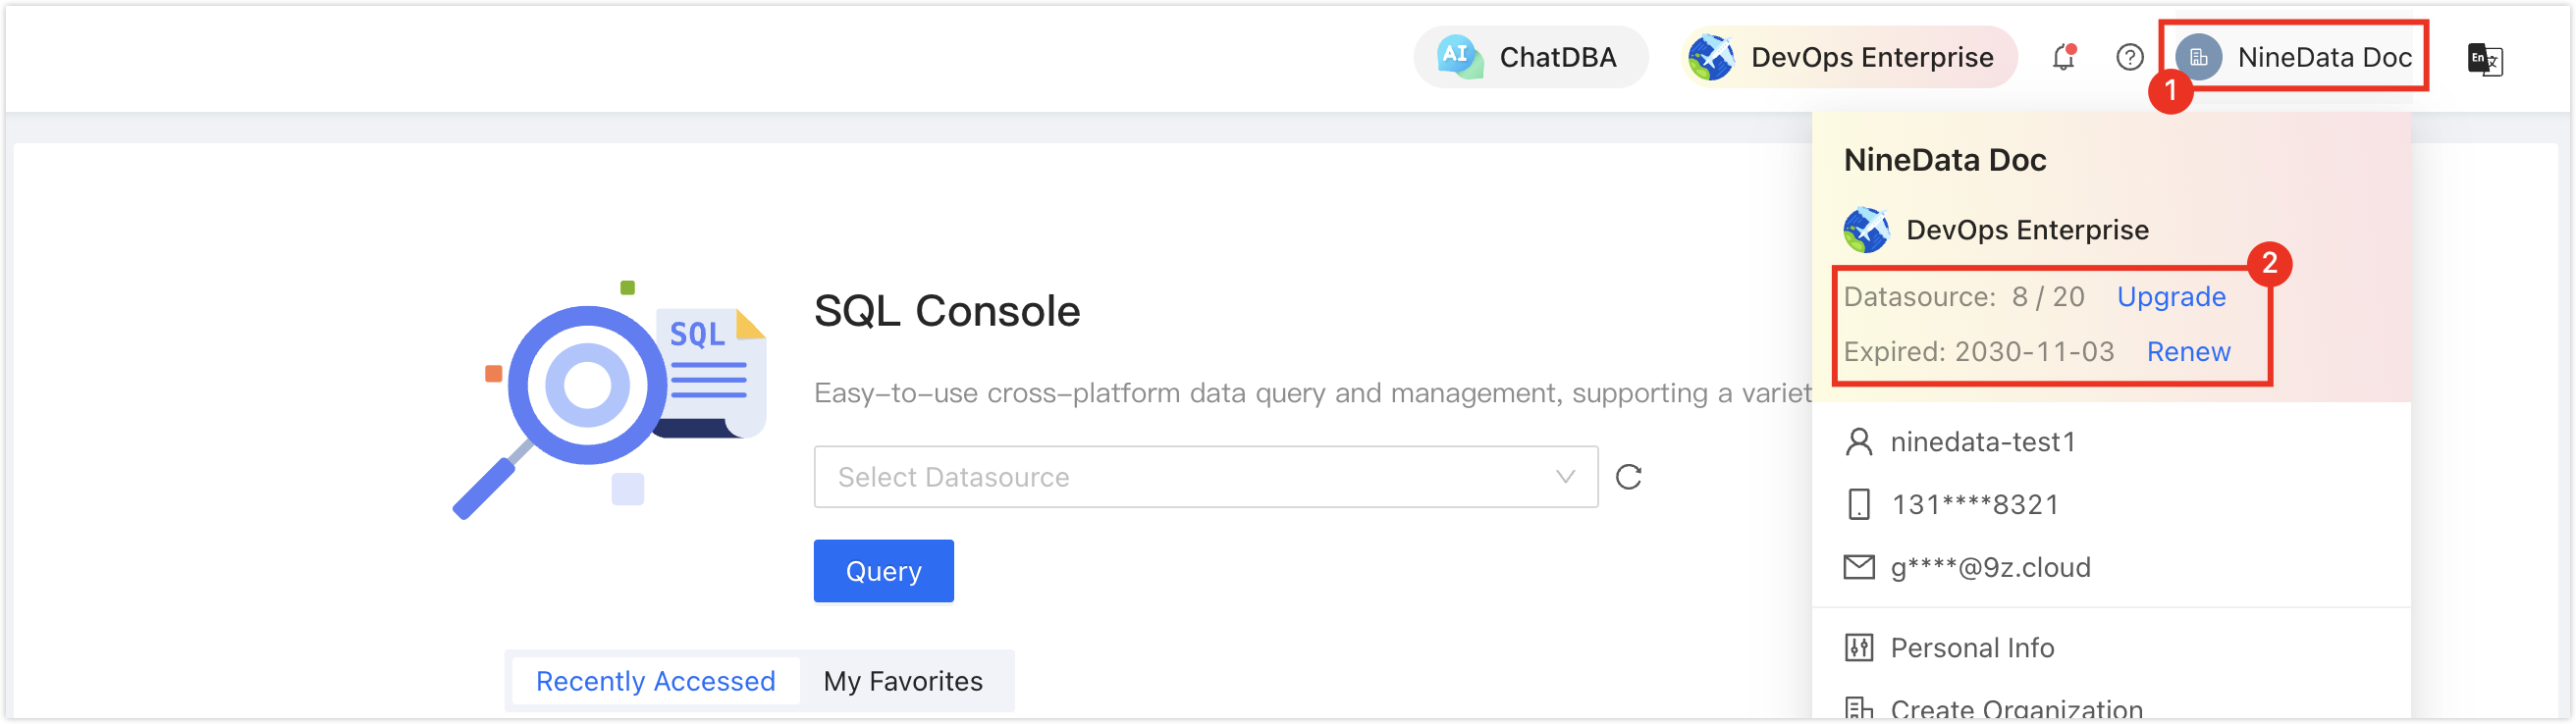
In the commercial versions (DevOps Pro, DevOps Enterprise), make sure your monthly or yearly subscription has not expired. An expired subscription may prevent you from using the Database DevOps service. Check the remaining quota and expiration date in the NineData Console header.
Procedure
Add an OceanBase for MySQL data source
Sign in to the NineData Console.
In the left navigation pane, click Datasource > Datasource.
Click the Datasource tab, then click Create Datasource. In the data-source type dialog, select Database > OceanBase for MySQL. Configure the fields on the Create Datasource page.
tipIf you make a mistake, click the
 icon at the top of the Create Datasource page to reselect.
Click to expand table details
Parameter Description Name Enter a meaningful data source name to identify and manage it later. Connection Select the access method for the data source. Supports IP Address, Gateway, and SSH Tunnel. - IP Address: Access the data source through a public network address.
- Gateway: Use NineData gateway access for secure private-network connectivity. Connect the data source host first. See Add Gateway.
- SSH Tunnel: Access the data source through an SSH tunnel.
Configuration items when Connection is IP Address Host: The public network connection address and port of the data source. Configuration items when Connection is Gateway - Gateway: Select the NineData gateway installed on the host where the data source is located.
- Host: Use localhost if the data source runs on the same host, or use the private IP address of the data source host.
Configuration items when Connection is SSH Tunnel - SSH Host: Enter the public IP address or domain name of the server where the target data source is located, and enter the corresponding port number. The default SSH service port is 22.
- SSH Authentication Method: Select the SSH authentication method.
- Password: Connect through SSH Username (the server login name) and Password (the server login password).
- SSH Username: Enter the login username of the server where the target data source is located.
- Password: Enter the login password of the server where the target data source is located.
- Key (recommended): Connect through SSH Username and Key File.
- SSH Username: Enter the login username of the server where the target data source is located.
- Key File: Click Upload to upload the private key file, which is the key file without a suffix. If you have not created one yet, see Generate SSH Tunnel Key File.
- Password: Enter the password set when the key file was generated. If no password was set, leave this field blank.
Note: After configuring SSH, click Connection Test. Two outcomes are possible: - Password: Connect through SSH Username (the server login name) and Password (the server login password).
- Connection Successfully: The SSH Tunnel is available.
- Error message: The connection failed. Use the error message to troubleshoot and retry.
- Host: Use localhost if the data source runs on the same host, or use the private IP address of the data source host.
DB Account The username of the data source. DB Password The password of the data source. Access Region Select the region closest to your data source location to effectively reduce network latency. Environment Select the environment that matches the business purpose of the data source. Default options include PROD and DEV. Custom environments can also be created from Create a custom environment.
Note: In organization mode, the database environment can also be used in permission policy management. For example, the default Prod Admin role can access only data sources in the PROD environment. See Manage Roles.Encryption Configure SSL encryption for data source access (default: on). If the data source enforces SSL encrypted connections, enable this switch, or the connection fails.
Use the switch to turn encrypted transmission on or off. Click the > next to Encryption to expand detailed configuration.- SSL Options: Supports two methods.
- If Available: Detect the server SSL status. If SSL is enabled on the server, connect through SSL first. If SSL is not enabled, use a non-SSL connection.
- Require: Always use SSL to connect to the data source. If the server does not support this method or cannot establish an SSL connection for other reasons, the connection fails.
- SSL Cipher: Specify the SSL-Cipher encryption algorithm.
- Verify Server Certificate (SSL CA): If the OceanBase server uses a certificate issued by a self-signed CA, upload the root certificate of this CA here.
- Verify Server Identity (SSL Identify): Select this option to verify the server name and IP address so the connection reaches the real OceanBase server and helps prevent man-in-the-middle attacks.
- Authenticate Client: If the OceanBase server requires a client certificate, upload the client certificate and key here. The OceanBase server verifies the uploaded information to secure the connection.
Click Create Datasource next to Connection Test to test the connection. If the page shows Connection Successfully, click Create Datasource to add the data source. If the test fails, review the connection settings and try again.
Configure SQL development standards
Sign in to the NineData Console.
In the left navigation pane, click DevOps > Policy & Process.
Open the SQL Dev Policy tab on the Policy & Process page, then click Create Policy.
In the Create Policy dialog, configure these parameters and click OK.
Duplicate Policy: Select which standard to create a new standard based on.
Name: Enter a meaningful name for the new standard. The name can contain 1 to 32 characters.
Description (optional): Enter a description for the new standard. The description can contain 1 to 64 characters.
The console opens the Details page, where the target rules can be edited, enabled, or disabled.
tipSQL development rules are grouped by major module. Use the category tabs to switch between groups.
Return to the Policy & Process page, click the Datasource Config tab, find the target data source name, and click Edit in the Actions column on the right.
In the Edit Datasource Config window, clear the checkbox next to SQL Dev Policy under Inheriting Envir. Config, then select the newly configured standard and click OK.
The development standard is now configured. Future operations on this data source in NineData are controlled by this SQL development standard.
Result
The OceanBase for MySQL data source is available in NineData, and SQL operations on this data source are governed by the configured SQL development standard.
Next steps
- Perform CRUD operations on the OceanBase database through the SQL Console
- Submit change applications to the OceanBase database through SQL tasks
- Set sensitive columns for OceanBase
- Export data from the OceanBase database to a file
- Import data files into OceanBase
- Multi-environment change management for OceanBase
- Pre-release review of SQL code for OceanBase
- Batch query grouping of OceanBase database tables
- Batch change grouping of OceanBase database tables