Create a PolarDB for Oracle Data Source
Add an Alibaba Cloud PolarDB for Oracle data source to NineData for Database DevOps, backup and restore, data replication, database comparison, and other supported features. This guide covers connection mode, client character set, client time zone, encrypted transmission, environment settings, and the connection test.
Before you begin
The server IP address of NineData has been added to the data source allowlist. The server IP address can be viewed by selecting the target region in Access Region on the Create Datasource page.

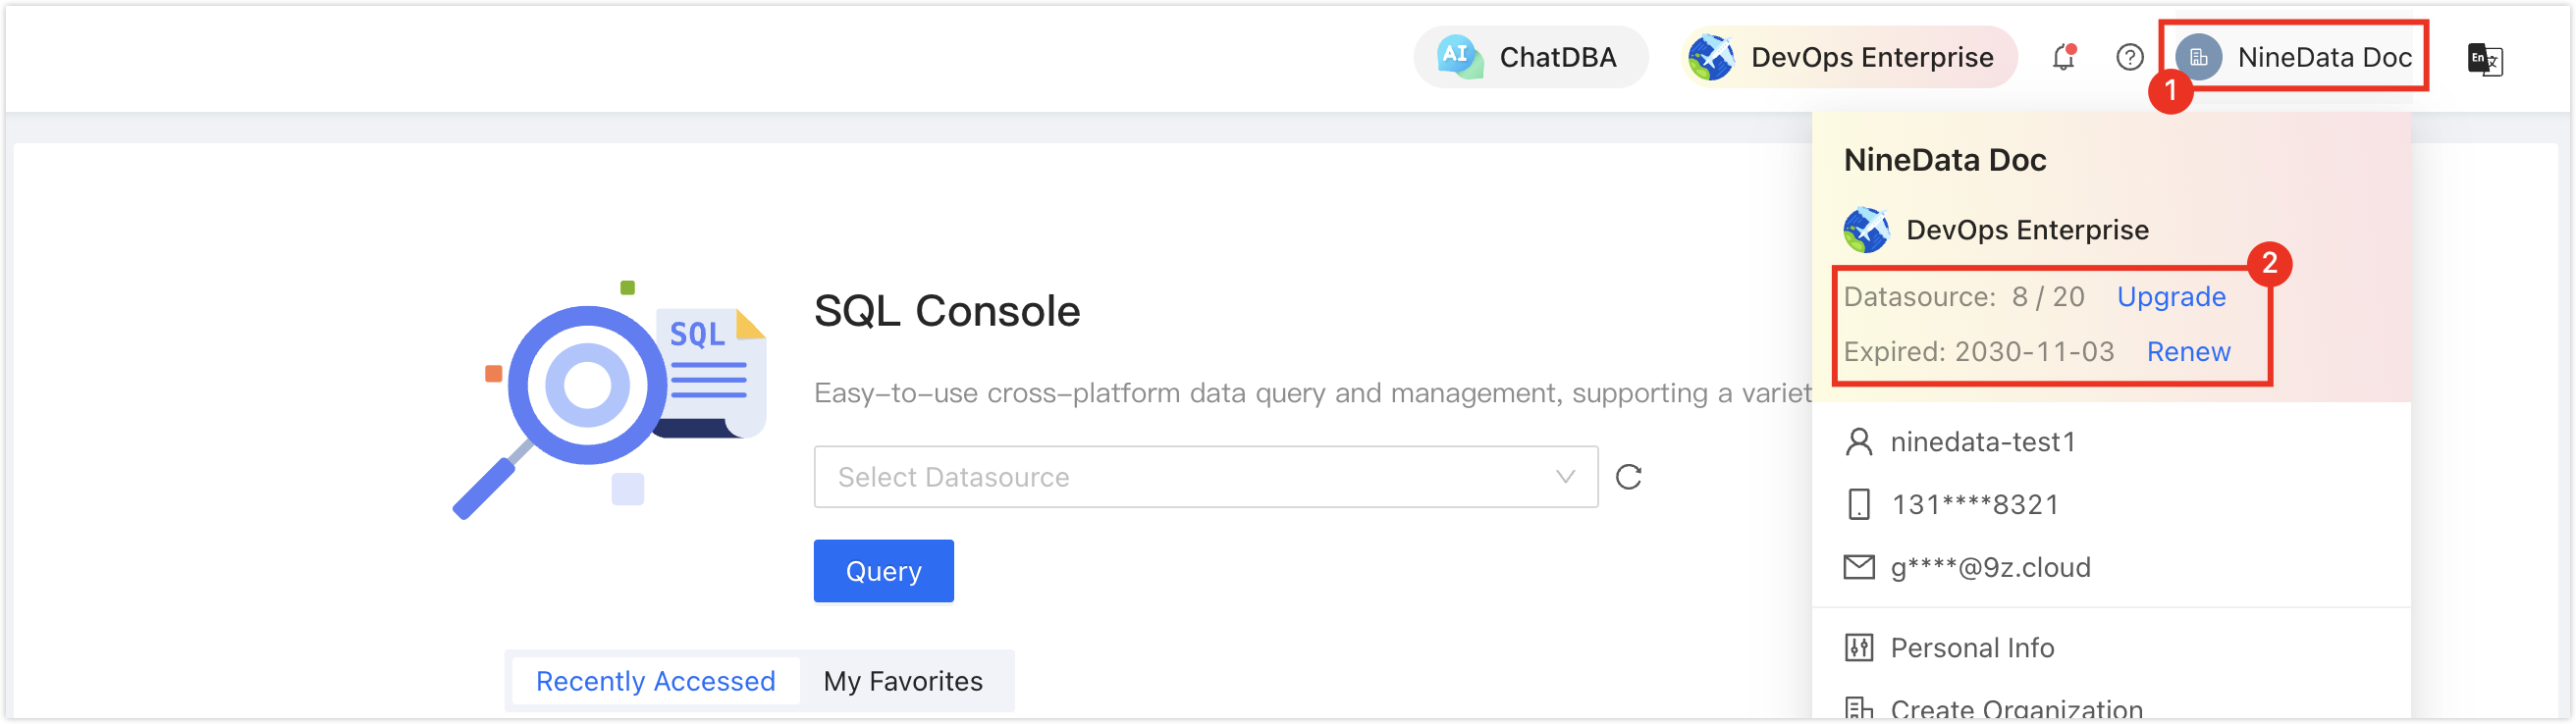
Make sure data source quota is available; otherwise, the data source cannot be added. Check the remaining quota in the NineData Console header.
Procedure
Sign in to the NineData console.
Go to Datasource > Datasource.
Click the Datasource tab, and then click Create Datasource. In the data source type dialog, select Alibaba Cloud > PolarDB Oracle. On the Create Datasource page, configure the parameters using the table.
tipIf you select the wrong type, click the
 icon at the top of the Create Datasource page to reselect the data source type.
Configure the data source parameters:
Parameter Description Name Enter a data source name. Use a meaningful name to find and manage it later. Connection Select how NineData connects to the data source. Supported methods are Direct connection address and SSH Tunnel. - IP Address: Connect through the public network address.
- SSH Tunnel: Connect through an SSH tunnel.
Configuration items when Connection is Direct connection address Host: The public network connection address and port of the data source. Configuration items when Connection is SSH Tunnel - SSH Host: Enter the public IP address or domain name and SSH port of the server where the target data source is located. The default SSH port is 22.
- SSH Authentication Method: Select the SSH authentication method.
- Password: Connect with SSH Username and Password.
- SSH Username: Enter the login username of the server where the target data source is located.
- Password: Enter the login password of the server where the target data source is located.
- Key (recommended): Connect with SSH Username and Key File.
- SSH Username: Enter the login username of the server where the target data source is located.
- Key File: Click Upload to upload the private key file, which is a key file without a suffix.
- Password: Enter the password set when the key file was generated. If no password was set during key generation, leave this field blank.
Note: After configuring SSH, click Connection Test to test the tunnel. Possible results: - Password: Connect with SSH Username and Password.
- Connection Successfully: The SSH tunnel is established.
- Error message: The connection failed. Troubleshoot the cause and try again.
- Host: Enter localhost if the data source is on the same host as the SSH server, or enter the internal IP address of the host where the data source is located.
DB Account Enter the database login username. DB Password Enter the database login password. client character set Define the character encoding that the application uses to generate and parse text data, such as GBKorUTF8. NineData uses this encoding for bidirectional transcoding between the application and the database to help prevent garbled text during reads and writes.client timezone Define the application time zone. When NineData reads date and time fields that do not include time zone information, it converts the stored values to this time zone before returning them. For example, if the application is located in Shanghai, enter +08:00.Access Region Select the region closest to the database host to help reduce network latency. Environment Choose an environment based on the business purpose of the data source. This environment identifies the data source. The default environments are PROD and DEV. Custom environments are supported. Encryption Choose whether NineData uses SSL encryption to access the data source (default: off). If the data source requires SSL-encrypted connections, enable this option; otherwise, the connection fails.
Use the switch to enable or disable encrypted transmission. Click > to the left of Encryption to expand detailed configuration.
SSL Options: Supports the following methods.- Prefer: NineData detects the server SSL status. If SSL is enabled on the server, NineData connects through SSL first. If SSL is not enabled, NineData uses a non-SSL connection.
- Require: Always connect to the data source through SSL. If the server does not support SSL or the SSL connection cannot be established for another reason, the connection fails.
- Verify-CA: Upload the CA certificate to verify that the server certificate was issued by a trusted authority and to help prevent man-in-the-middle attacks. When identity verification is required, upload the client user certificate and key to verify your identity and encrypt communication with the server.
- Verify-full: In addition to Verify-CA, check whether the subject of the server certificate, such as the hostname or IP address, matches the connected server.
After you configure all parameters, click Connection Test next to Create Datasource to test connectivity. When Connection Successfully is displayed, click Create Datasource to create the data source. Otherwise, review the connection settings and run the test again.
Result
After the connection test succeeds and the data source is created, it appears in the data source list and is available to NineData features that support PolarDB for Oracle.