Create a Snowflake Data Source
Connect Snowflake to NineData for the Database DevOps features enabled in the current SaaS console. The 5.3.3 release materials confirm support for SQL Console, SQL Tasks, permission requests, and approval processes. For other capabilities, follow the entries currently shown for the data source in the console.
Before you begin
The server IP address of NineData has been added to the data source allowlist. The server IP address can be viewed by selecting the target region in Access Region on the Create Datasource page.

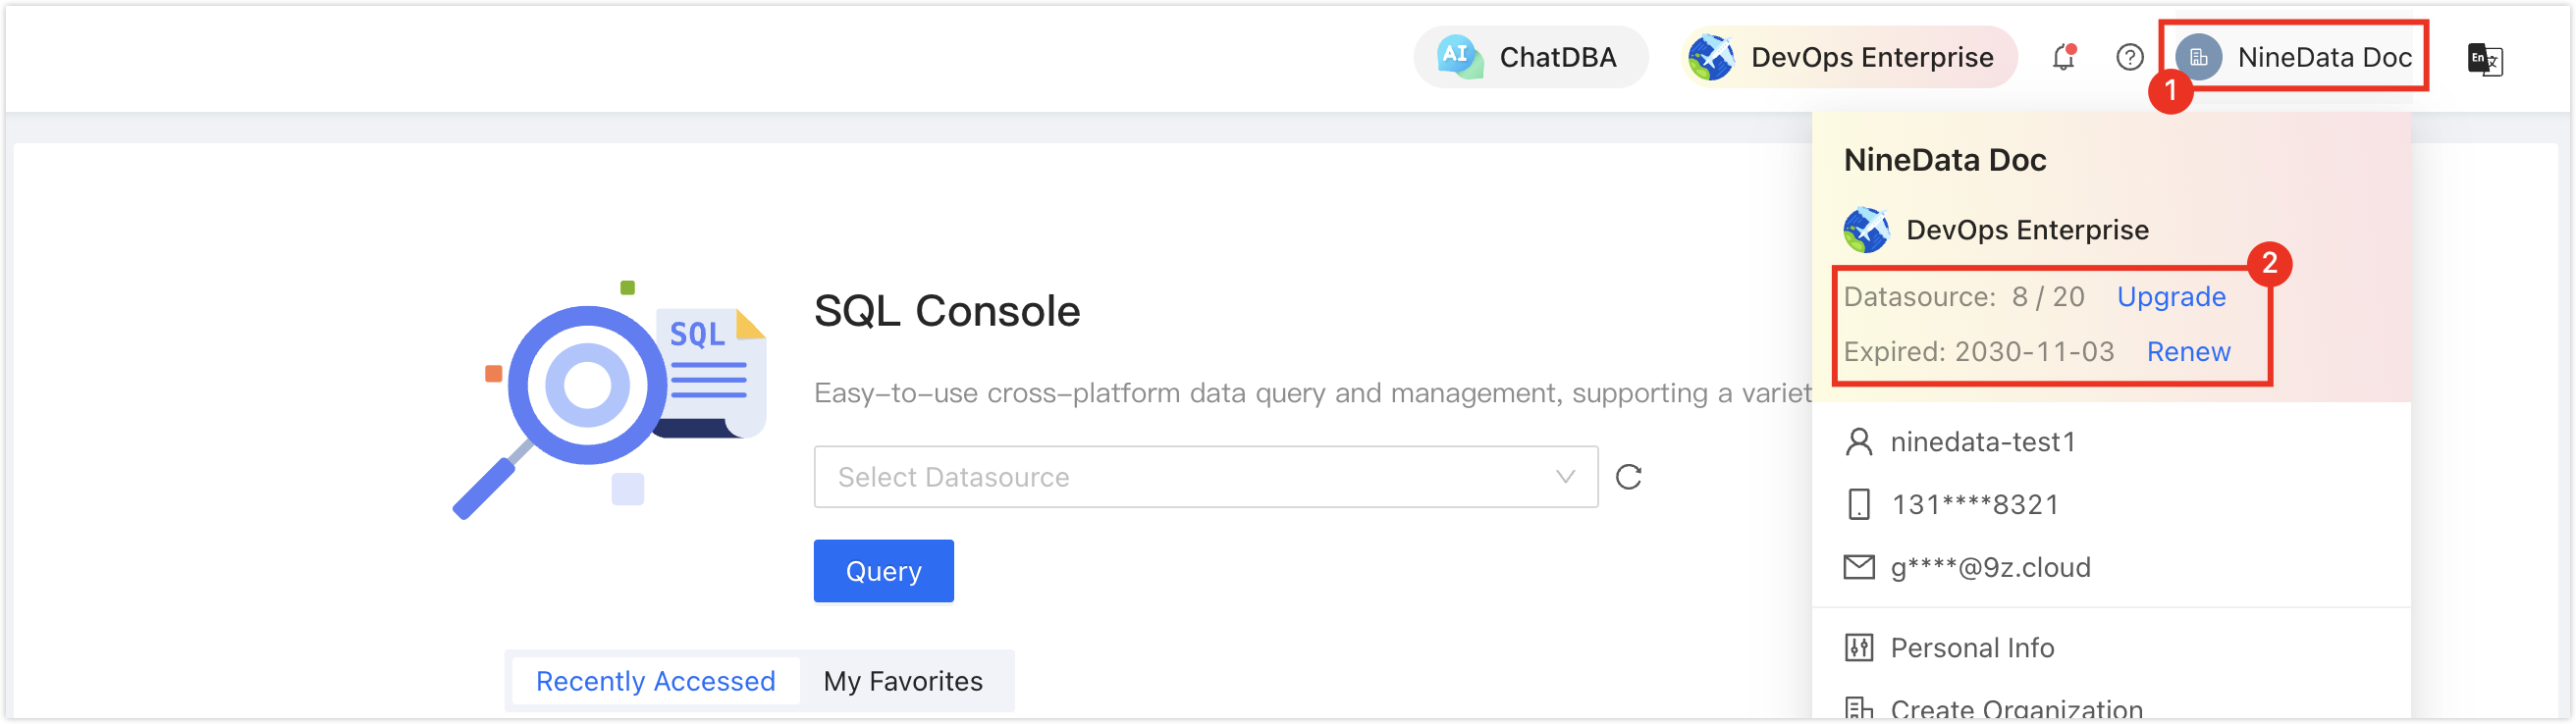
Make sure data source quota is available; otherwise, the data source cannot be added. Check the remaining quota in the NineData Console header.
Procedure
Sign in to the NineData Console.
In the left-side navigation pane, choose Datasource > Datasource.
On the Datasource tab, click Create Datasource. In the data source type selector, choose Self-managed Database > Data Warehouse > Snowflake to open the Snowflake creation page.
tipIf you select the wrong type, click the
 icon at the top of the creation page to choose another data source type.
Configure the data source parameters:
Parameter Description Name Enter a data source name. Connection Select a connection method. The current creation page displays Public Address, Gateway, and SSH Tunnel. A gateway must be connected before you select Gateway. For SSH Tunnel, complete the tunnel settings shown on the page. Host Enter the Snowflake connection address and port. The current creation page displays 443in the port field; use the value required by the target Snowflake instance and shown by the current page.DB Account Enter the Snowflake database account. DB Password Enter the Snowflake database password. Warehouse Enter the Warehouse required by the target Snowflake instance. Whether this field is required depends on the current creation page. Role Enter the Role required by the target Snowflake instance. Whether this field is required depends on the current creation page. Access Region Select an access region. Select a region with suitable network proximity to the Snowflake instance. Environment Select the environment tag for the data source, such as PROD or DEV. After configuring the fields, click Connection Test to test connectivity. After the test succeeds, click Create Datasource to create the data source. If the test fails, check the address, port, credentials, network allowlist, and connection method based on the message shown on the page.
Result
After the Snowflake data source is created, it appears in the data source list. The 5.3.3 release materials confirm that Snowflake can be used with SQL Console, SQL Tasks, permission requests, and approval processes; the actual entries and scope depend on the current SaaS console.