Create a Databricks Data Source
This page describes how to connect a Databricks data source to NineData. Prepare the target instance's connection address, Client ID, Client Secret, and HTTP Path.
Before you begin
The server IP address of NineData has been added to the data source allowlist. The server IP address can be viewed by selecting the target region in Access Region on the Create Datasource page.

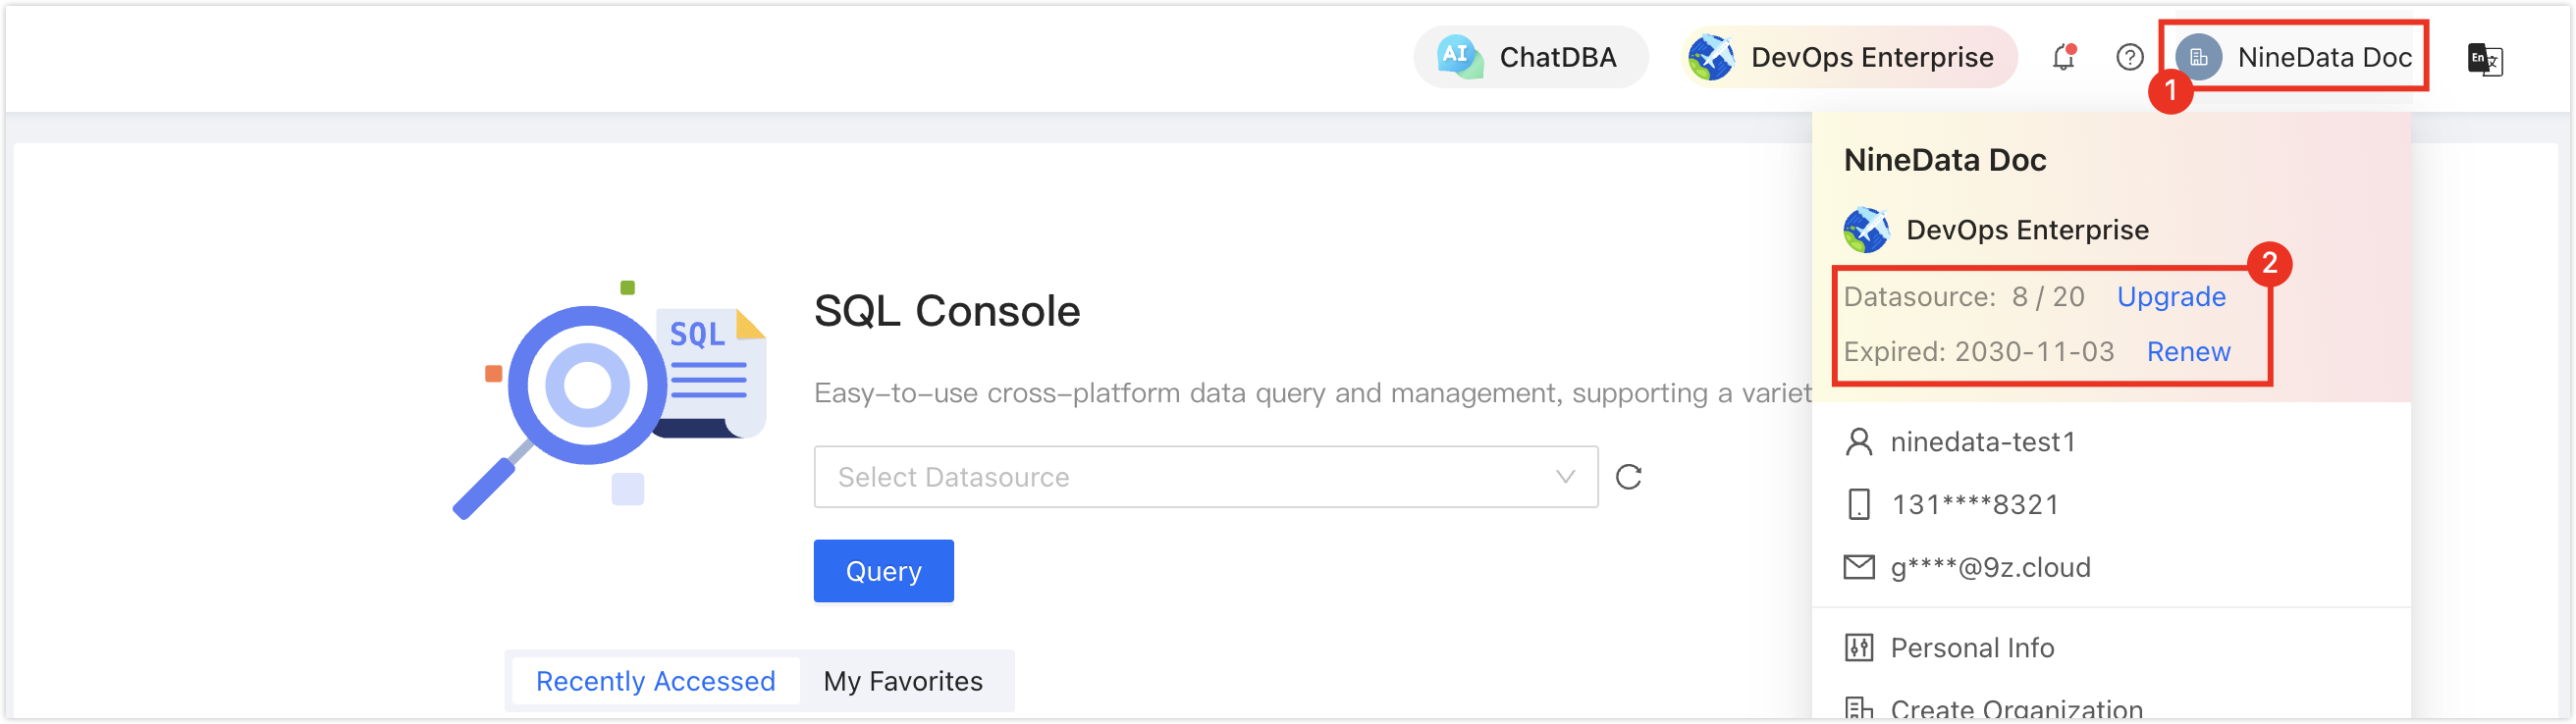
Make sure data source quota is available; otherwise, the data source cannot be added. Check the remaining quota in the NineData Console header.
Procedure
Sign in to the NineData Console.
In the left-side navigation pane, choose Datasource > Datasource.
Click the Datasource tab, then click Create Datasource. In the data source type selector, choose Self-managed Database > Data Warehouses > Databricks.
Enter the connection information shown on the creation page.
Parameter Description Name Enter a name that identifies the data source. Connection The current creation page shows the public-address method. The page states that it uses a public IP address and port and does not support private addresses. Host Enter a Databricks connection address and port that NineData can reach. Client ID Enter the Client ID provided by the target instance. Client Secret Enter the Client Secret provided by the target instance. Do not include secret values in documentation, screenshots, or tickets. HTTP Path Enter the HTTP Path provided by the target instance. Access Region Select the access region used to connect to this data source. Environment Select the environment for the data source. To check the connection settings before creating the data source, click Connection Test. After reviewing the settings, click Create Datasource.
Result
After creation succeeds, the Databricks data source appears in the data source list and supports Database DevOps features. Before using a feature, confirm that your account has the required permission and follow the operations available in the console.