Creating Non-Table Objects in MySQL Visually
In addition to objects like databases and tables, MySQL supports various non-table objects, including views, stored procedures, functions, triggers, and events. This article explains how to visually create or edit these objects using the SQL console.
Background Information
Non-table objects such as views, stored procedures, functions, triggers, and events are essential components of MySQL, enabling more effective data management and operations for businesses. Typically, creating and editing these non-table objects requires the composition of complex SQL statements. Users of databases vary, including professionals like developers and DBAs, as well as non-specialists such as business analysts. Consequently, there is an increasing demand for more intuitive and user-friendly tools.
Visual tools provide a graphical interface, allowing users to create and edit non-table objects without the need to write SQL statements. This greatly simplifies the process of database management, making it accessible even to novice users.
Prerequisites
The data source type is MySQL.
The user has the SQL Console feature module permissions under the Organization mode.
The user has read and write permissions for the target data source under the Organization mode.
tipIf you lack the mentioned permissions, please contact your organization's system administrator to configure permissions or bind roles for you.
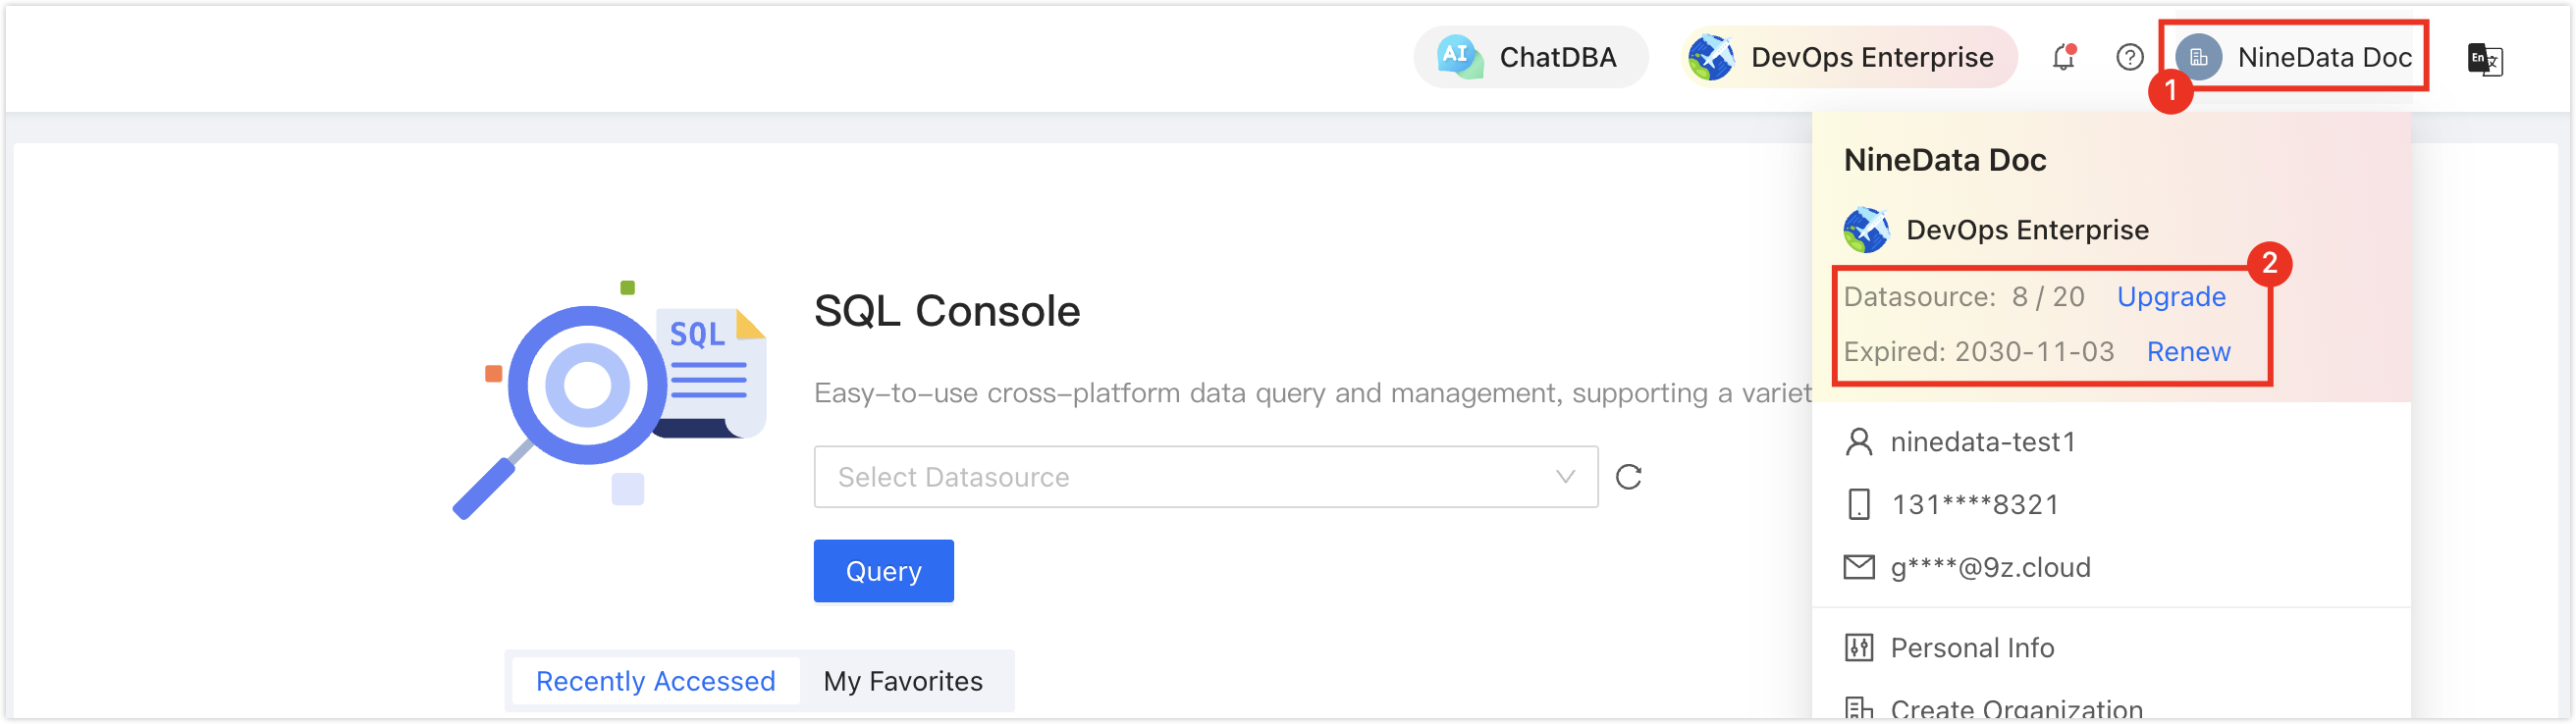
In the commercial versions (DevOps Pro, DevOps Enterprise), please ensure that your monthly/yearly subscription is not expired, as it may result in the inability to use the Database DevOps service. You can quickly check the remaining quota and expiration date at the top right corner of the NineData console page.
Creating a View
Open the SQL console and navigate to the target data source.
In the left-side database list in the SQL console, right-click the target database and click Create Object > Create View.
tip- The view will be created in this database.
- Alternatively, you can expand the target database, right-click the Views directory, and then click Create View.
On the Create View tab, you can start creating the view visually. The system will automatically generate Create Statement below the page based on your configuration. See the table below for details on each parameter.
Parameter Description View Name Custom name for the view, default is new_view. Database Select the database in which to create the view, default is the database right-clicked in step 2. Definer Specify the definer of the current view. If empty, the default definer is the current user. SQL Security Choose the permission to be used when the view is called. - Default: Not specified.
- Definer: Use the permissions of the current view definer for querying.
- Invoker: Use the permissions of the view caller for querying.
Check Option Add the Check Option, Default represents no addition. For more information, see official documentation. ALGORITHM Add the Algorithm option, Default represents no addition. For more information, see official documentation. REPLACE Check this option to replace an existing view with the same name in the current database. In the white area of the editor below Create Statement, enter the SQL statement that the view will execute.
Click Save, in the popped-up Submit window, confirm the generated SQL statement, and then click OK.
Creating Stored Procedures
Open the SQL console and navigate to the target data source.
In the SQL console's left-side database list, right-click the target database, and click Create Object > Create Procedure.
tip- The stored procedure will be created in this database.
- Alternatively, you can expand the target database, right-click the Procedures directory, and then click Create Procedure.
On the Create Procedure tab, you can start creating the stored procedure visually. The system will automatically generate Create Statement below the page based on your configuration. See the table below for details on each parameter.
Parameter Description Name Custom name for the stored procedure, default is new_procedure. Database Select the database in which to create the stored procedure, default is the database right-clicked in step 2. Definer Specify the definer of the current stored procedure. If empty, the default definer is the current user. Deterministic Specify whether the execution result of the stored procedure is deterministic. - Default: Not specified.
- DETERMINISTIC: Deterministic, meaning it will always return the same result for the same input parameters.
- NOT DETERMINISTIC: Not deterministic, meaning it may return different results for the same input parameters, such as in random number generation or timestamp operations.
SQL Property Choose the execution mode of the stored procedure: - Default: Not specified.
- CONTAINS SQL: The stored procedure contains SQL statements but does not read or modify data.
- NO SQL: The stored procedure does not contain SQL statements.
- READS SQL DATA: The stored procedure contains SQL statements that read data but do not modify it.
- MODIFIES SQL DATA: The stored procedure contains SQL statements that modify data.
SQL Security Choose the permissions to be used when the stored procedure is called. - Default: Not specified.
- Definer: Use the permissions of the current stored procedure definer.
- Invoker: Use the permissions of the stored procedure caller.
Comment Comment content for the stored procedure. Parameters Substitute parameters for the stored procedure. Below BEGIN in the Create Statement editor, enter the actual content of the stored procedure.
Click Save, in the popped-up Submit window, confirm the generated SQL statement, and then click OK.
Creating Functions
Open the SQL console and navigate to the target data source.
In the SQL console's left-side database list, right-click the target database, and click Create Object > Create Function.
tip- The function will be created in this database.
- Alternatively, you can expand the target database, right-click the Functions directory, and then click Create Function.
On the Create Function tab, you can start creating the function visually. The system will automatically generate Create Statement below the page based on your configuration. See the table below for details on each parameter.
Parameter Description Function Name Custom name for the function, default is new_function. Database Select the database in which to create the function, default is the database right-clicked in step 2. Definer Specify the definer of the current function. If empty, the default definer is the current user. Deterministic Specify whether the execution result of the function is deterministic. - DETERMINISTIC: Deterministic, meaning it will always return the same result for the same input parameters.
- NOT DETERMINISTIC: Not deterministic, meaning it may return different results for the same input parameters, such as in random number generation or timestamp operations.
Returns Choose the data type that the function returns. SQL Security Choose the permissions to be used when the function is called. - Default: Not specified.
- Definer: Use the permissions of the current function definer.
- Invoker: Use the permissions of the function caller.
Comment Comment content for the function. Parameters Substitute parameters for the function. Below BEGIN in the Create Statement editor, enter the actual content of the function.
Click Save, in the popped-up Submit window, confirm the generated SQL statement, and then click OK.
Creating Triggers
Open the SQL console and navigate to the target data source.
In the SQL console's left-side database list, right-click the target database, and click Create Object > Create Trigger.
tip- The trigger will be created in this database.
- Alternatively, you can expand the target database, right-click the Triggers directory, and then click Create Trigger.
On the Create Trigger tab, you can start creating the trigger visually. The system will automatically generate Create Statement below the page based on your configuration. See the table below for details on each parameter.
Parameter Description Trigger Name Custom name for the trigger, default is new_trigger. Database/Table Select the database and the target table to monitor, default is the database right-clicked in step 2. Definer Specify the definer of the current trigger. If empty, the default definer is the current user. Trigger Order If triggers already exist in the target table, you can choose the priority: - Default: No specific priority, triggers will be executed in the order of their creation time.
- FOLLOWS: Precedence to existing triggers; you also need to select the existing triggers on the right.
- PROCEDES: Precedence to the current trigger; you also need to select the existing triggers on the right.
Trigger Time Choose when the trigger will be executed: - BEFORE: The trigger will be executed before the monitored event occurs, mainly used to prevent adverse changes or preparatory operations on data.
- AFTER: The trigger will be executed after the monitored event occurs.
Trigger Event Choose the specific operation the trigger will listen for: - INSERT: Insert operation.
- UPDATE: Update operation.
- DELETE: Delete operation.
In the white area of the Create Statement editor, enter the actual content of the trigger.
Click Save, in the popped-up Submit window, confirm the generated SQL statement, and then click OK.
Creating Events
Open the SQL console and navigate to the target data source.
In the SQL console's left-side database list, right-click the target database, and click Create Object > Create Event.
tip- The event will be created in this database.
- Alternatively, you can expand the target database, right-click the Events directory, and then click Create Event.
On the Create Event tab, you can start creating the event visually. The system will automatically generate Create Statement below the page based on your configuration. See the table below for details on each parameter.
Parameter Description Event Name Custom name for the event, default is new_event. Database Select the database in which to create the event, default is the database right-clicked in step 2. Definer Specify the definer of the current event. If empty, the default definer is the current user. Delete after Exec Whether to automatically delete the event: - Default: Not specified.
- ON COMPLETION PRESERVE: Preserve the event after it completes.
- ON COMPLETION NOT PRESERVE: Delete the event after it completes.
Event Status Choose the status of the event: - Default: Not specified.
- ENABLE: Enable the event.
- DISABLE: Store the event but do not activate it.
- DISABLE ON SLAVE: The event is not active on the slave.
Excuted Time Specify the execution frequency and time of the event: - One Time: Execute only once, and specify the specific execution time.
- Recurring: Recurring execution, and specify the execution cycle, as well as the start and end time of the cycle.
Comment Comment content for the event. In the white area of the Create Statement editor, enter the actual content of the event.
Click Save, in the popped-up Submit window, confirm the generated SQL statement, and then click OK.
Managing Non-Table Objects
You can perform visual creation, editing, renaming, copying, and deletion operations on MySQL non-table objects in the SQL Console.
- Open the SQL console and navigate to the target data source.
- Right-click on the name of the non-table object under the target database and choose the corresponding operation.