Creating Private Network Connection with AWS
NineData supports creating a private network connection to bridge NineData and AWS, allowing you to connect to AWS through NineData without the need to apply for a public network address for cloud services.
This operation will create a new endpoint under your cloud provider account to establish connectivity between NineData and the cloud provider services within the intranet environment. Charges may apply for the endpoint service. For detailed cost information, please refer to your cloud provider's official billing documentation.
Prerequisites
- Your data source is hosted on AWS.
- You have purchased an AWS EC2 server to install the NineData gateway. This server shares the same VPC as the cloud database. If a different VPC is used, intranet connectivity is established between this server and the cloud database.
Limitations
The regions that currently support establishing a private network connection are AWS Asia Pacific (Singapore), AWS US West (N. California), AWS US West (Oregon), and AWS Europe (Frankfurt). Your cloud service must be located in one of these regions.
Procedure
To create a private network connection, you need to pre-enter the Access Key information of the target AWS account into the NineData console. For more information, see Configuring Cloud Vendor Access Credentials.
Log in to the NineData Console.
In the left navigation pane, click Datasource > Private Link.
Hover over Create PrivateLink at the top right corner of the page and select AWS from the pop-up list.
tipIf you haven't created Private Link before, a blank page will be displayed. In this case, please click on Create PrivateLink on the page.On the Create PrivateLink page, configure the parameters as per the table below.
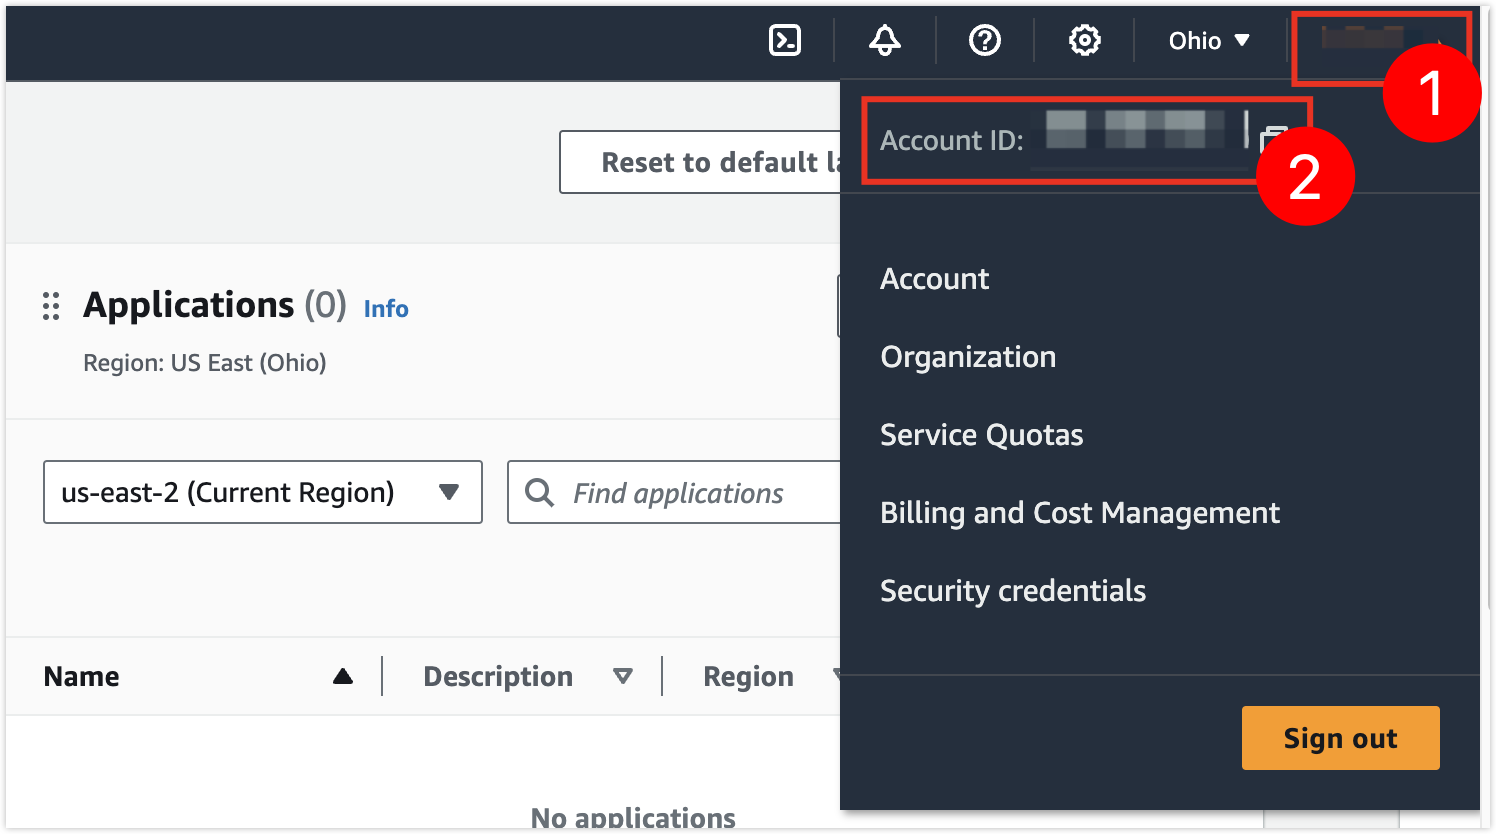
Parameter Description Name Enter a name for the private network connection. Use a meaningful name for easier lookup and management. Authorize Select Grant Access Permission and Auto-create. Region Choose the region where the data source you want to connect to via the private network is located. Cloud Vendor Root Account ID Enter the AWS main account ID. After entering, click on a blank area of the page. If you see the prompt Add Successfully, you can proceed.
Note: Only the main account ID is supported, not the sub-account ID. If you are using a sub-account, consult your main account owner.
Access Credentials Choose the configured cloud vendor access credentials. If you haven't configured them yet, refer to Configuring Cloud Vendor Access Credentials for configuration. VPC Select the private network VPC used for the endpoint.
Important: Please ensure that this VPC is the same as your EC2's VPC or that there is intranet connectivity between the two VPCs.Click Connection Test and wait for the prompt Connection Successfully. Then, click Create PrivateLink to navigate to the Install Gateway page.
tipIf the connection test fails, adjust the parameter configurations until the connection test passes.
In Environment, choose the operating system of your cloud server EC2, and then follow the installation instructions provided on the page to log in to the target cloud server EC2 and install the gateway.
infoThis gateway is used to establish a connection between the data source and AWS endpoint within the intranet. Therefore, the EC2 used for installing the gateway must have intranet connectivity with the AWS endpoint; otherwise, the gateway connection will fail.
After the installation is complete, the Install Gateway page will prompt Gateway Connected. Click Completed and back to List to proceed.