Step-by-Step Guide to Quickly Migrate PostgreSQL Data
This article introduces how to migrate data from a PostgreSQL database to another PostgreSQL database using NineData's data replication feature, starting from scratch.
Please select your scenario to jump to the appropriate operation steps
Step One: Register a NineData Account
Open the NineData Registration Page.
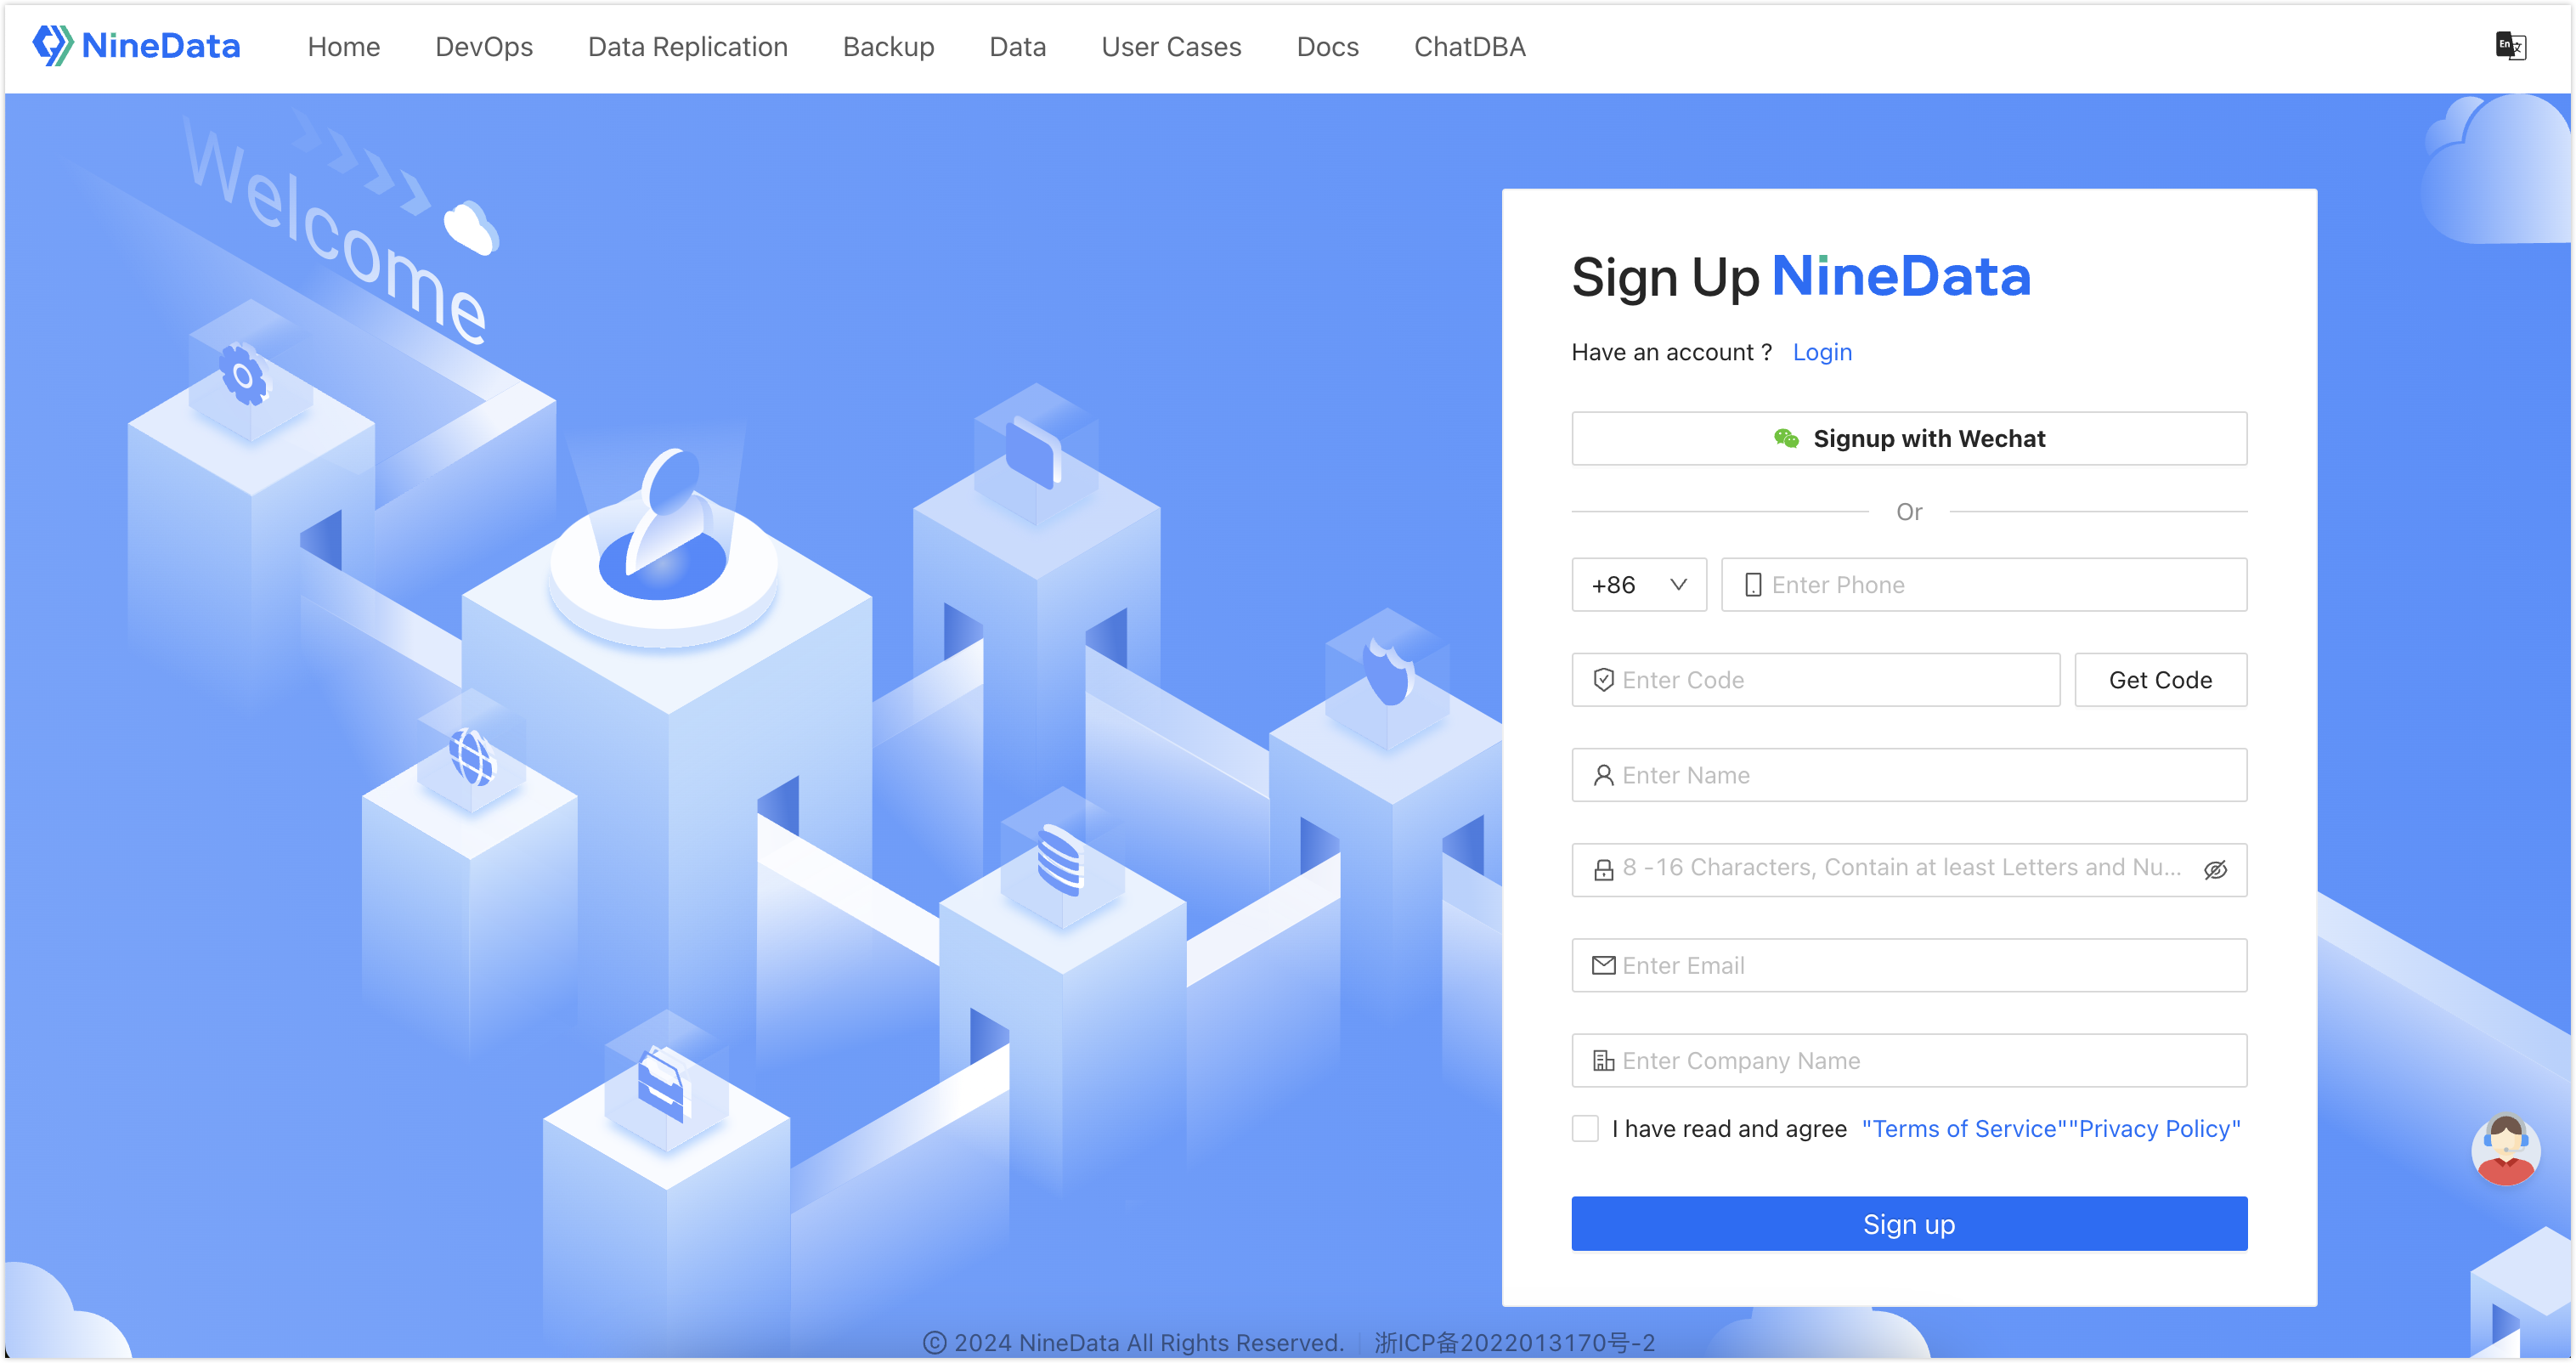
Enter your phone number and click Get Verification Code, then enter the verification code sent by the NineData system.
tipOnly phone numbers in mainland China are currently supported. If you use a phone number outside the +86 area, only email can be used to receive the verification code.
Enter a username and password.
tipThe password strength requirements are as follows:
The password can contain letters, numbers, and special characters.
Length is 8 to 16 characters.
Must contain both letters and numbers.
Cannot contain empty characters (spaces).
Enter an email address and company name, read the Terms of Service and Privacy Policy carefully, then check the box in front of and click .
tipIf you have already entered an email address in the above steps, you do not need to enter it again.
Step Two: Log in to NineData
Open the NineData Login Page.
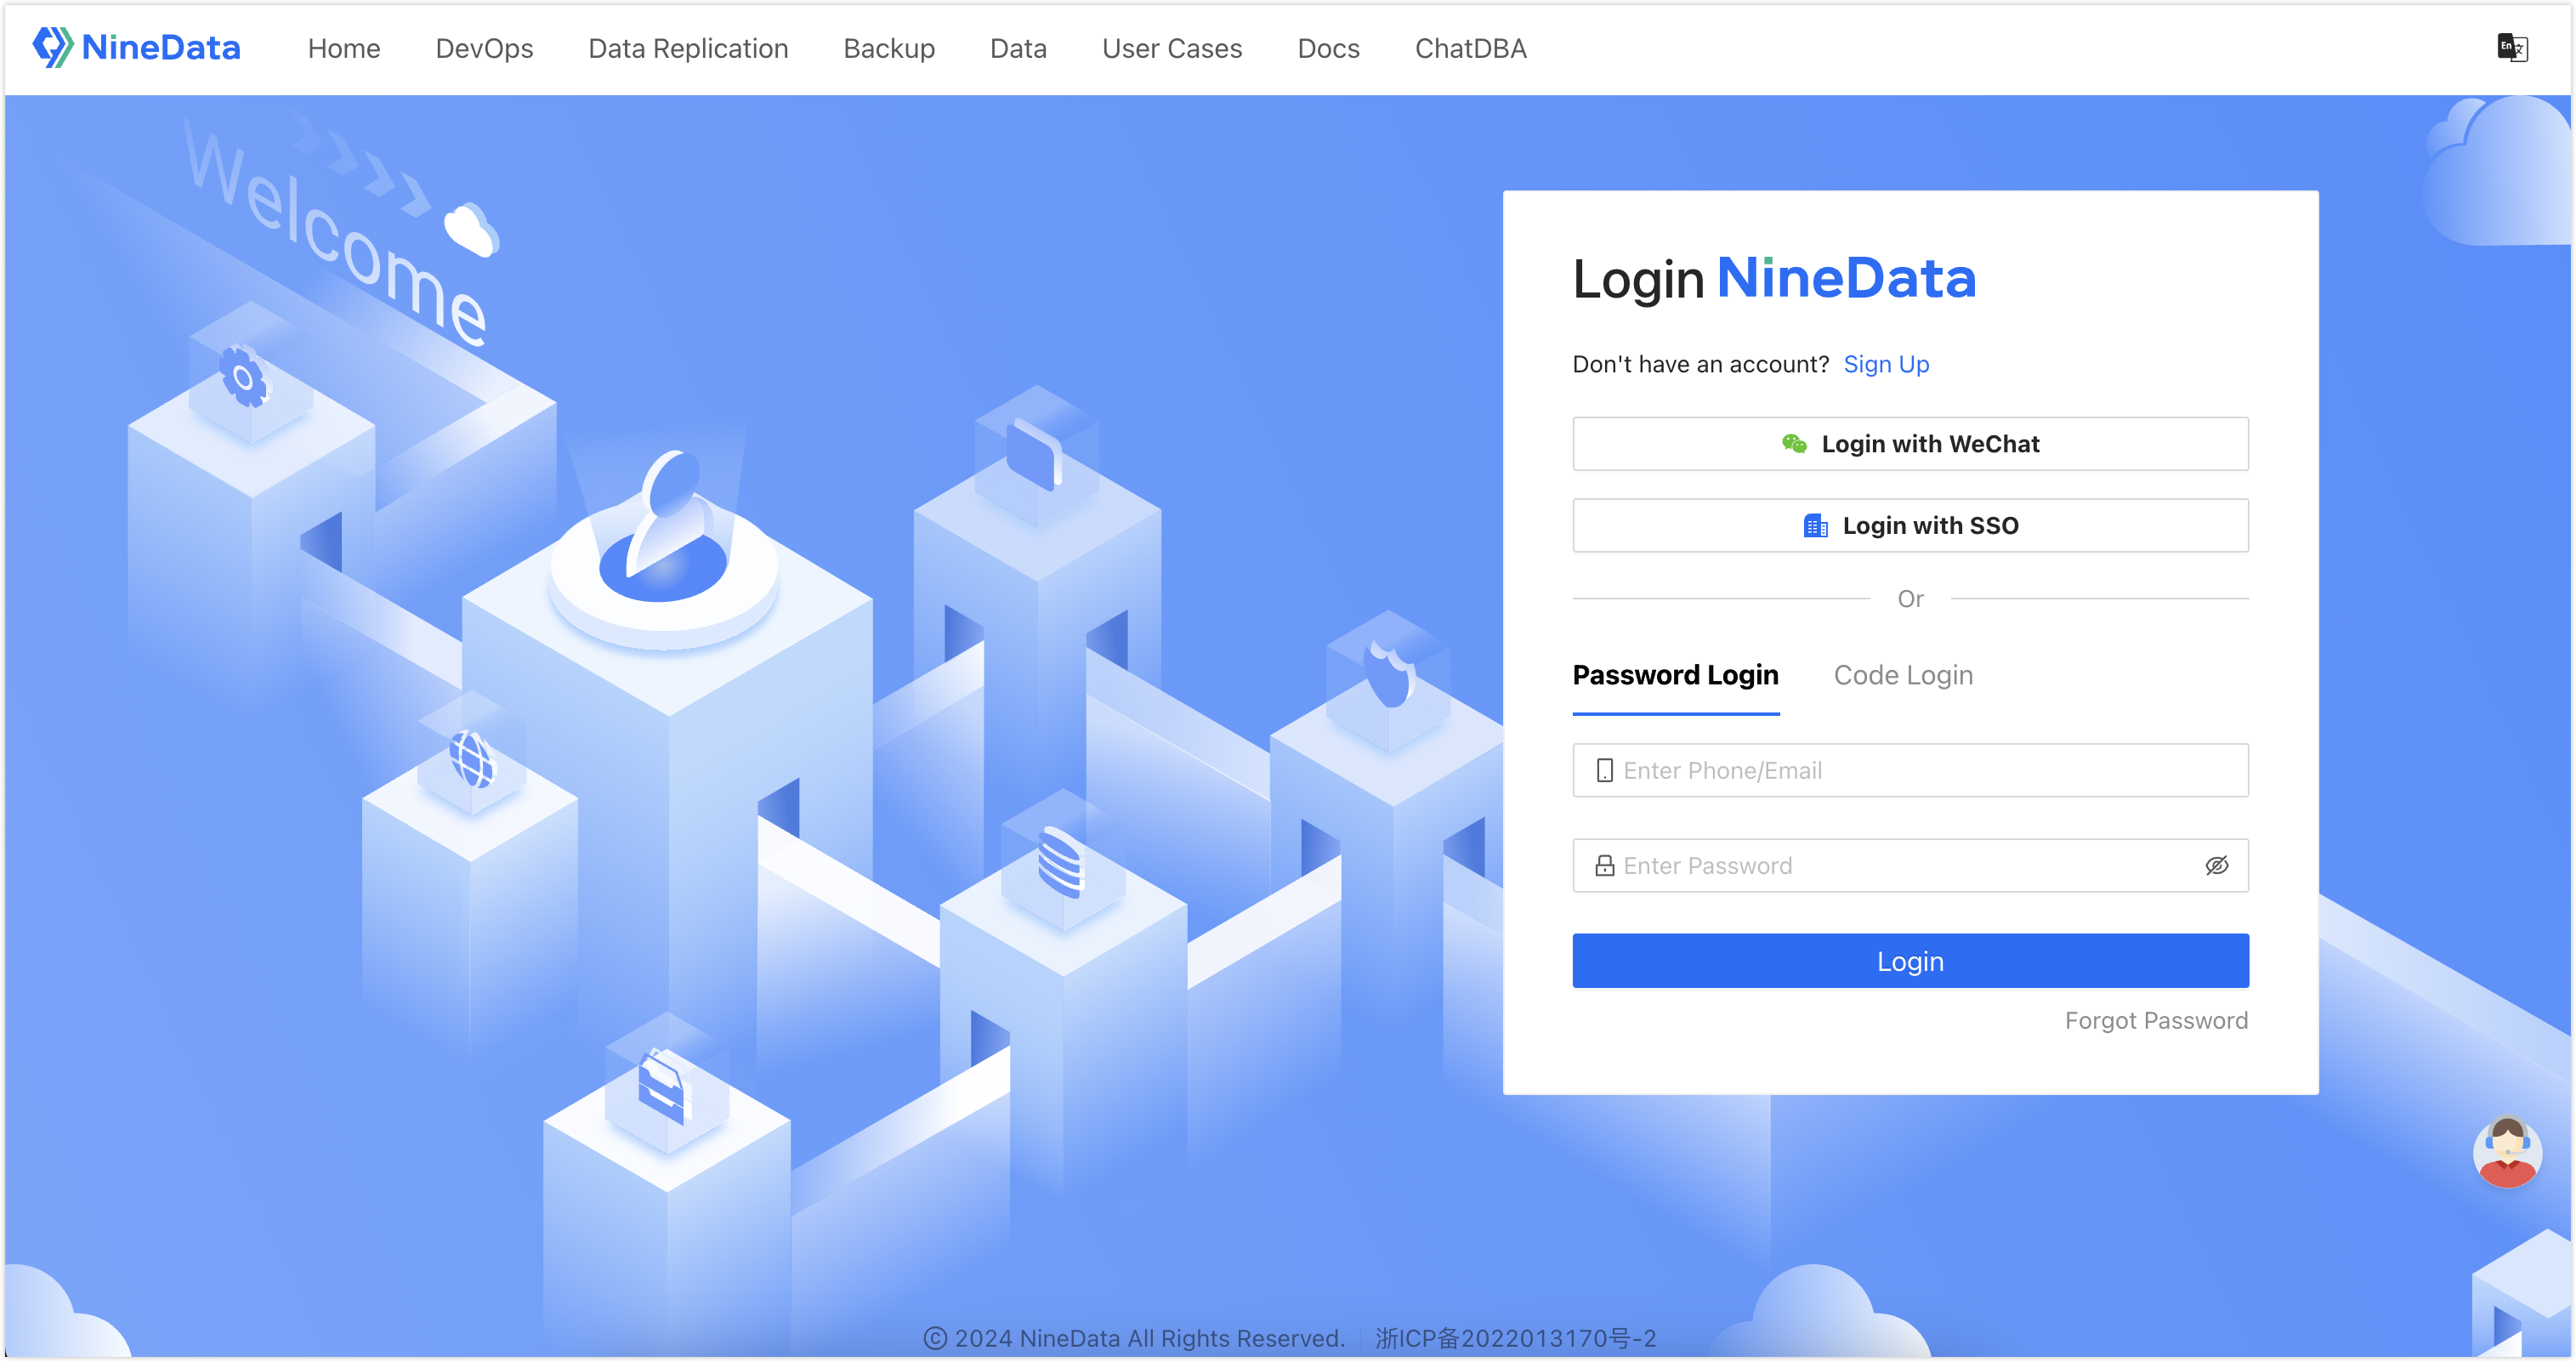
You can choose to log in through , , , or .
- : Enter the phone number or email used during registration and enter the password, then click .tip
- If you are using a phone number outside the +86 area, logging in through the phone number is not currently supported. Please use the email used during registration to log in.
- If you have forgotten your login password, you can click in the lower right corner to .
- Click , enter the phone number used during registration, click , and enter the verification code sent by the NineData system, then click .tip
If you are using a phone number outside the +86 area, please enter the email used during registration to get the verification code.
: Log in to NineData through SSO. For more information, please refer to Log in to NineData through SSO.
- : Log in to NineData by scanning the WeChat code.
- : Enter the phone number or email used during registration and enter the password, then click .
Step Three: Enter PostgreSQL Source and Target Data Sources
This section introduces how to connect to PostgreSQL data sources via the public network. You can choose a connection method that suits your actual situation.
Log in to the NineData Console.
On the left navigation pane, click > .
- Click tab, and click on the page. In the popup window for selecting the data source type, choose (Data source deployment type) > (the type of data source to be added), and configure the parameters based on the table below on the page.tip
If you make a mistake during the operation, you can click the
icon at the top of the page to make a new selection.
| Parameter | Description |
|---|---|
| Enter the name of the data source. To facilitate subsequent search and management, please use a meaningful name as much as possible. | |
| Select . | |
| Enter the public connection address and port of the PostgreSQL source data source. | |
| The username of the PostgreSQL source data source, which must have permission to read the data to be migrated. | |
| The password of the PostgreSQL source data source. | |
| Choose the region closest to your data source location to effectively reduce network latency. | |
| Keep the default settings. | |
| Keep the default settings. |
After all configurations are completed, click next to to test whether the data source can be accessed normally. If prompted with , you can click to complete the addition of the data source. Otherwise, please recheck the connection settings until the connection test is successful.
Repeat the above steps to add the PostgreSQL target data source.
tip- The version number of the PostgreSQL target data source must be greater than or equal to the source data source.
- The username used to log in to the target data source must have read and write permissions for the target data source.
Step Four: Create a Replication Task
In the NineData console, click on in the left navigation bar.
On the page, click on in the page.
On the tab, configure according to the table below and click .
Parameter Description Enter the name of the data synchronization task. To facilitate subsequent search and management, please use a meaningful name. Up to 64 characters are supported. Select the PostgreSQL source data source. Select the PostgreSQL target data source. Keep the default state, that is, select and . Keep the default state, that is, select . 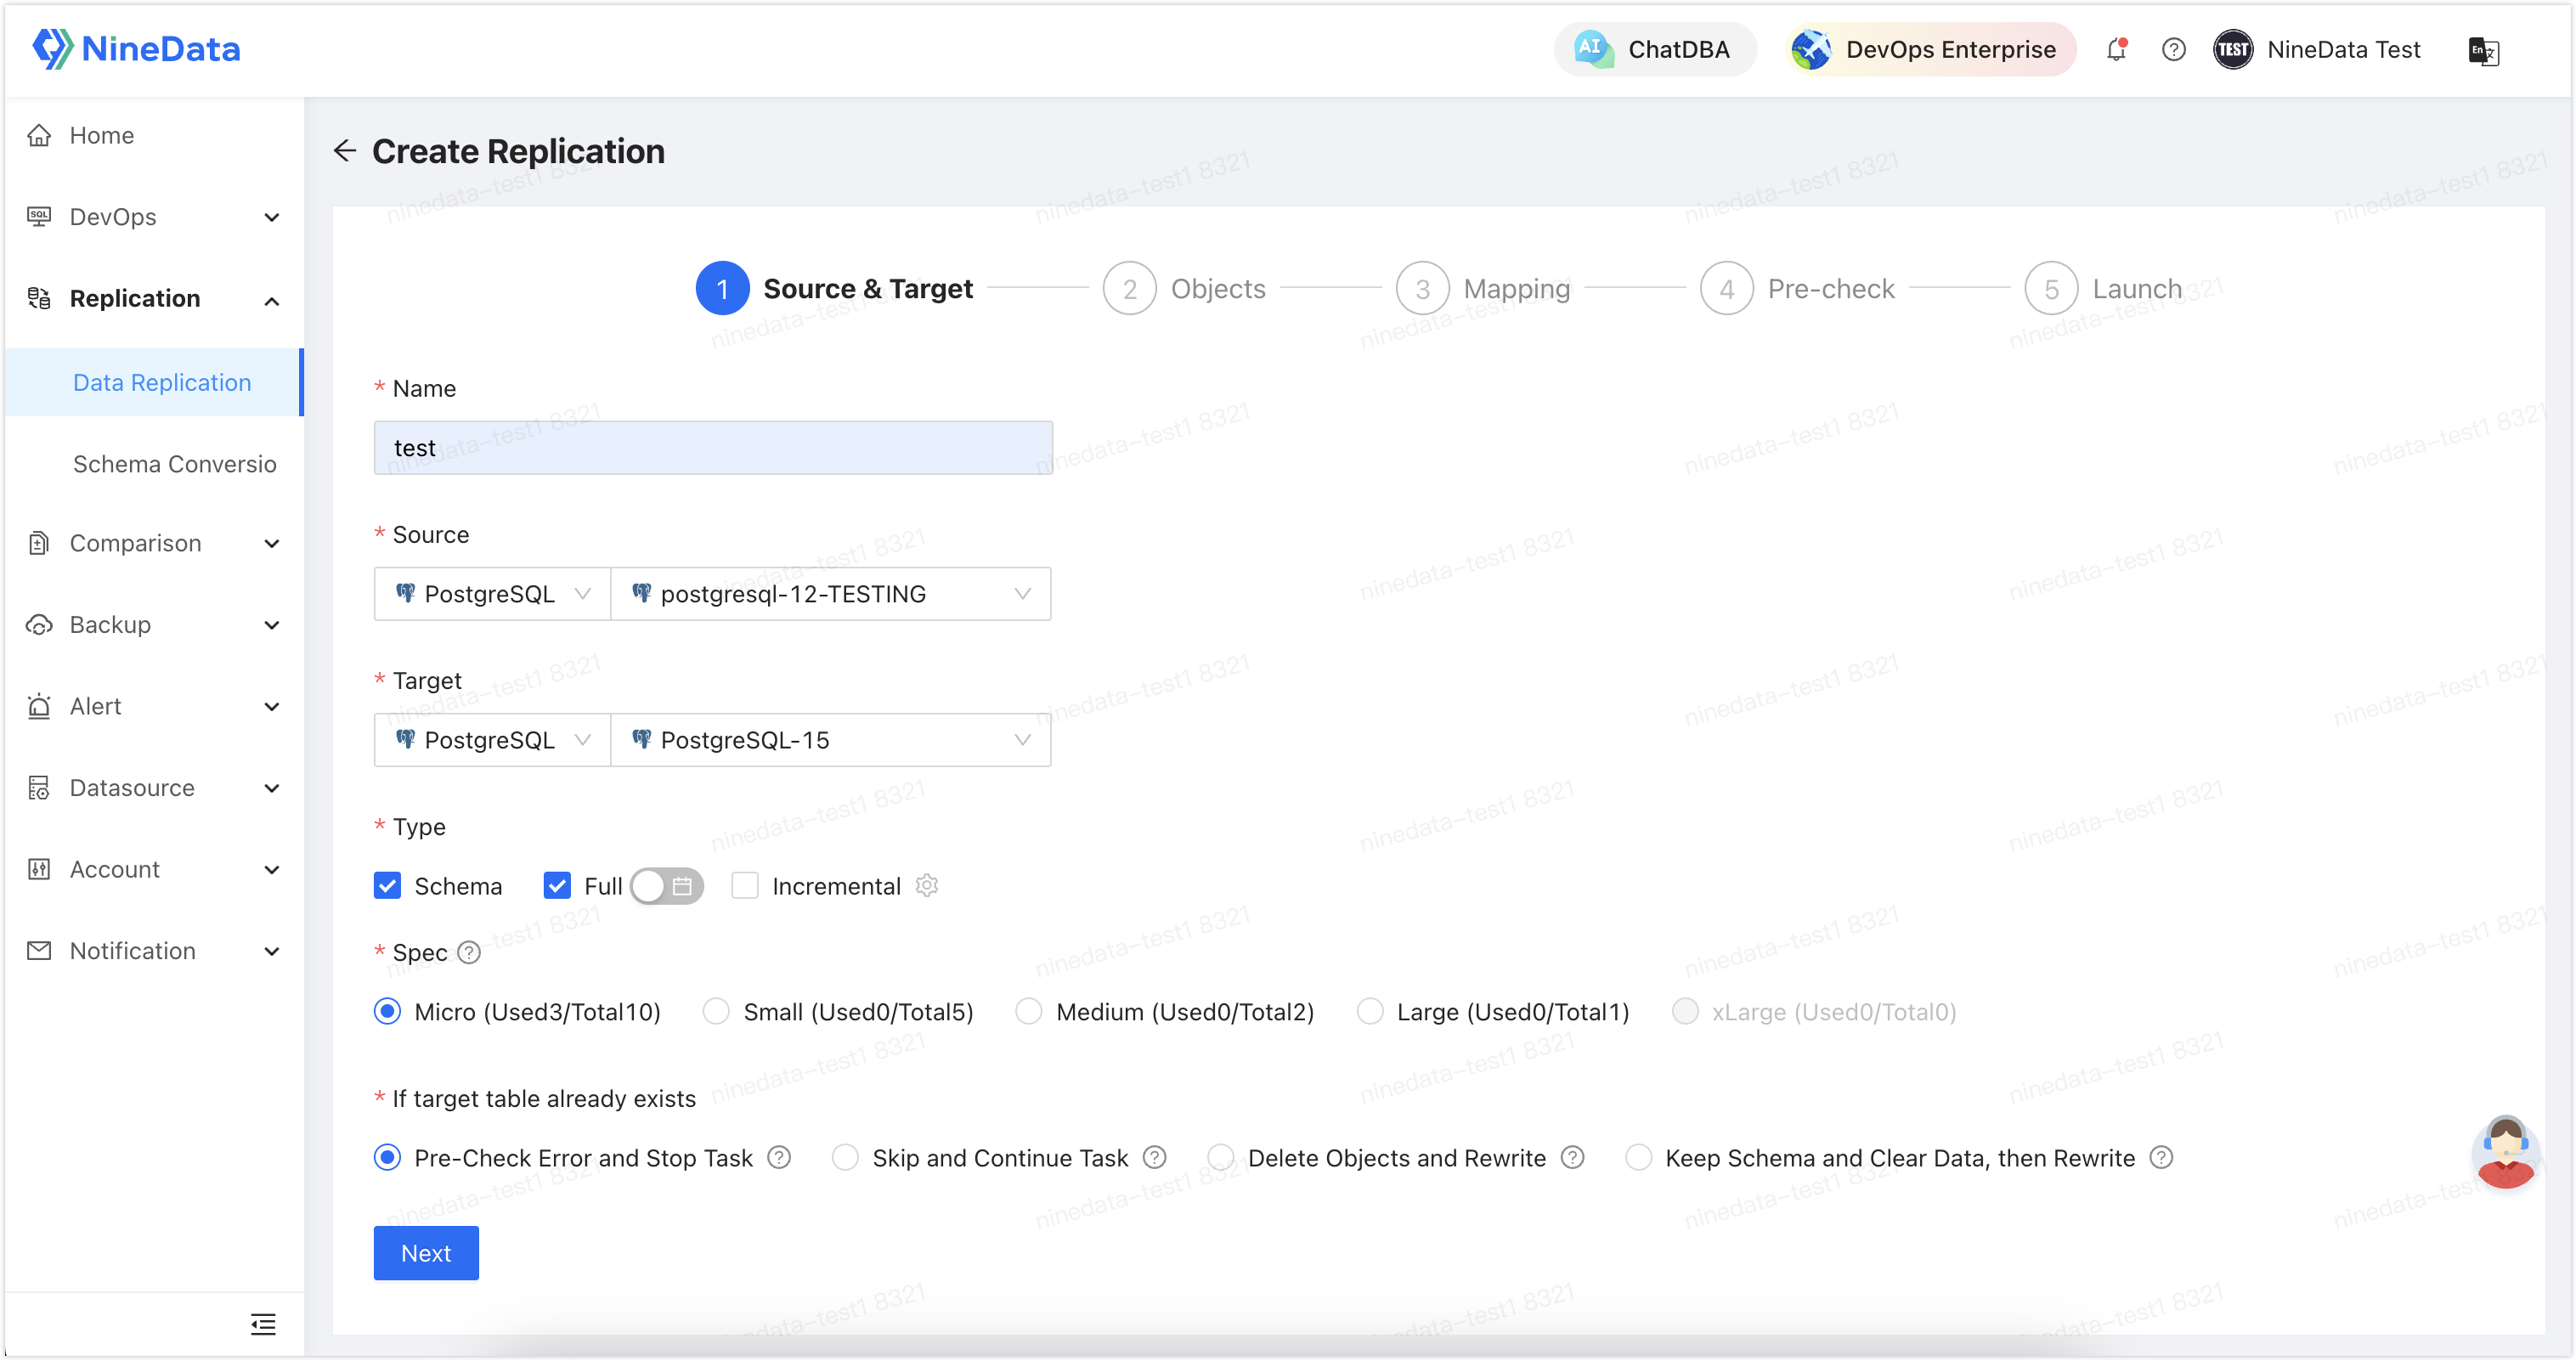
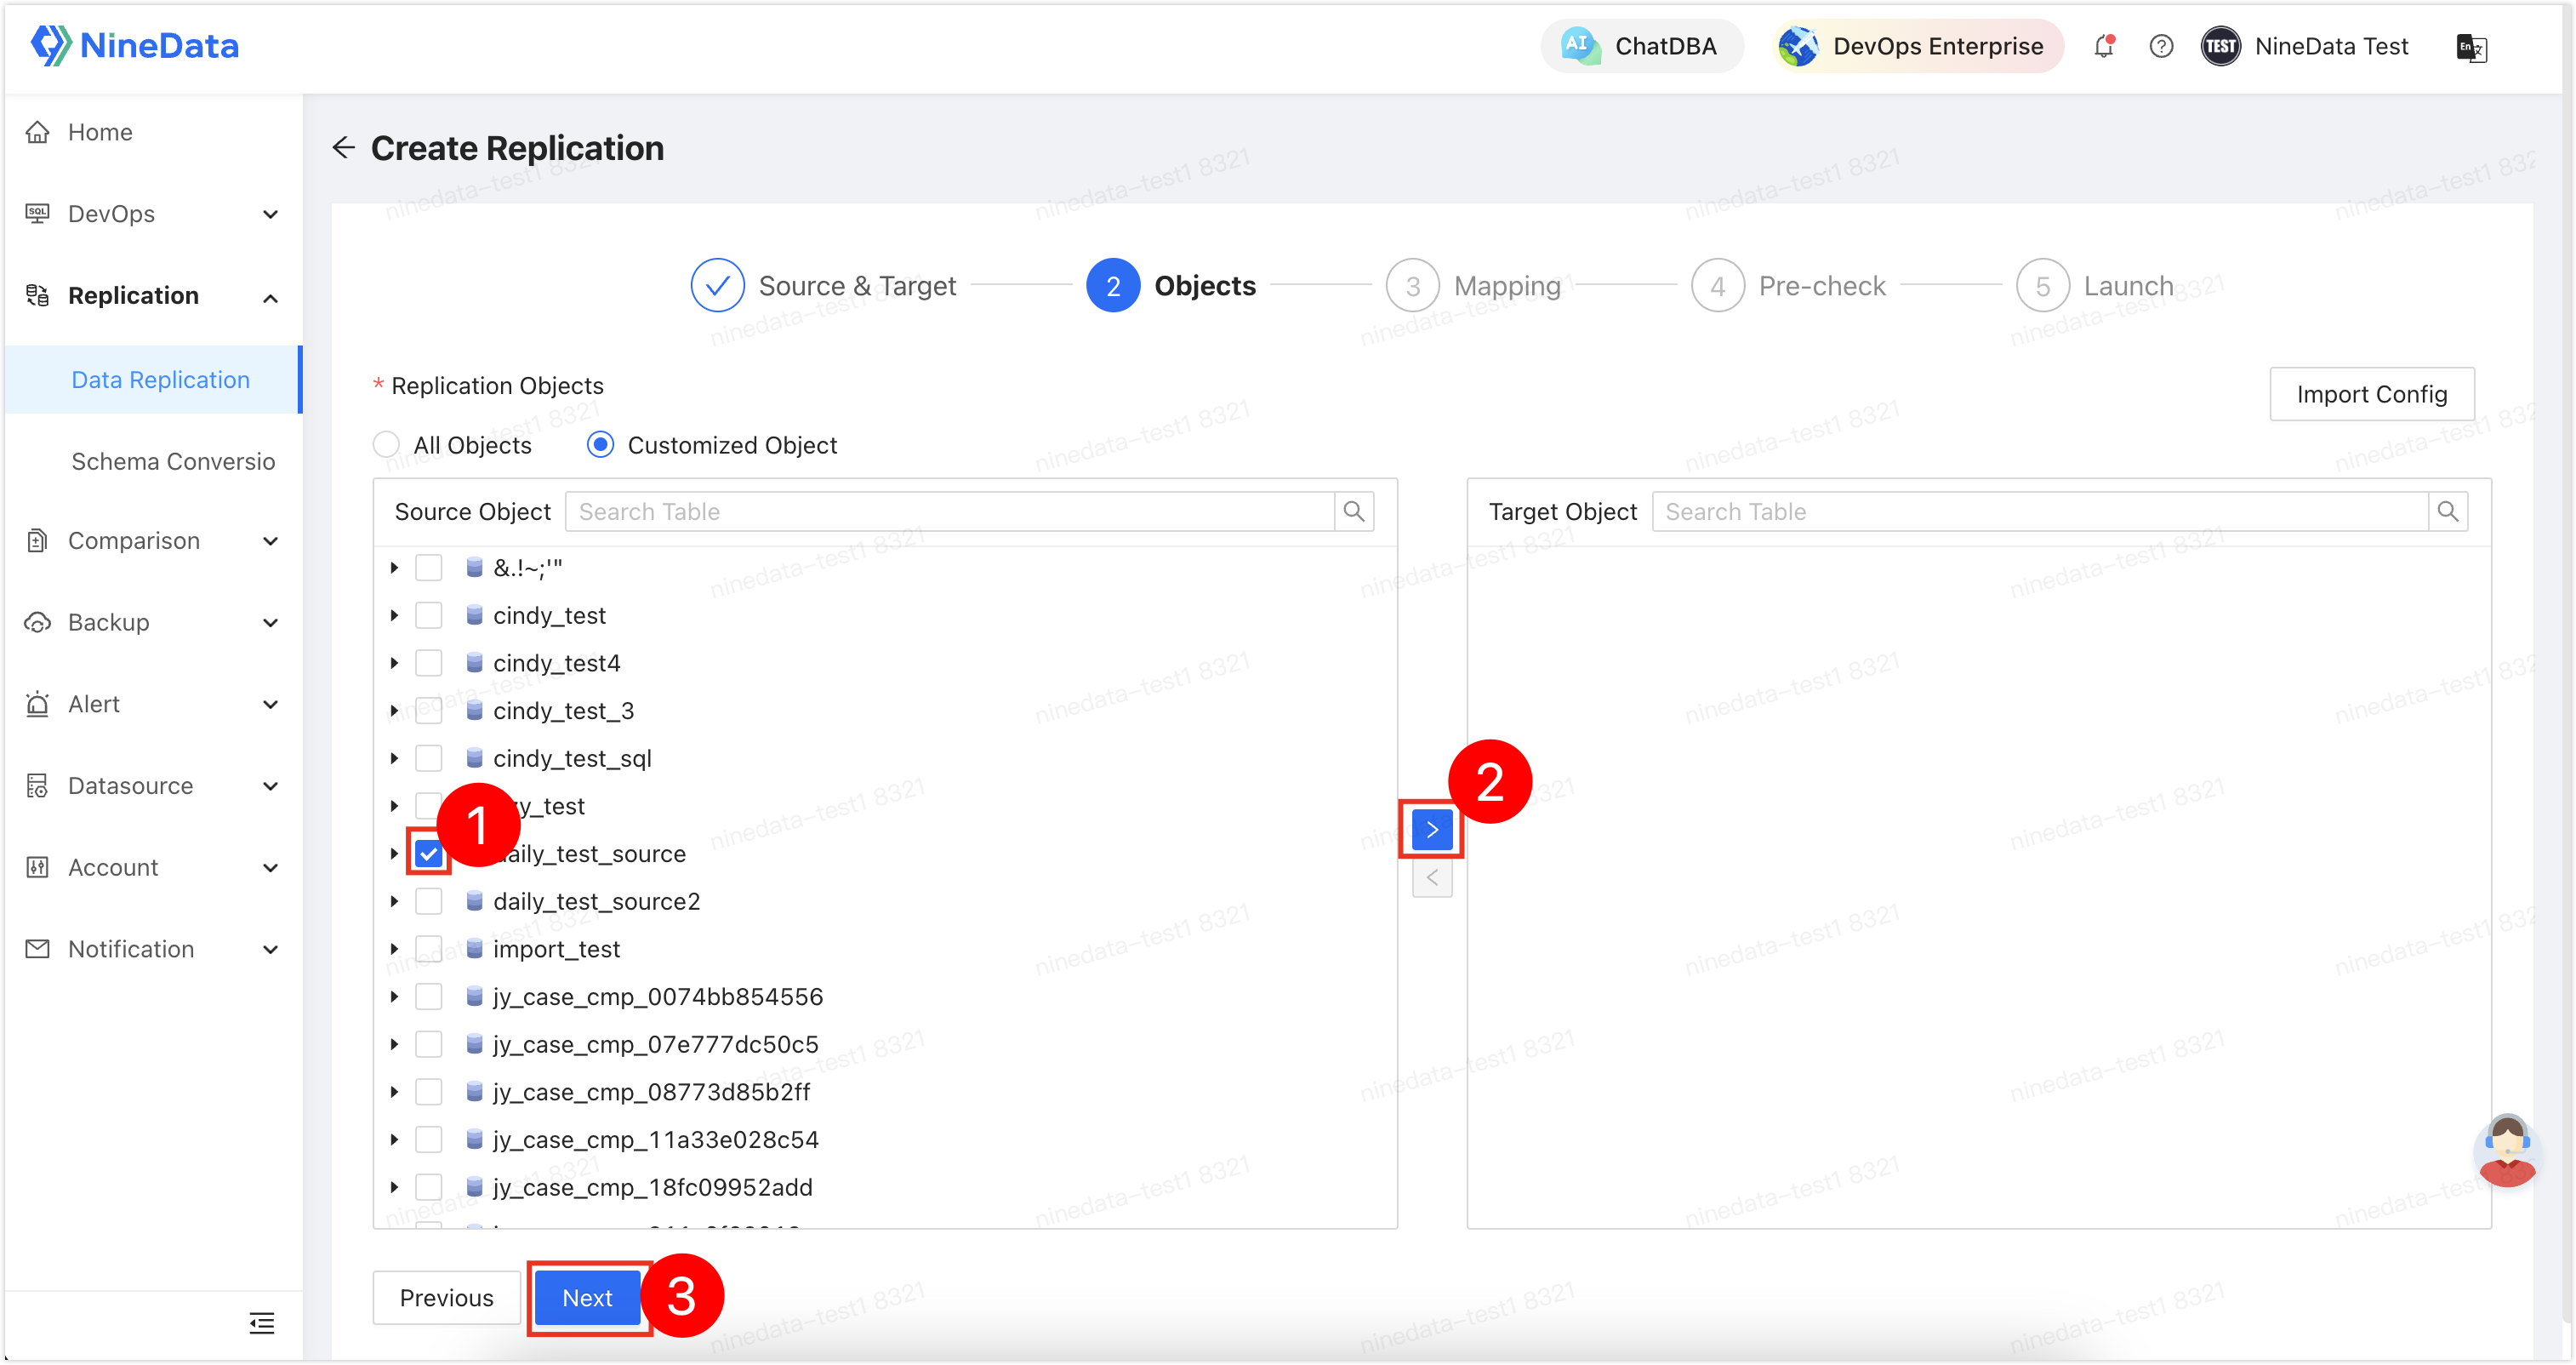
On the tab, select the database (in this example,
daily_test_source) that needs to be replicated in , click theicon to add it to , and then click .
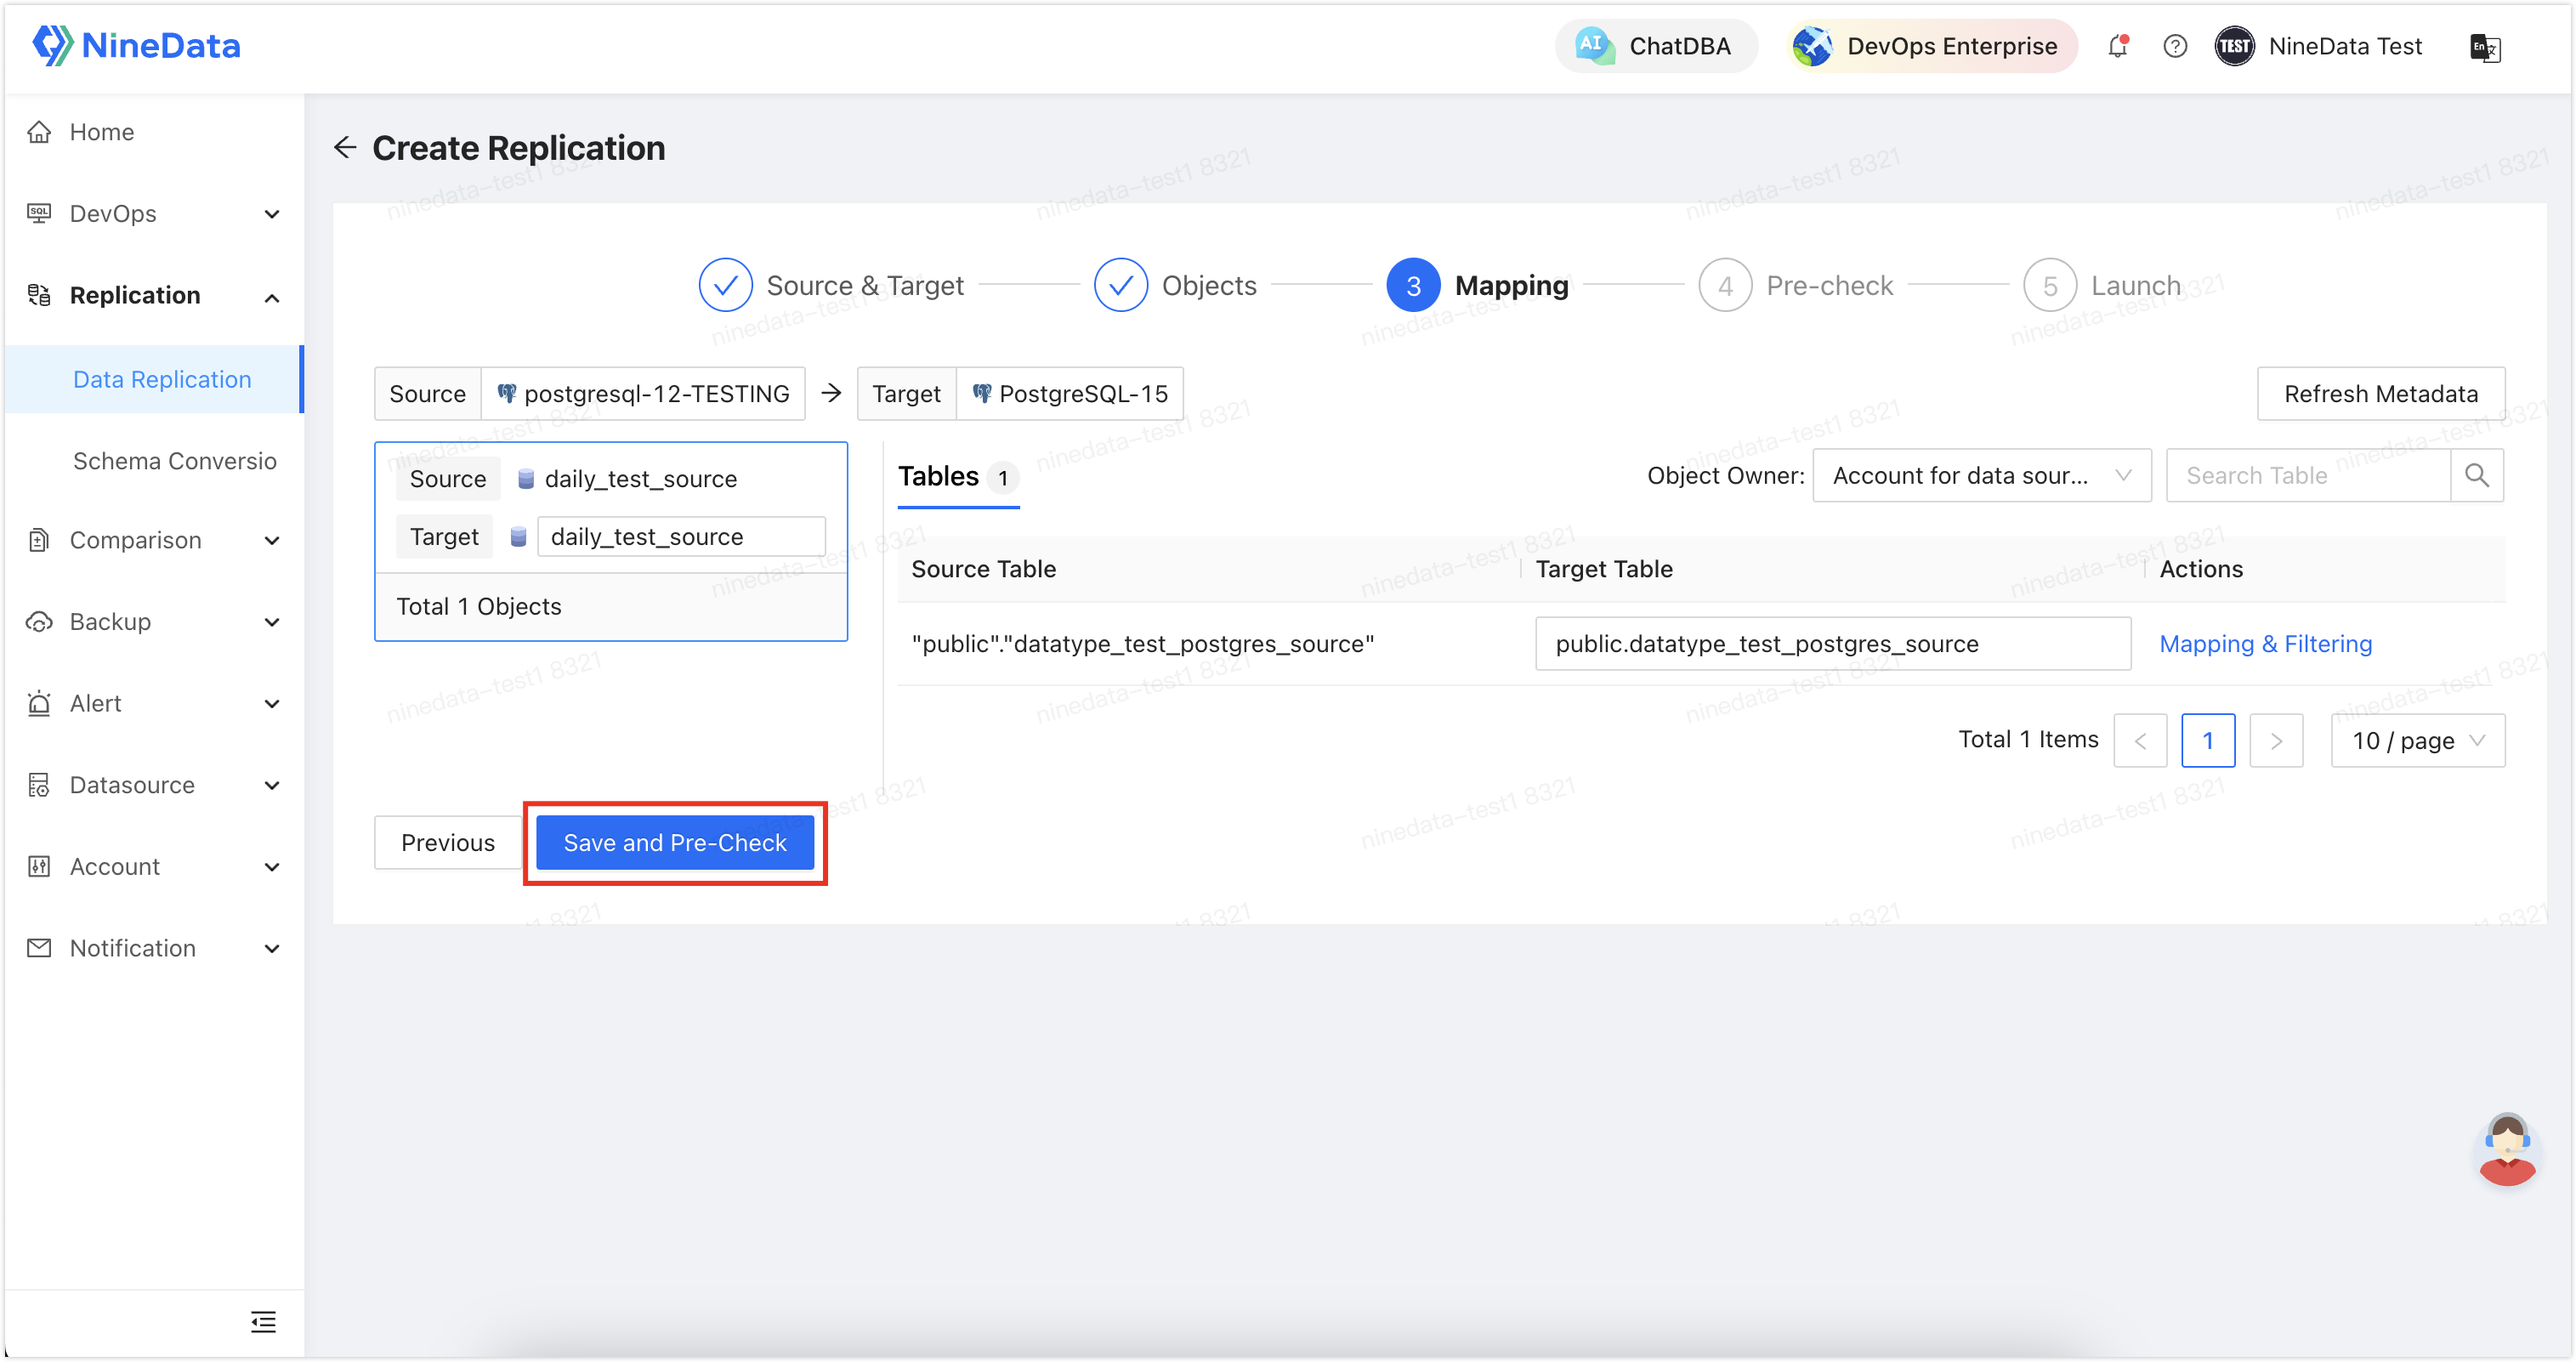
On the tab, click .
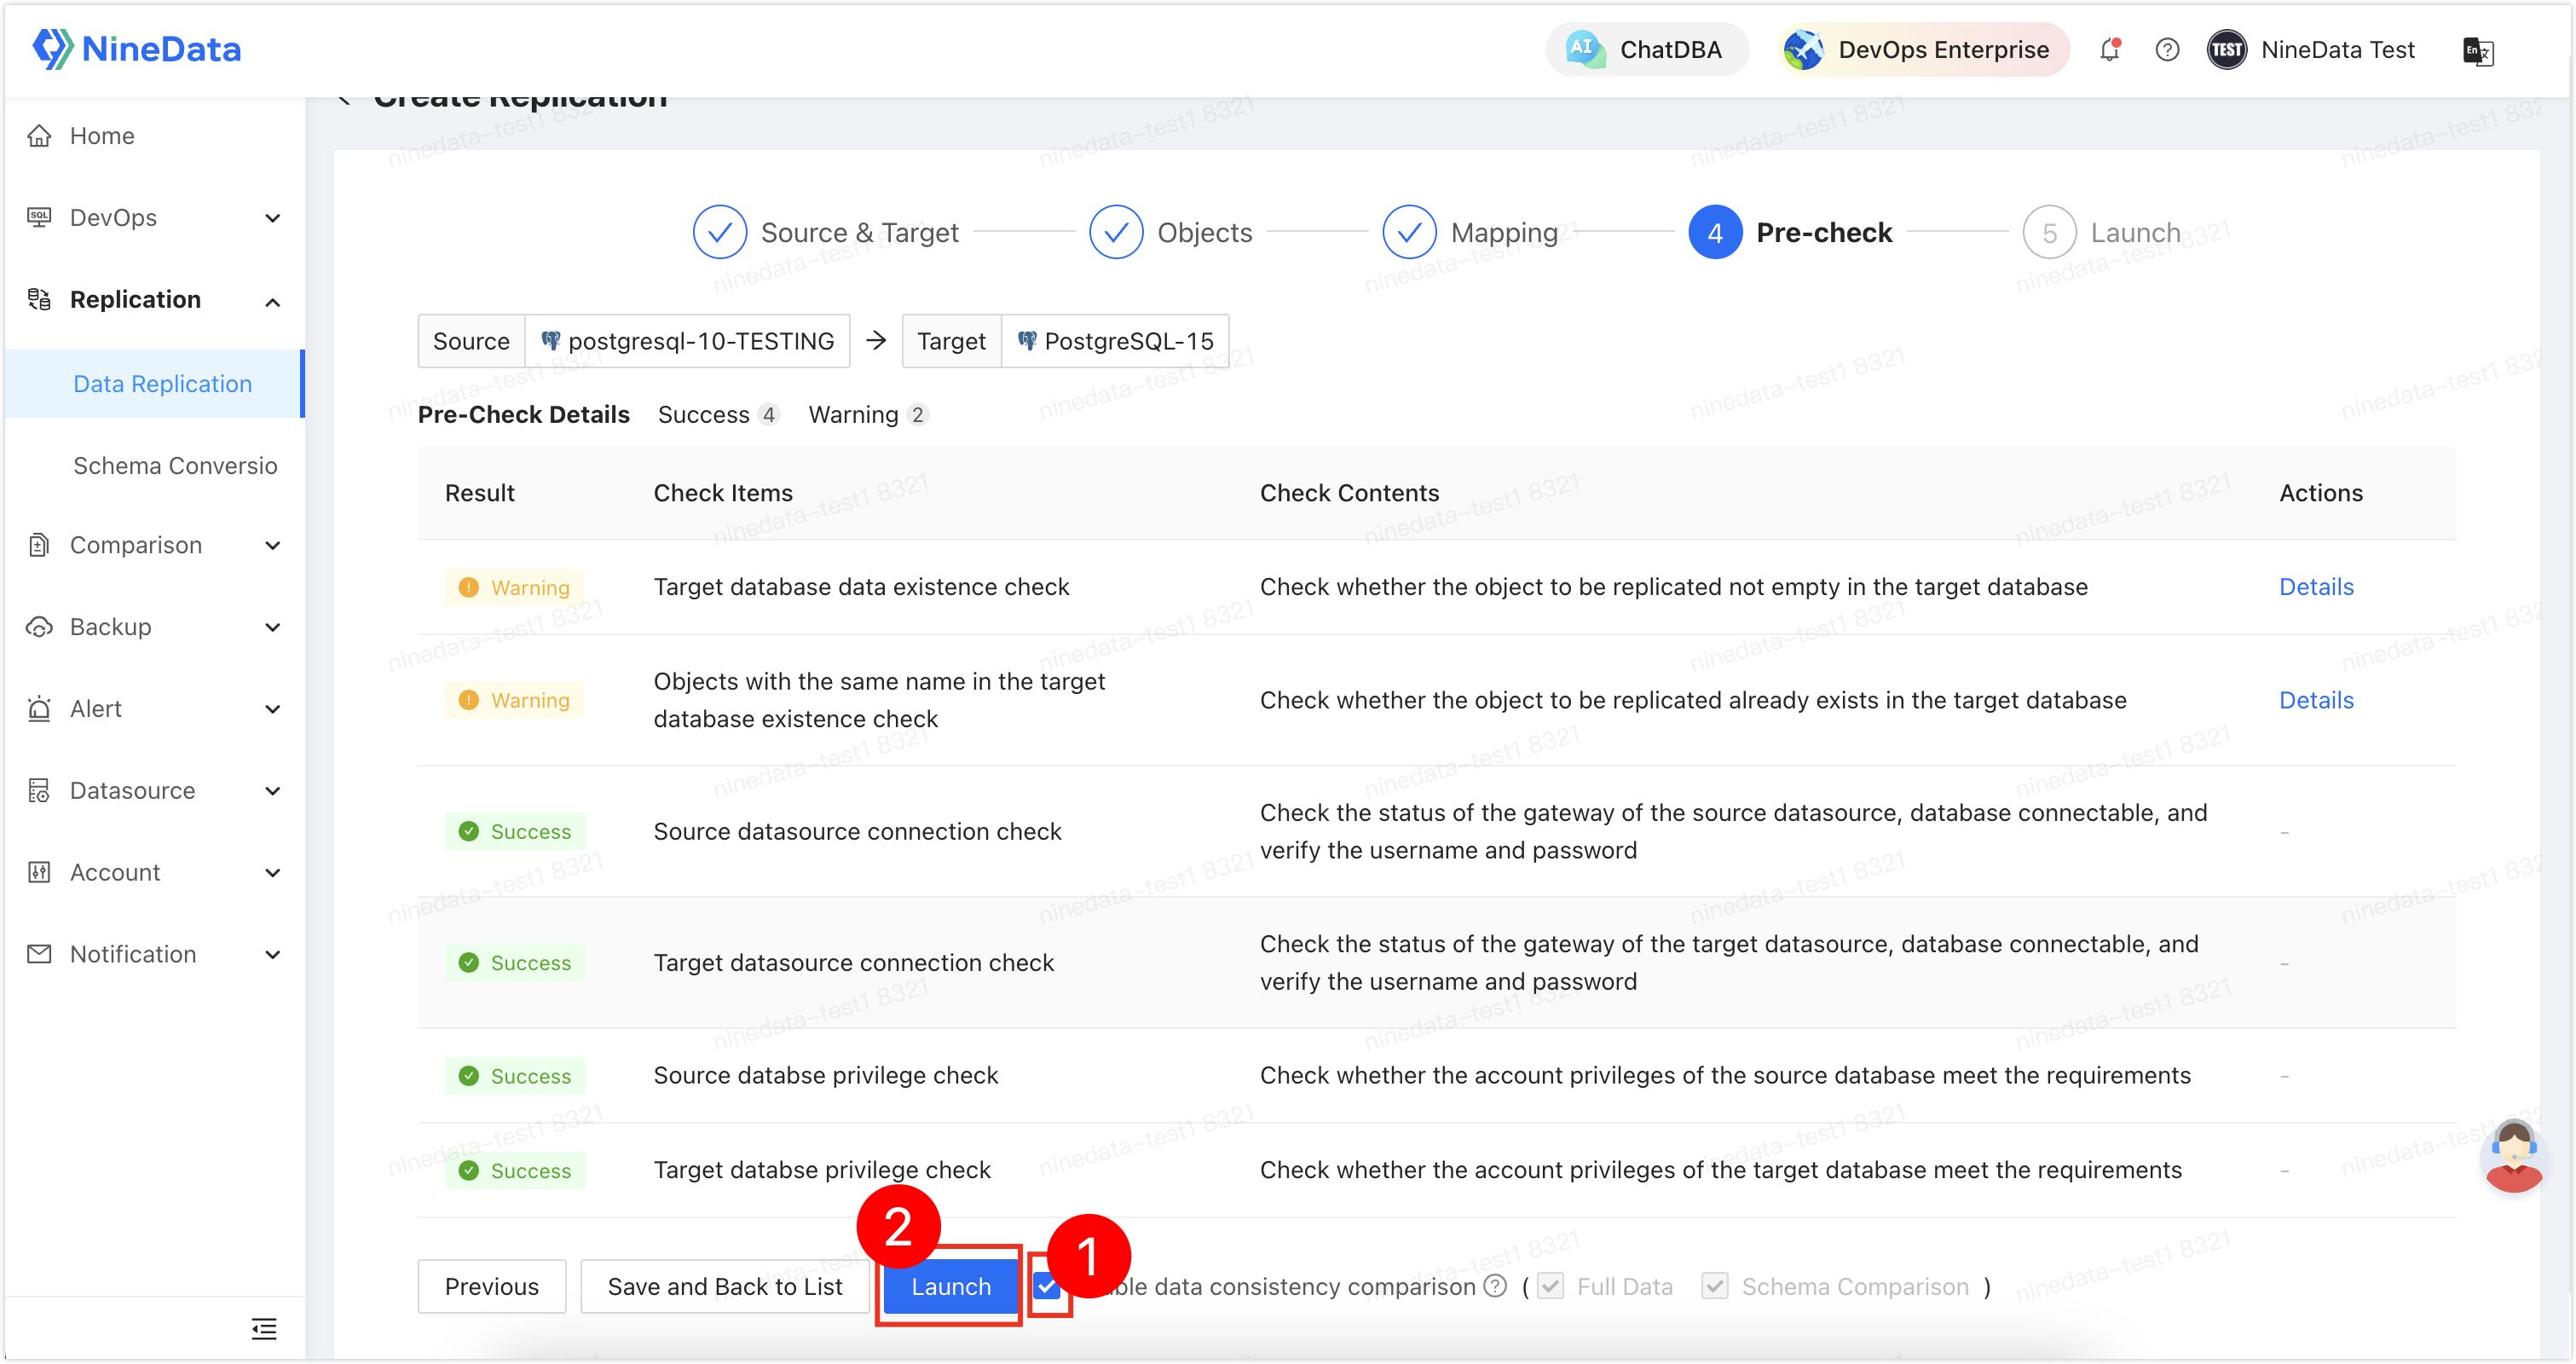
On the tab, wait for the system to complete the pre-inspection, check , and then click .
 tip
tip- If the pre-inspection does not pass, you need to click in the column on the right side of the target inspection item, troubleshoot the cause of the failure, manually fix it, and then click to re-execute the pre-inspection until it passes.
- Inspection items with as can be fixed or ignored according to the specific situation.
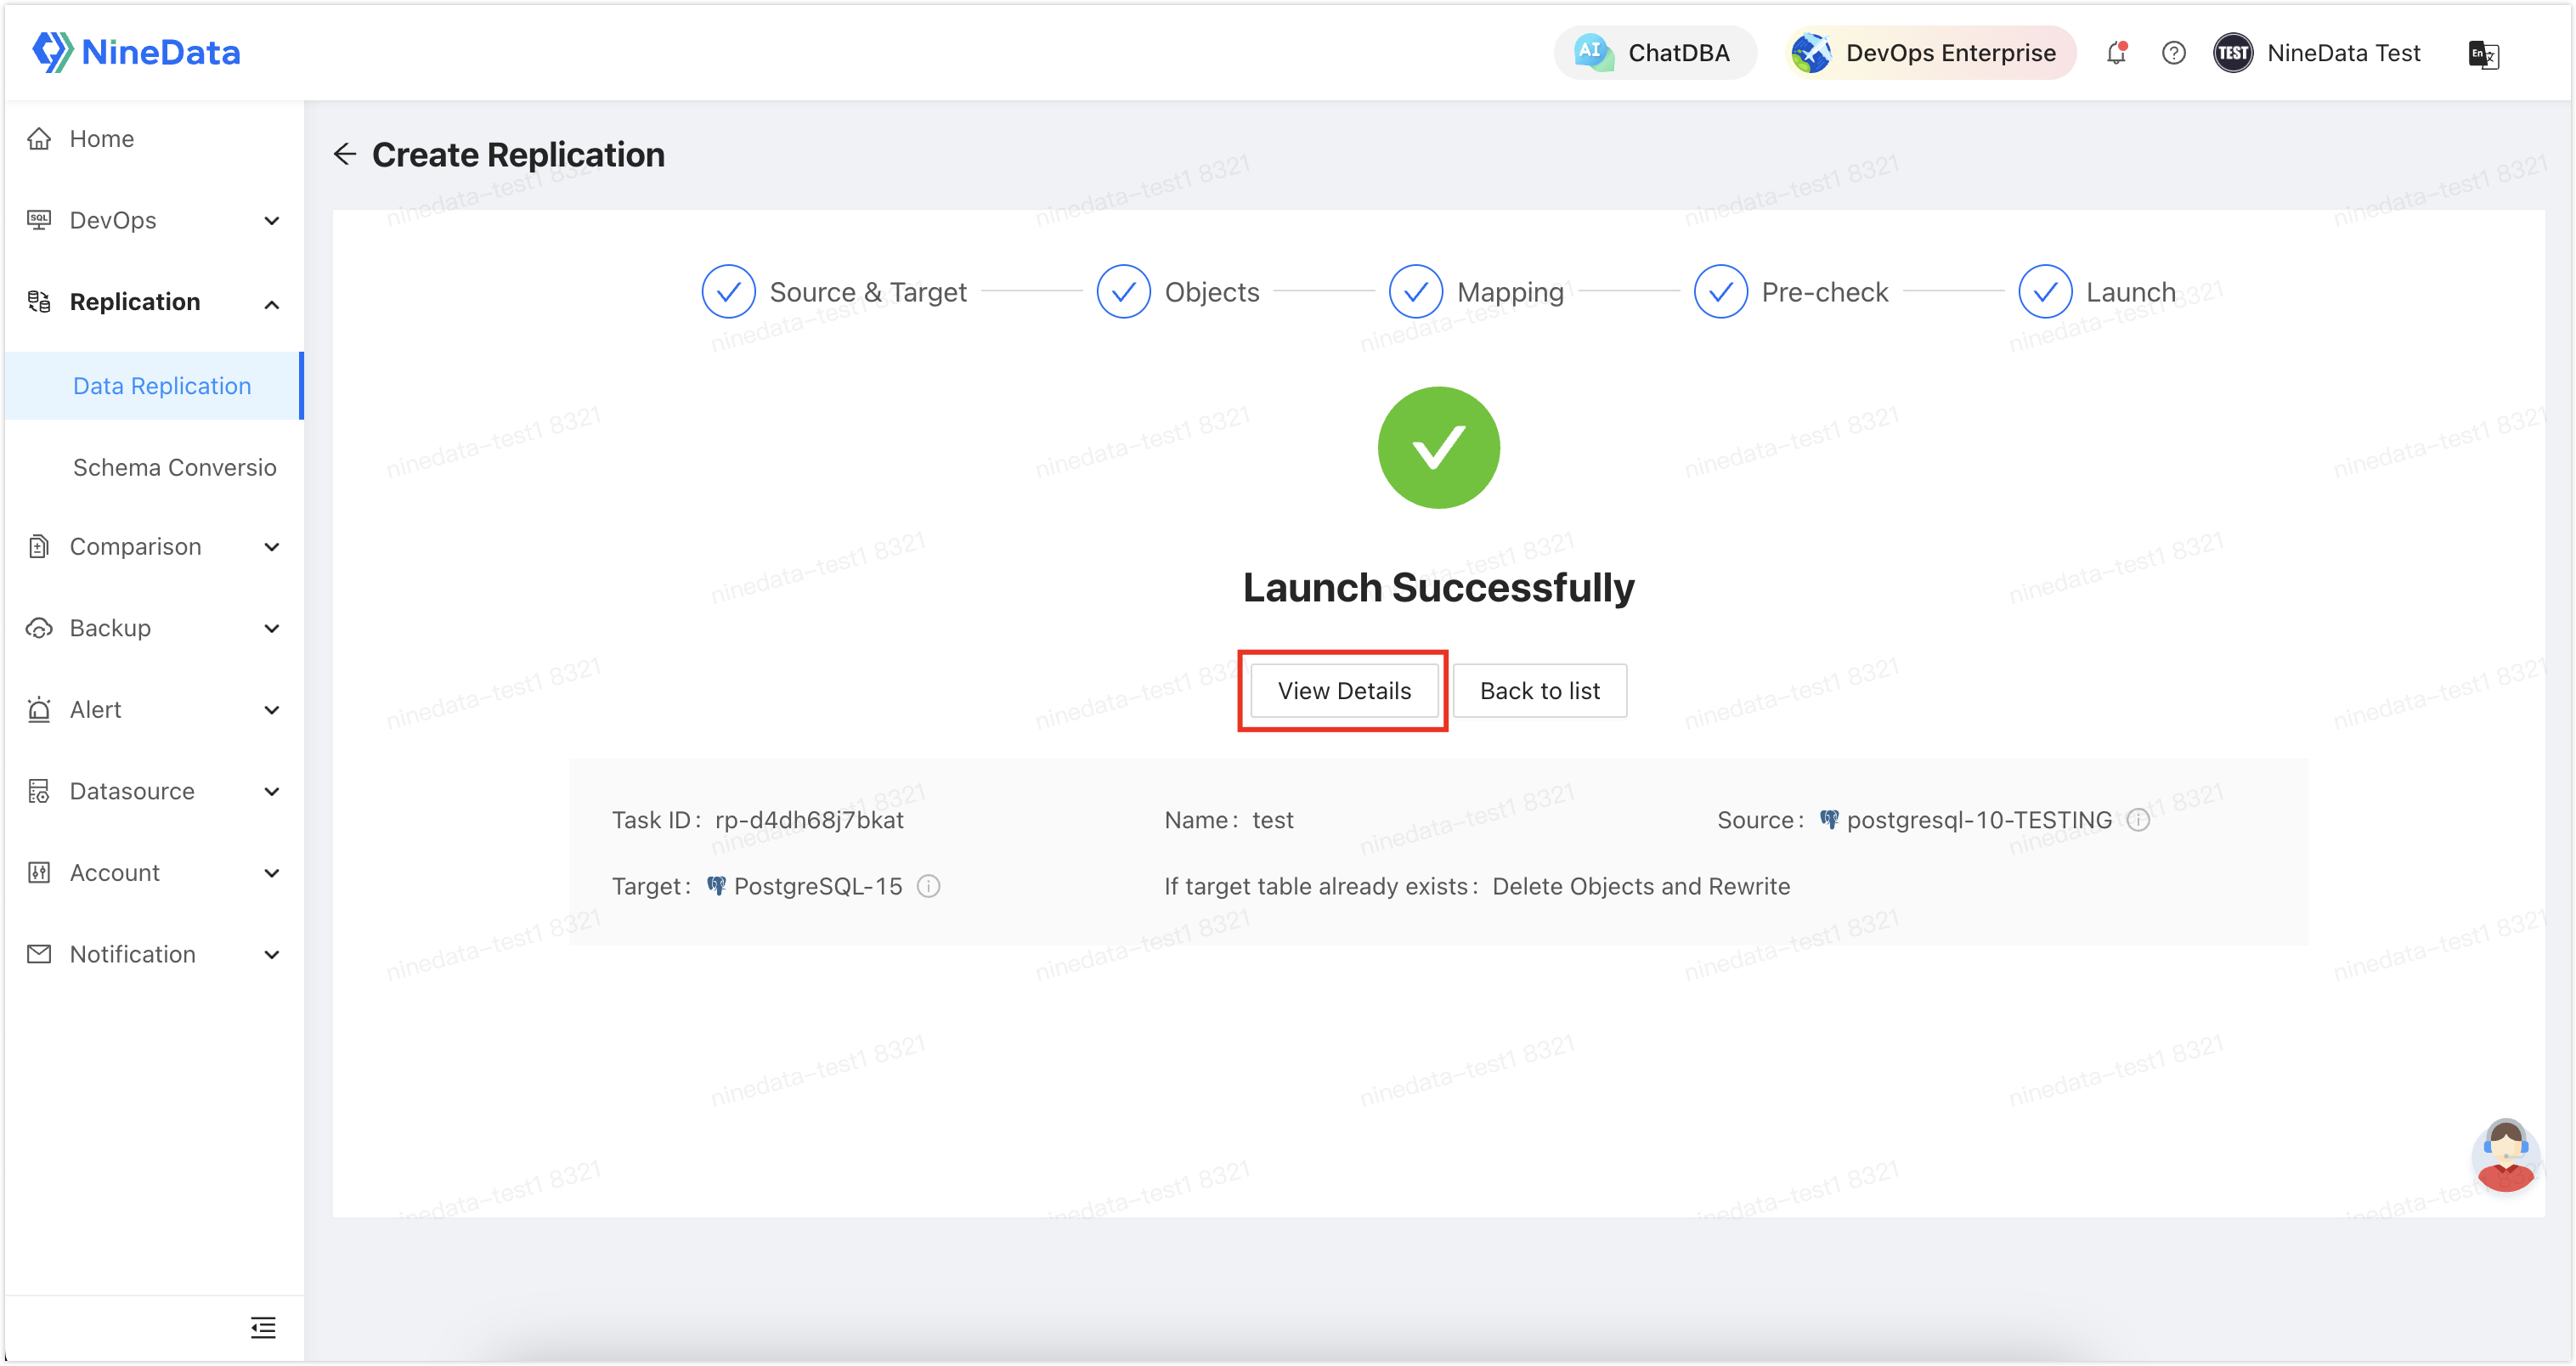
On the page, if prompted with , click to view the execution of each stage of the synchronization task.
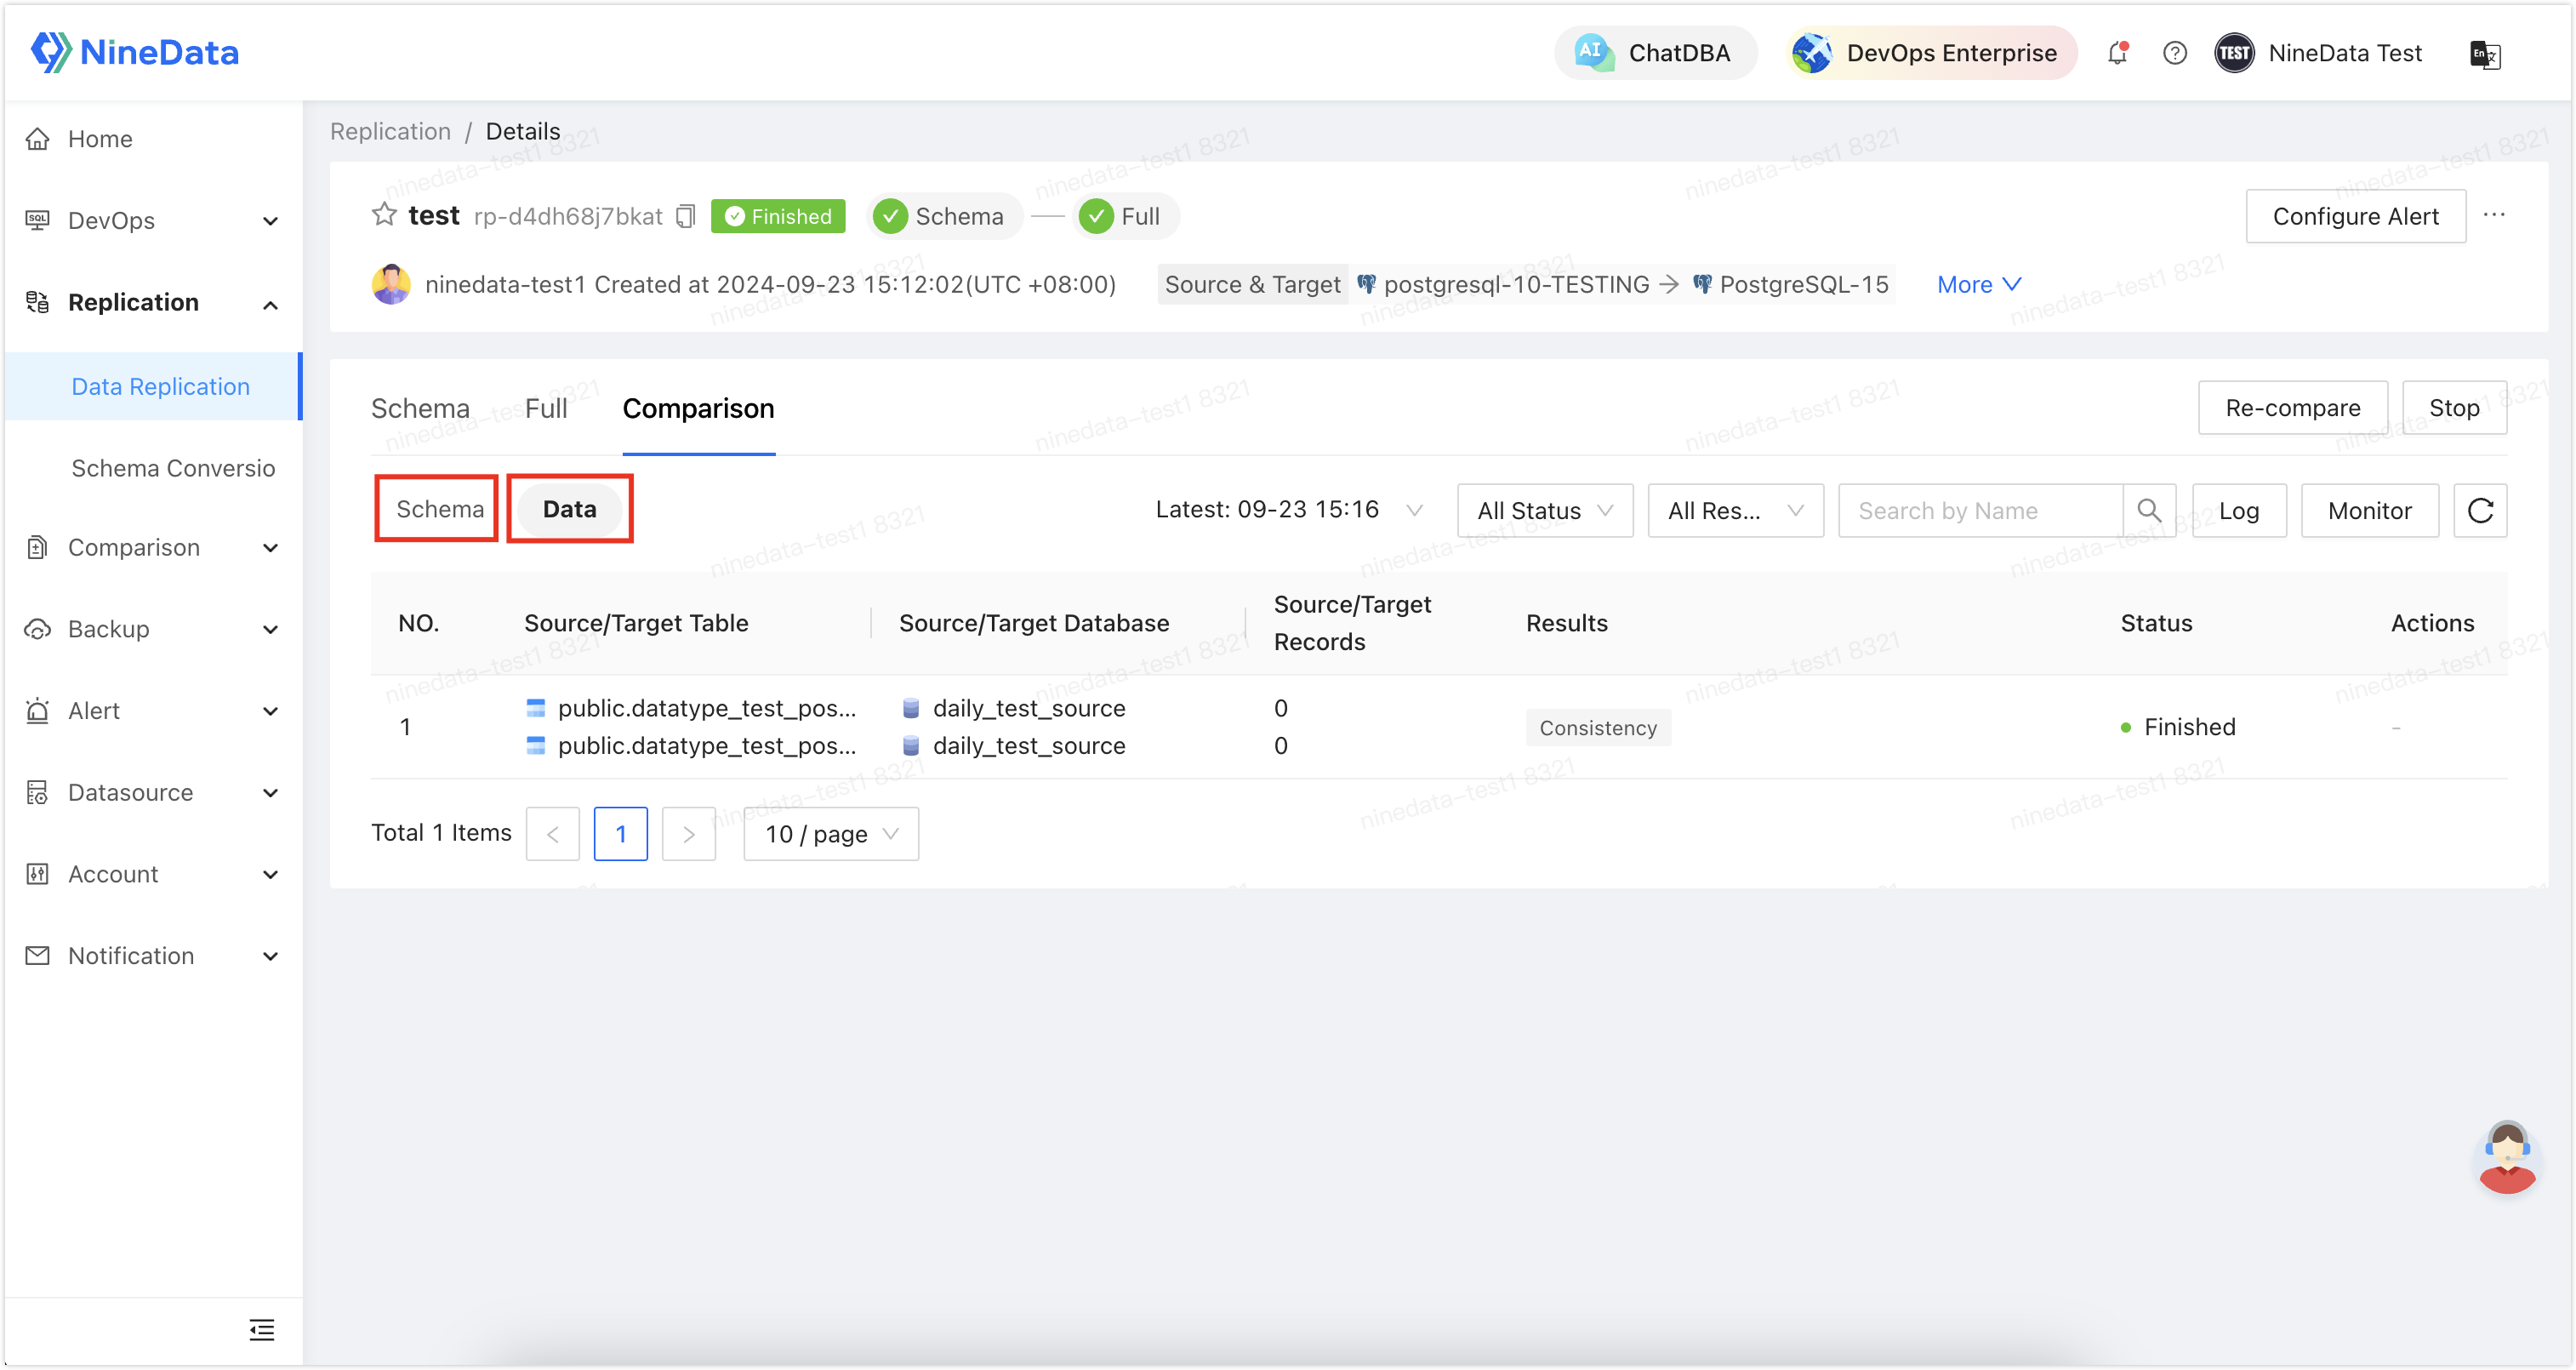
Step Five: View the Comparison Results of the Source and Target Data Sources
After the replication task is executed, you need to compare the data on both ends to ensure the consistency of the data after migration with the data on the source side.
On the page, click the tab.
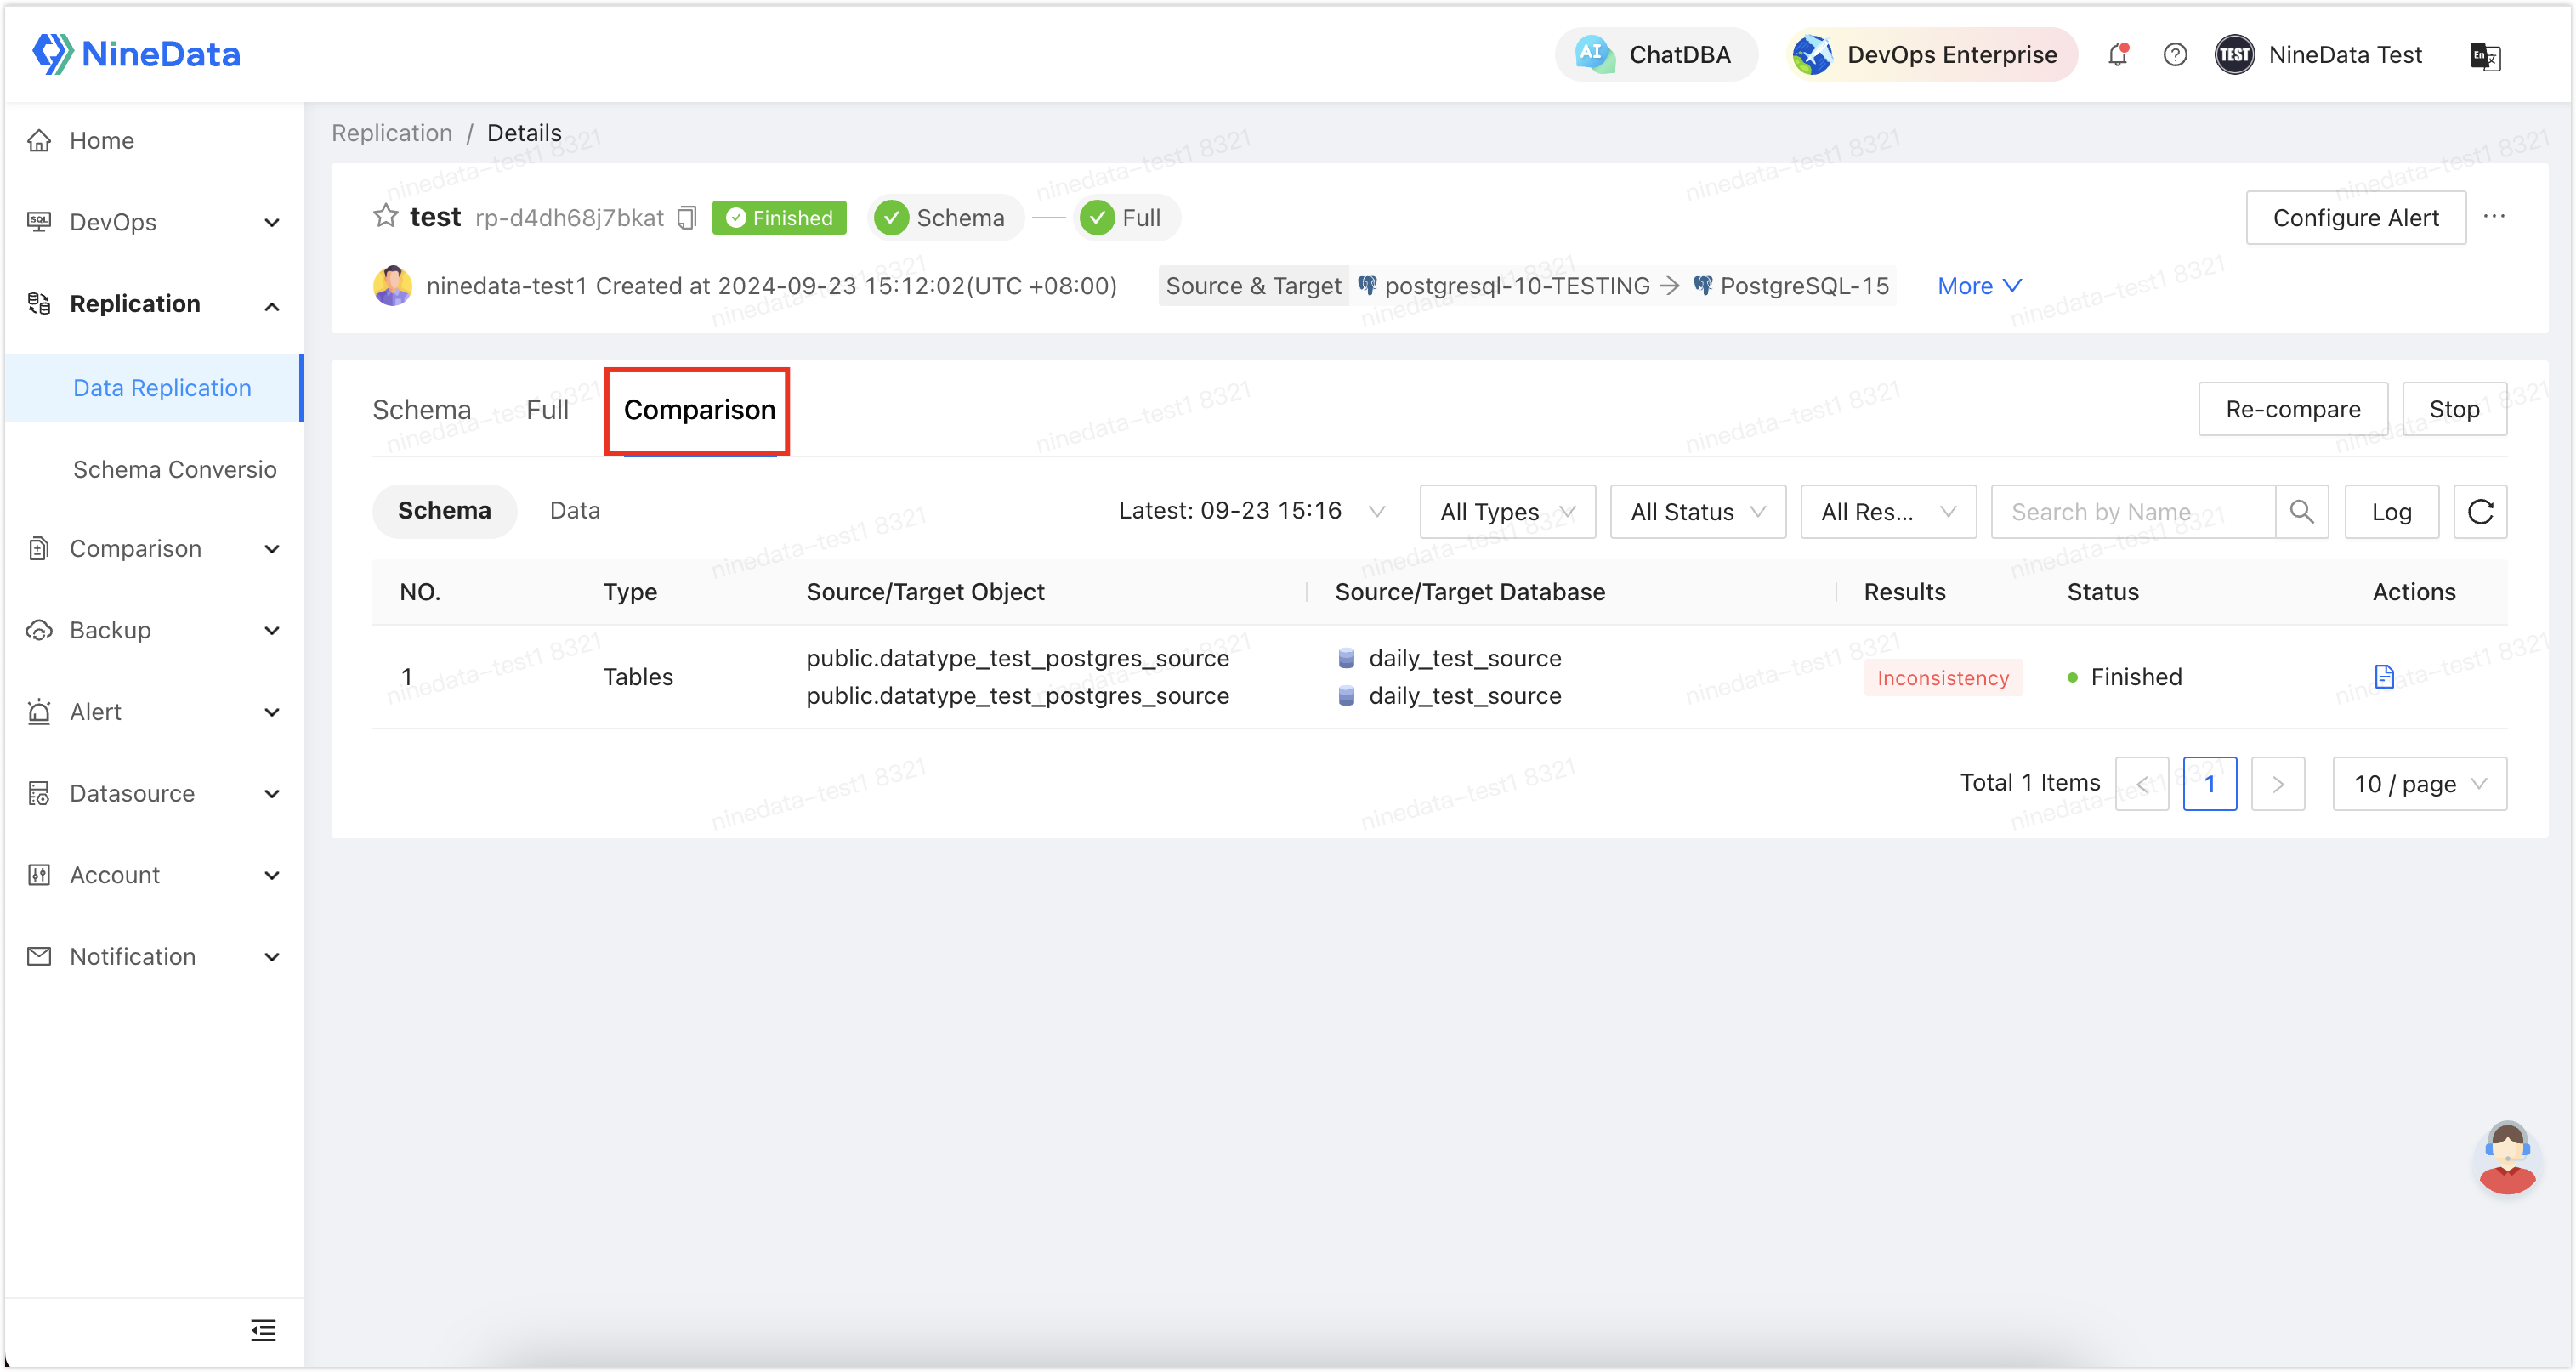
By clicking the or button, you can switch the comparison results of the table structure and data.
