Configure DingTalk personal messages
Use this guide to configure DingTalk personal message delivery in NineData so users can receive message notifications at key workflow stages.
Overview
NineData supports personal notification channels for individual users. With Personal Channel Management, teams can:
- Bind a dedicated DingTalk channel for a specific member.
- Receive more timely notifications without affecting the default subscription settings.
- Enable or disable personal-channel notifications for specific subscription types and workflow nodes.
Before you begin
- You have created or joined an organization, and this organization has subscribed to either DevOps Pro or DevOps Enterprise. Please ensure that your annual or monthly subscription is still active. For more information, please refer to Manage Organizations.
- Your current account has switched to the target organization. For more information, please refer to Switching to an Organization.
- You are logged in to DingTalk Developer Platform with enterprise admin or app admin permissions.
- A target internal app is already prepared. If you create a new app, use only Chinese characters, uppercase or lowercase English letters, and Arabic numerals in the app name. Avoid spaces and special characters.
- You are logged in to the NineData console as a system administrator.
Notes
- This guide uses an internal DingTalk app and matches receivers in NineData by Phone.
- To send a custom DingTalk card message, create and publish a message card template in DingTalk Card Platform first. The template must contain the
title,markdown, andmsgUrlvariables. Then copy the template ID to NineData. - If Template ID is left empty, NineData sends the DingTalk message in the default format. To keep a consistent custom card style, enter a published template ID.
- Make sure that the target receiver is within the app visibility scope.
Procedure
Step 1: Prepare DingTalk App Credentials
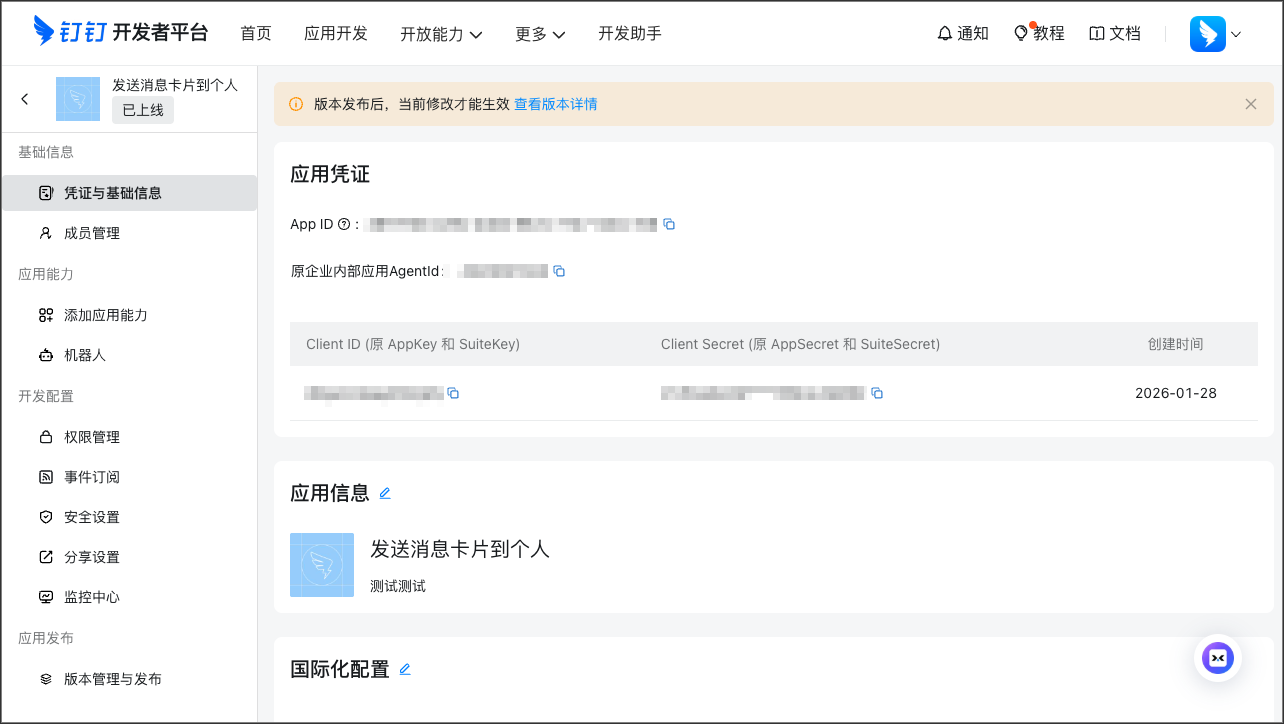
Sign in to DingTalk Developer Platform and open the target app.
Go to Credentials & Basic Info, and record the following values:
Client ID (used as AppKey in NineData)
Client Secret (used as AppSecret in NineData)
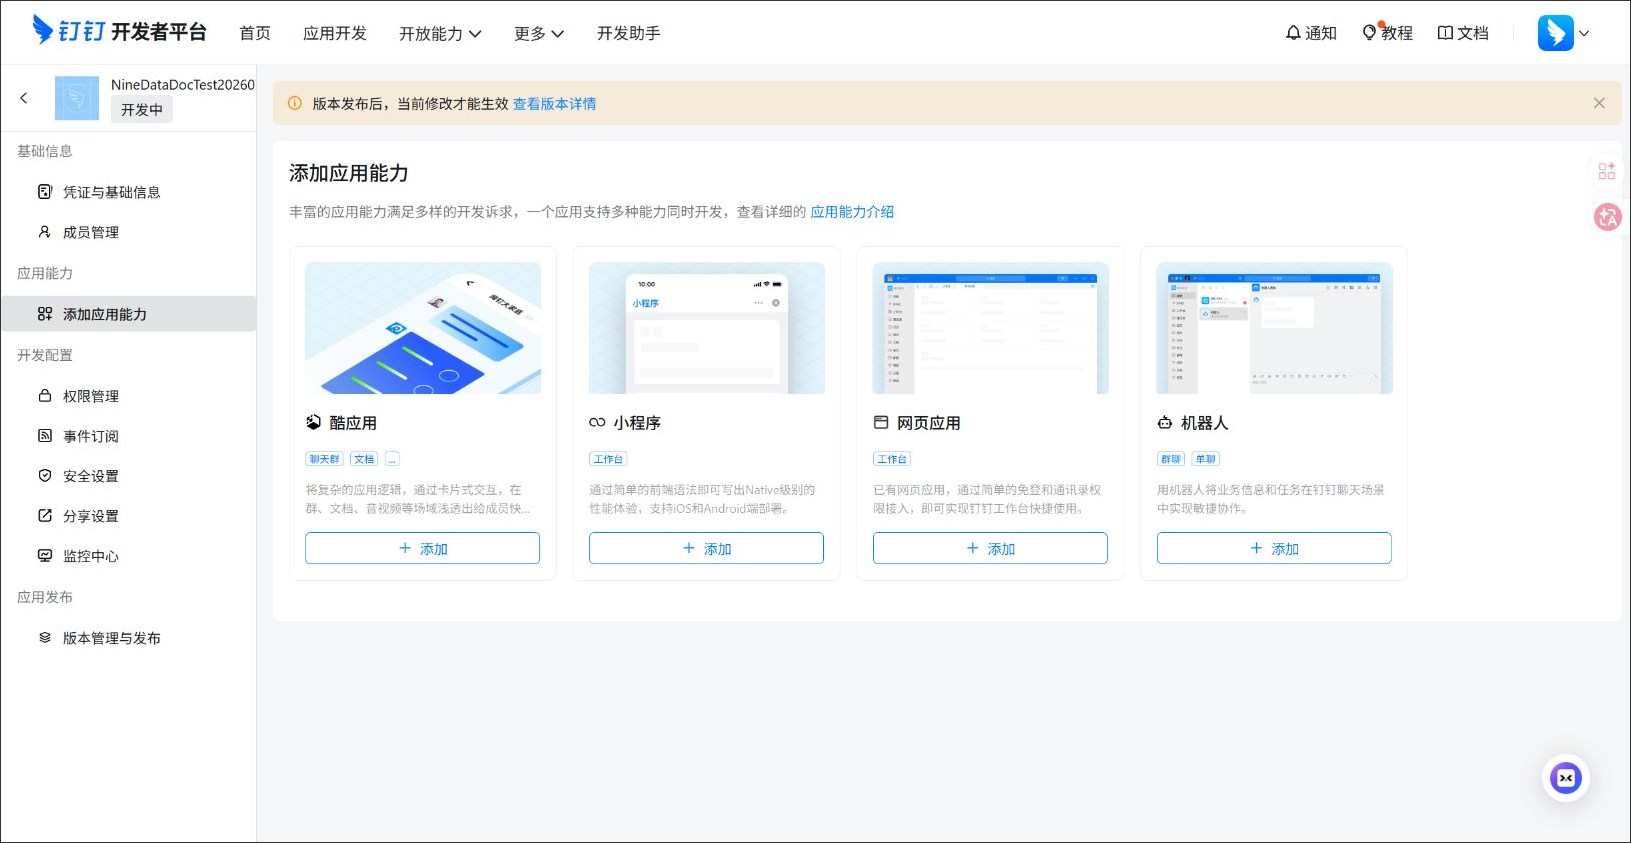
Go to Robot and turn on Robot Configuration. If Robot is not displayed in the left sidebar, click Add App Capability first and add the Robot capability.
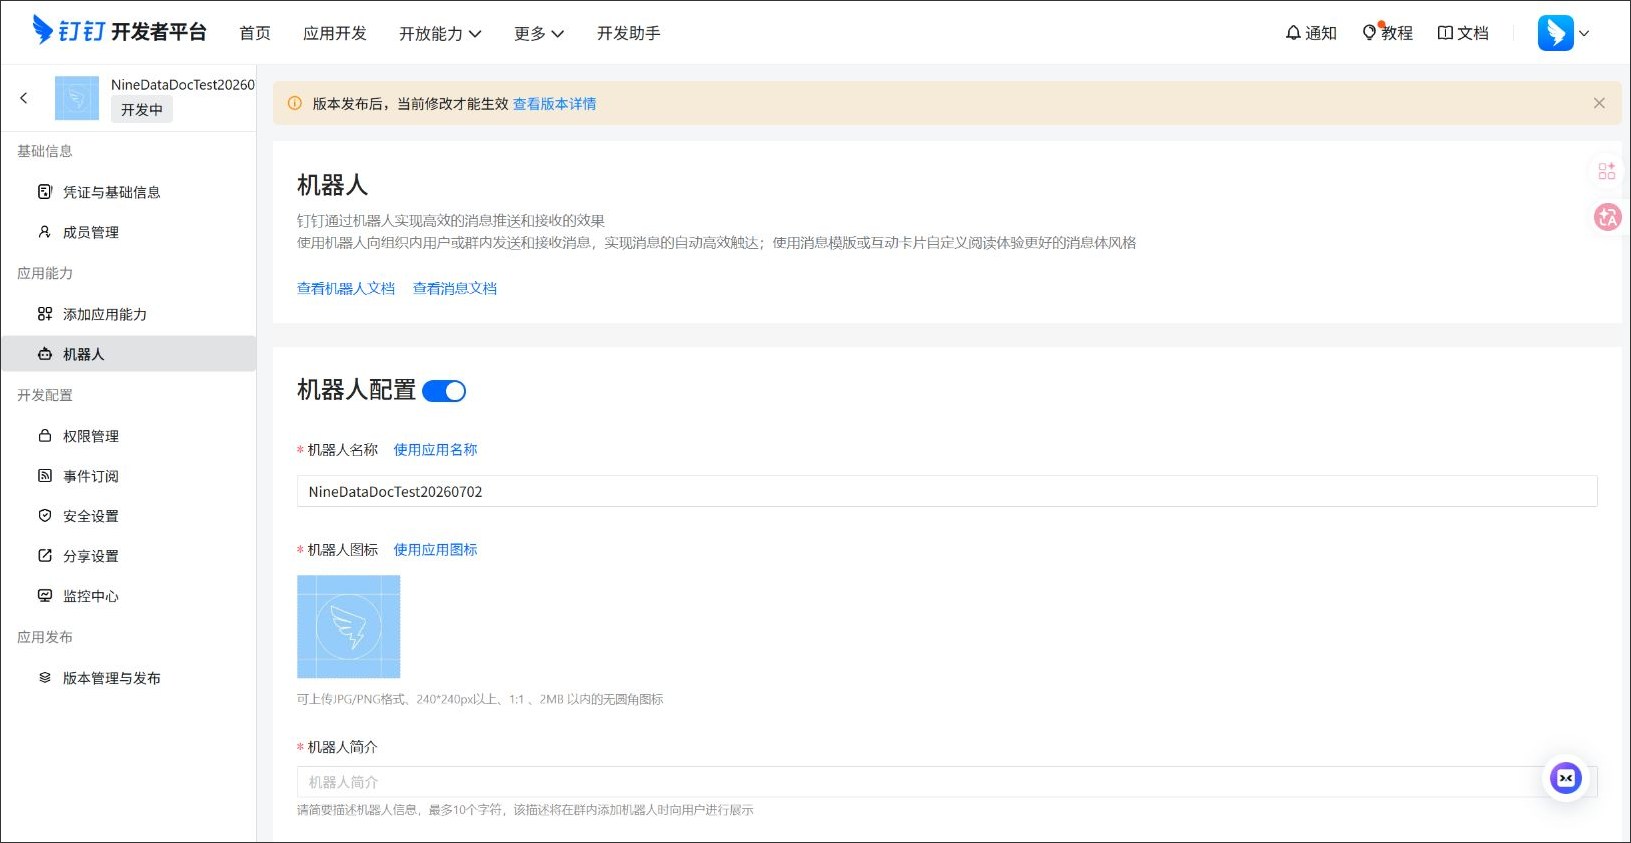
After turning on robot configuration, use the app name and app icon as the robot name and icon, and complete the robot introduction, robot description, and other required fields.
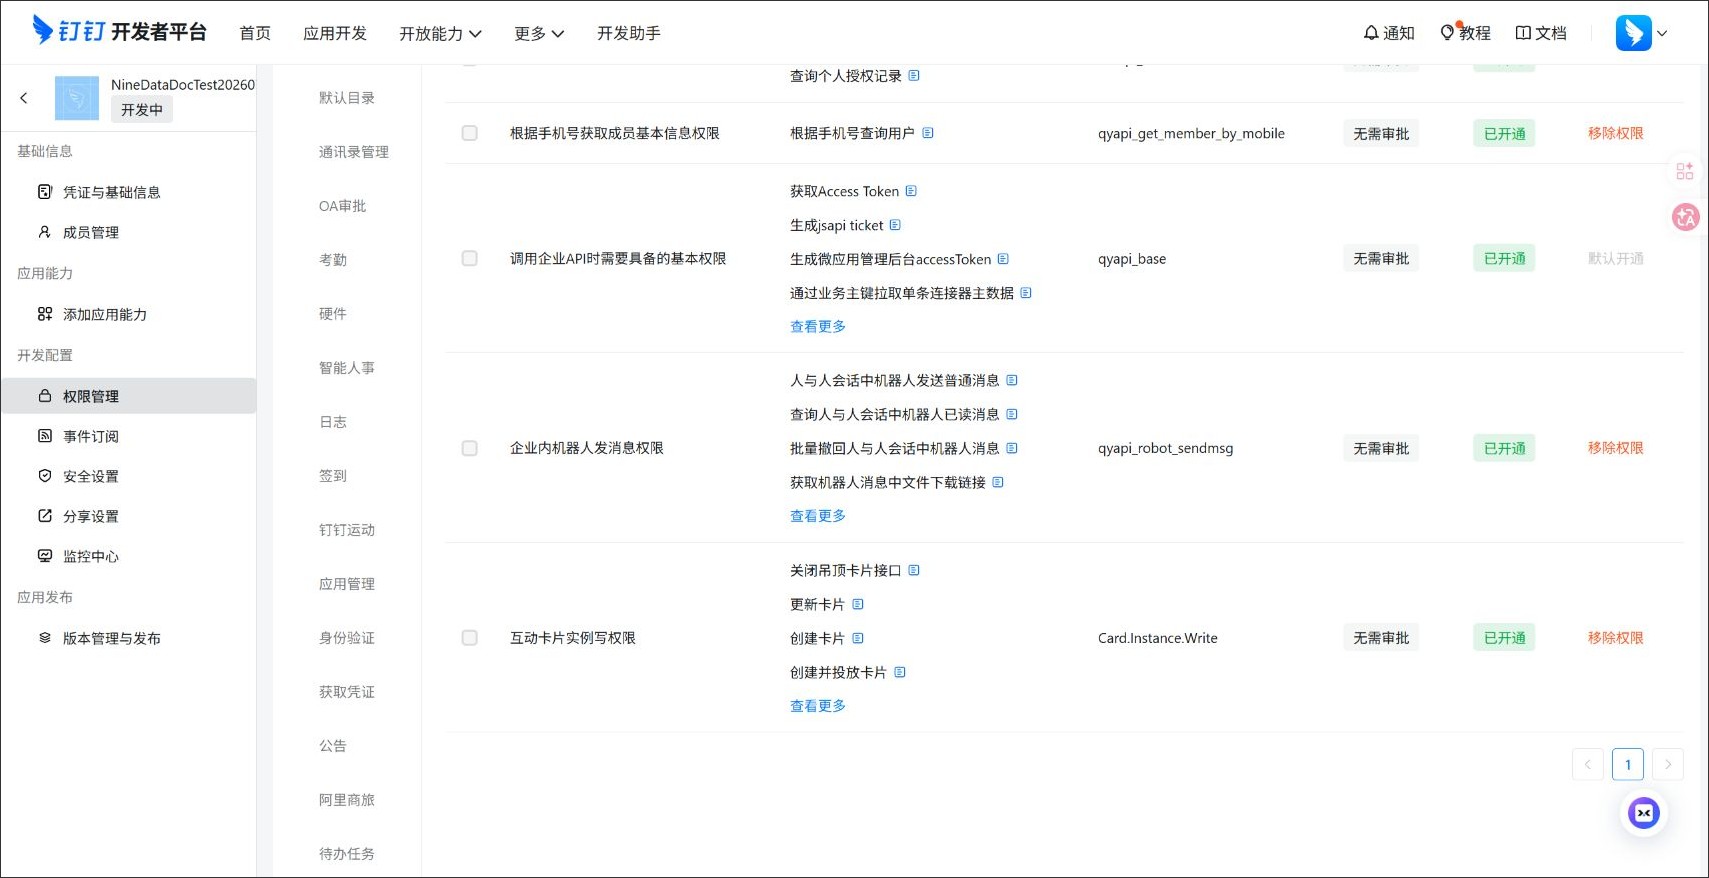
Go to Permission Management and configure the address book API authorization scope. Select All Employees or Some Employees based on your app scope. If you select Some Employees, make sure the test receiver is included in the authorization scope.
Make sure the following permissions are enabled.
snsapi_baseandqyapi_baseare usually enabled by default.qyapi_get_member_by_mobile,qyapi_robot_sendmsg, andCard.Instance.Writedo not require approval. If any of them is not enabled, click Enable Now in DingTalk Developer Platform.Permission Permission code Purpose Basic permission required for SNS API calls snsapi_baseUsed for basic SNS APIs such as creating shortcuts and querying personal authorization records. Obtain member basic information by phone number qyapi_get_member_by_mobileUsed to query and match DingTalk members by the receiver's phone number. Basic permission required for enterprise API calls qyapi_baseUsed for basic enterprise API calls such as obtaining Access Token and generating jsapi ticket. Enterprise internal robot message sending permission qyapi_robot_sendmsgUsed for sending normal robot messages in one-to-one conversations, and for querying, recalling, or downloading robot messages. Interactive card instance write permission Card.Instance.WriteUsed for creating, updating, closing, and delivering interactive cards. 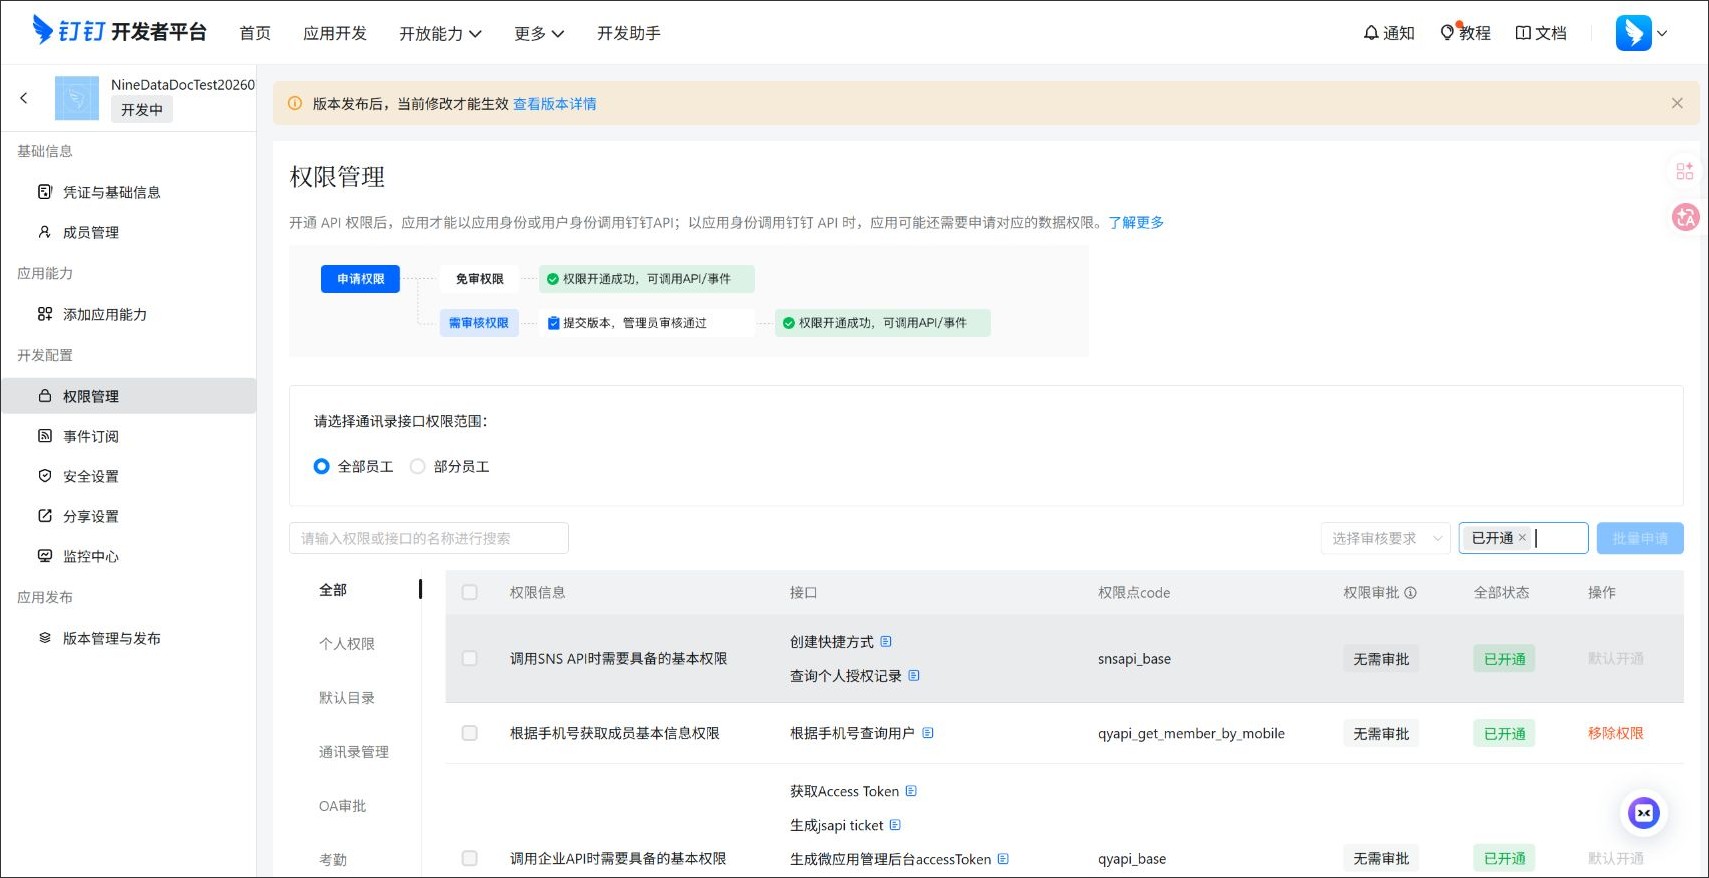
Step 2: Create a DingTalk Card Template and Copy the Template ID (Optional)
DingTalk does not support creating a card and returning the template or card ID directly through an API. To fill Template ID in NineData, create the message card template manually in DingTalk Card Platform first.
Sign in to DingTalk Developer Platform and open Card Platform. Alternatively, go to Open Capabilities > Card Platform from the developer platform home page.
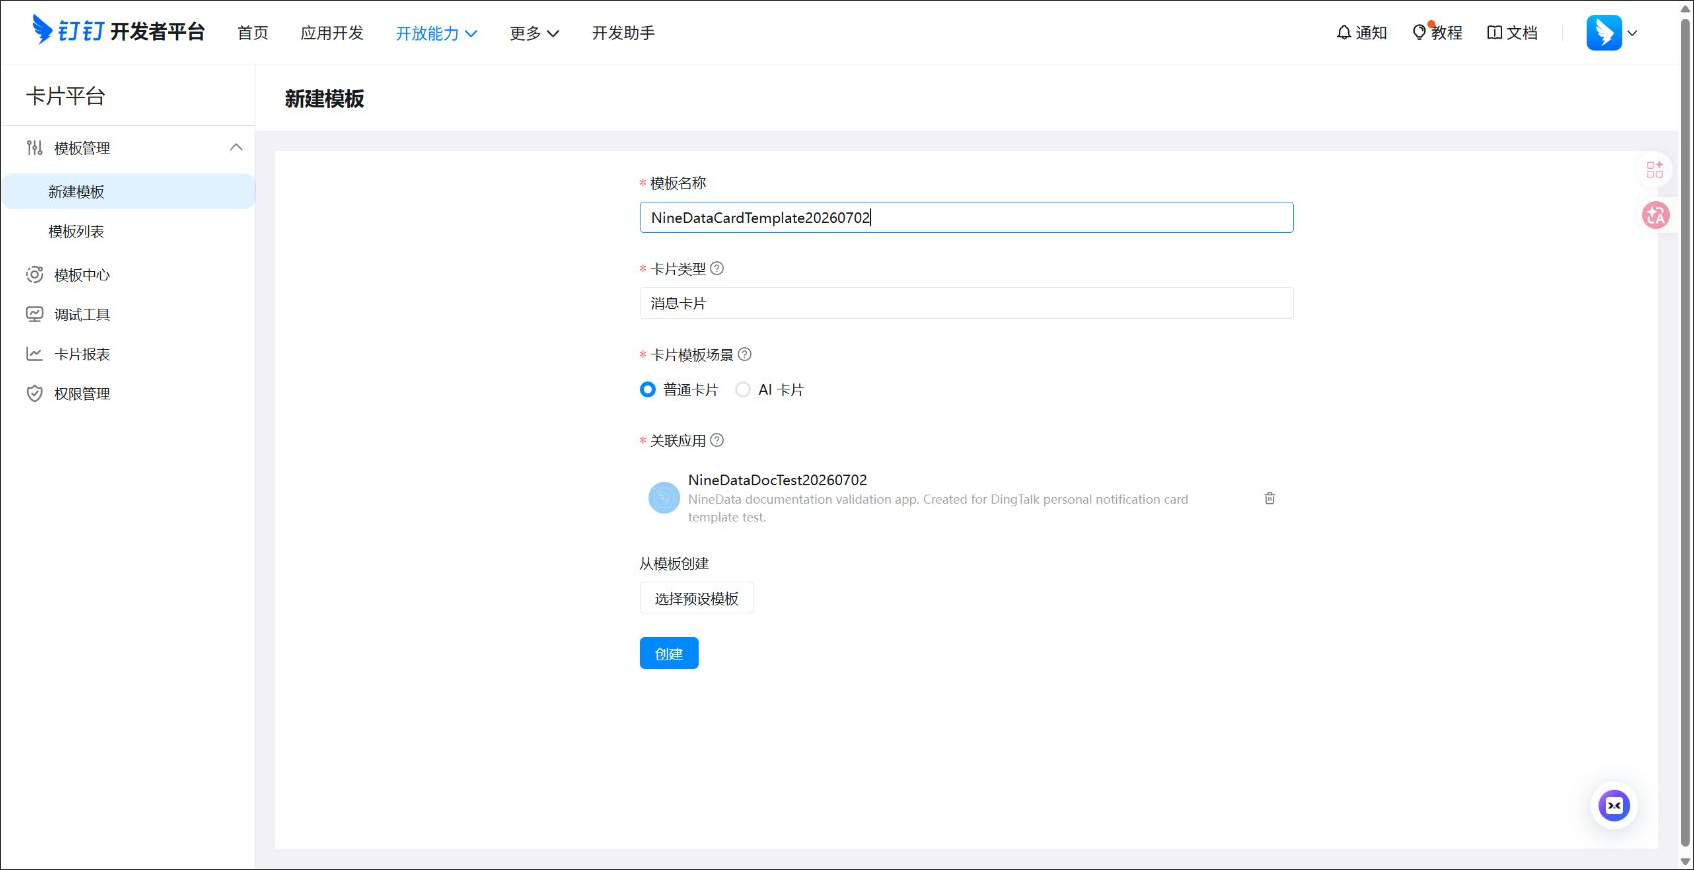
In Template Management, click New Template and create a blank template. Enter the Template Name, select Message Card, select Standard Card in Card Template Scenario, associate the DingTalk app prepared in Step 1, and click Create.
In the card editor, click Variables on the left, choose Add > Add Regular Variable, and create the following regular text variables:
Card Content Suggested Component Variable Name Card title Card header or title text titleMessage body Rich text or Markdown content markdownRedirect URL Single button msgUrl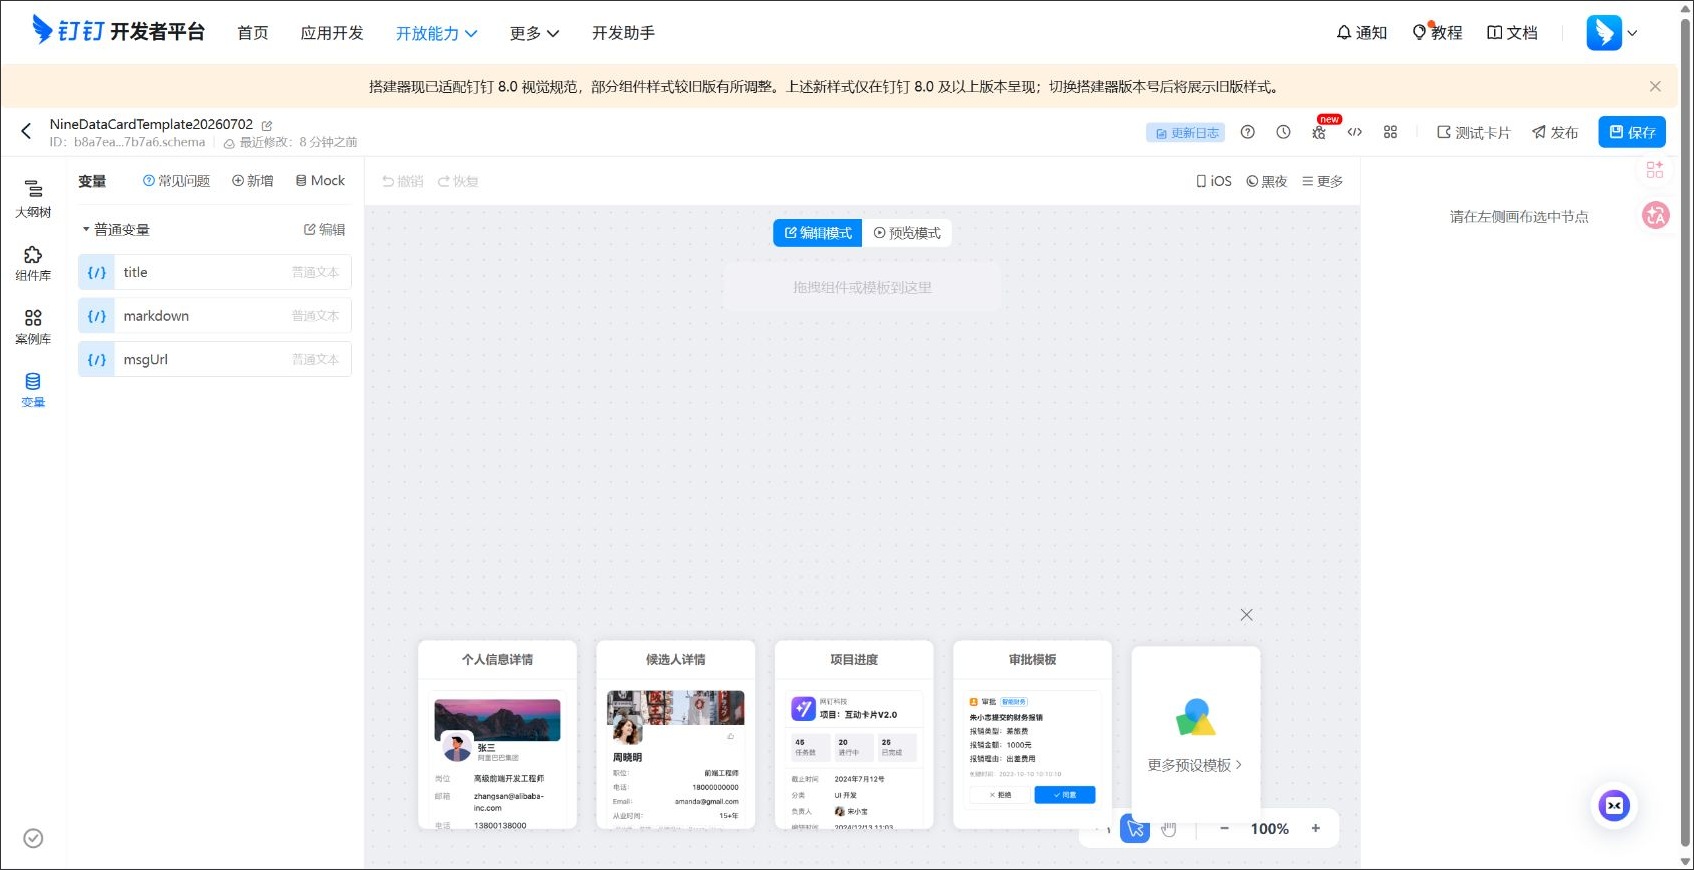
Add the required card elements from the component library, and bind the title, body, redirect button, and other content to the variables above. Customize the button text if required. Set the button display condition to render the button only when
msgUrlis not empty, and bind the button URL tomsgUrl.Click Save, and then click Test Card. After you confirm in the dialog, DingTalk sends a test card to DingTalk Card Assistant by using the saved template.
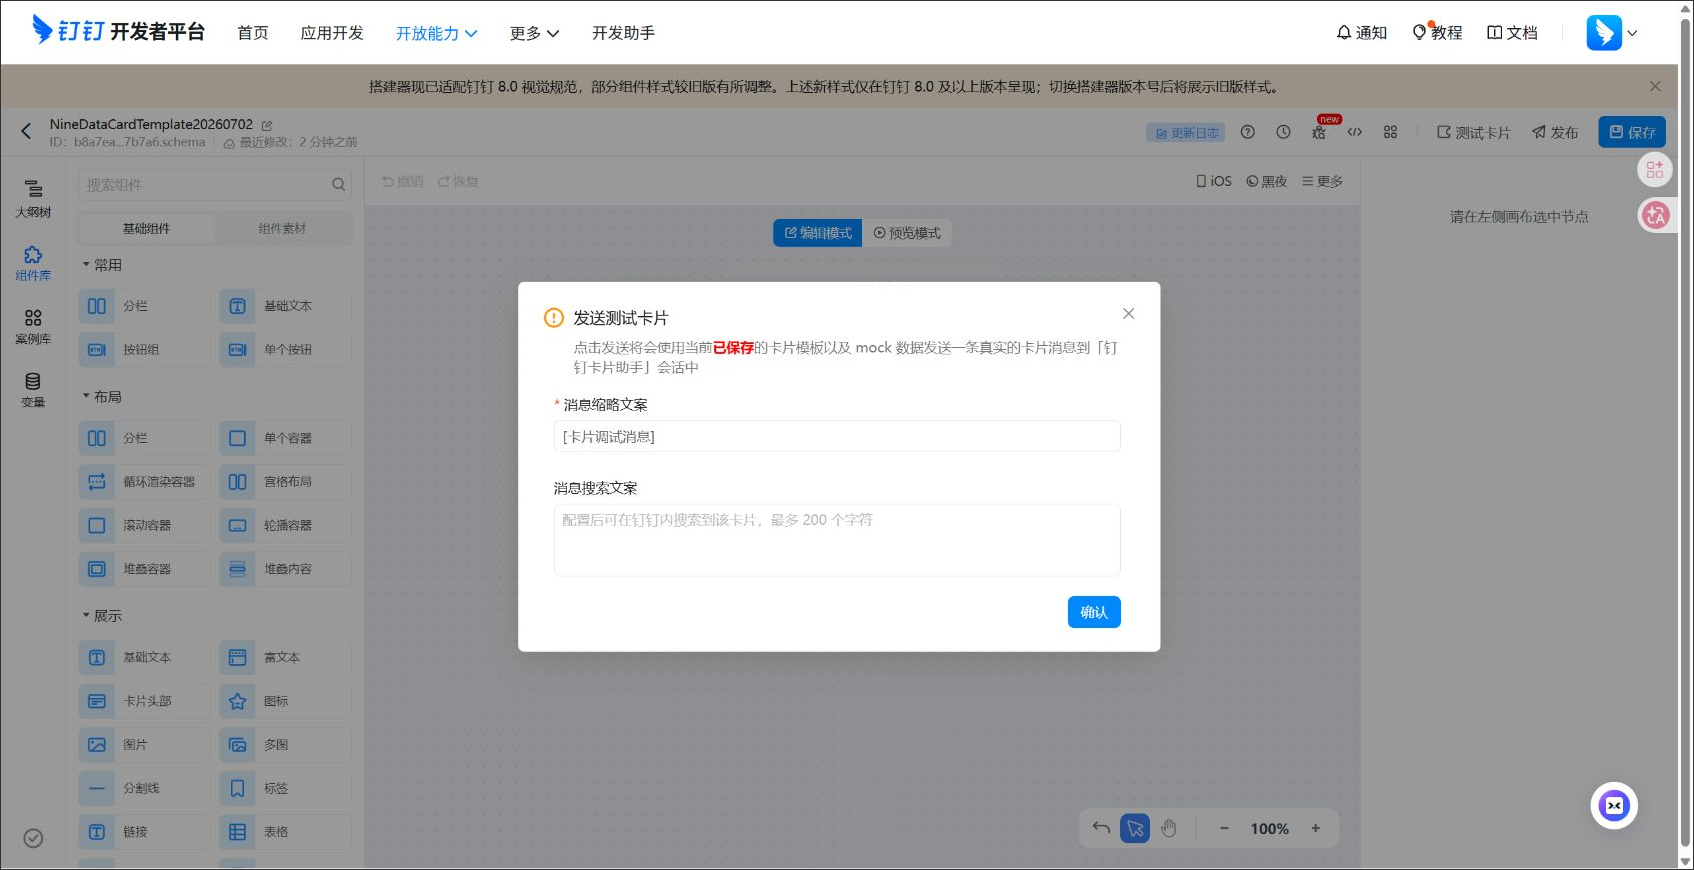
After the test passes, click Publish. Confirm the operation and wait until the page displays Template Published Successfully.
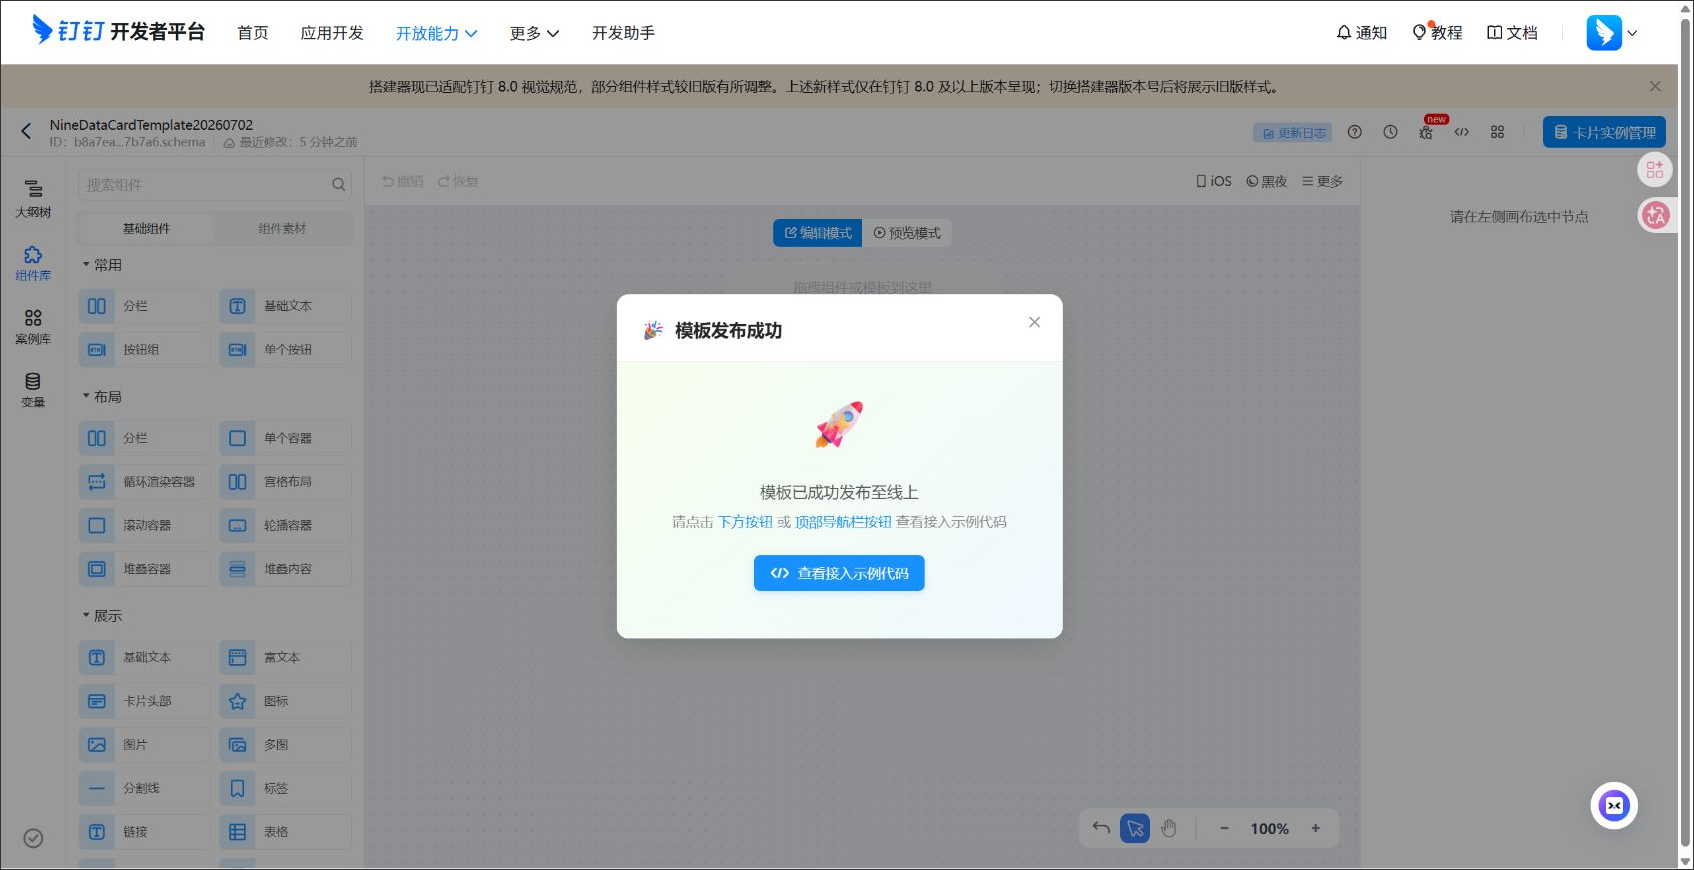
After publishing the template, copy the Template ID in the upper-left corner of the page. The copied value usually ends with
.schema. Enter this value in Template ID in NineData.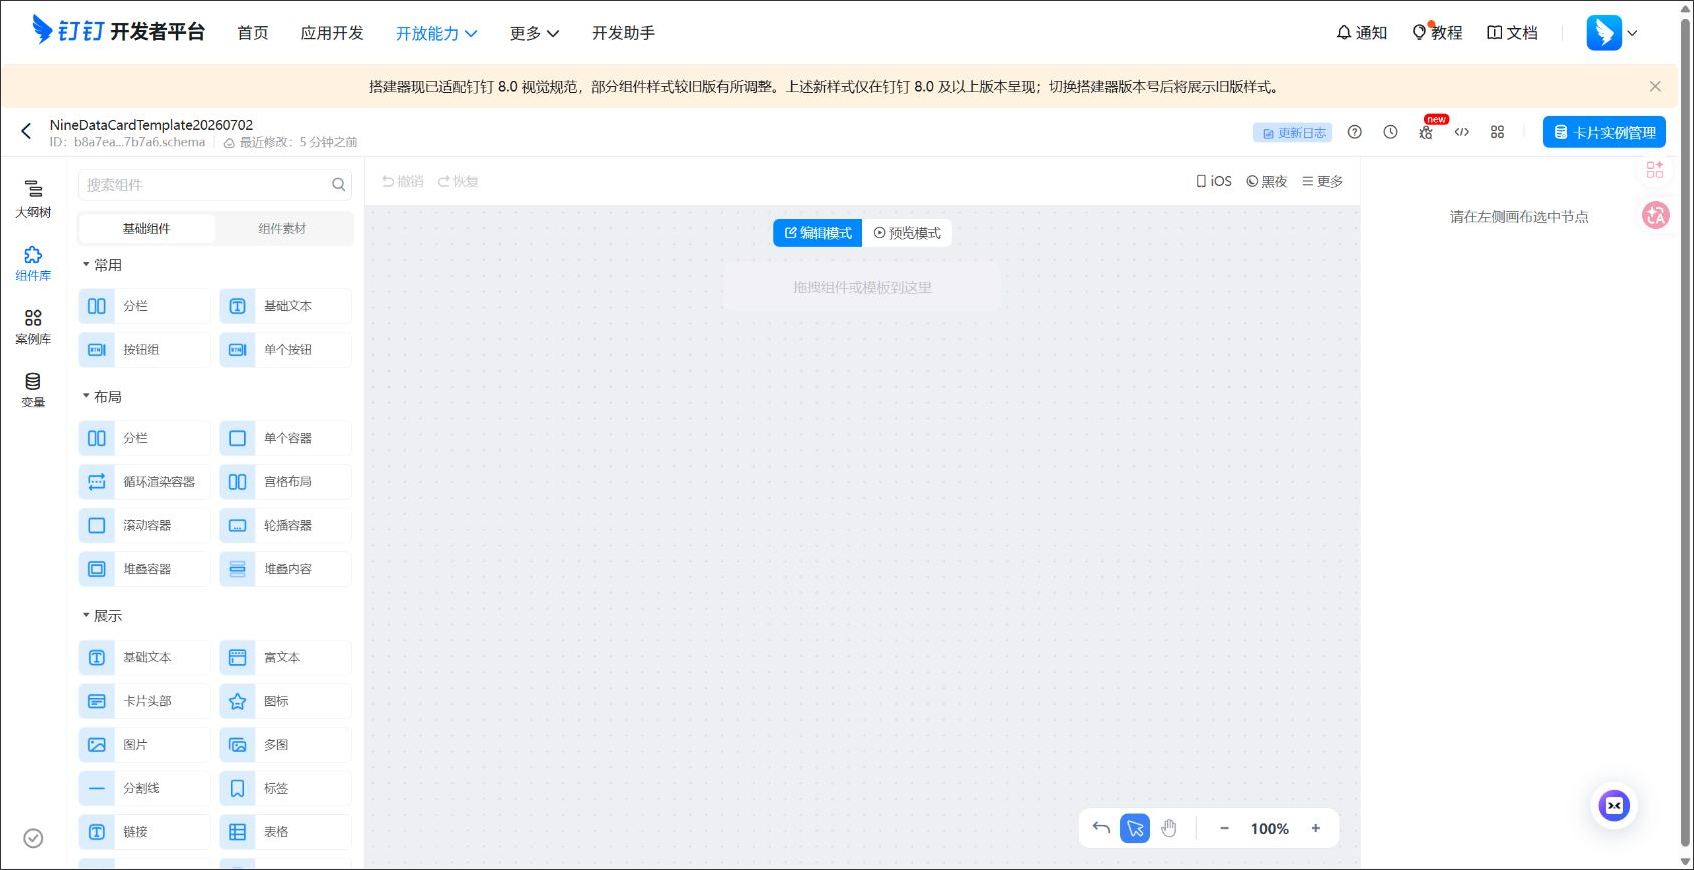
Step 3: Bind the DingTalk App in NineData
Sign in to the NineData Console.
Go to Notification > Subscription, and then click the Channel Management tab.
On this tab, locate the Dingtalk personal channel card, click Configure, and open the Configure Ding Ding Message Channels dialog. Complete the fields and click OK.
Parameter Description AppKey Enter the Client ID recorded in Step 1. AppSecret Enter the Client Secret recorded in Step 1. Template ID Optional. If you use a custom DingTalk card, enter the template ID copied in Step 2. If you do not use a custom card, leave it empty. Source Column The current UI supports Phone. Receiver Info Enter the DingTalk member's Phone and click Test Message Sending to validate delivery. Click Test Message Sending and confirm that the page displays Successful.
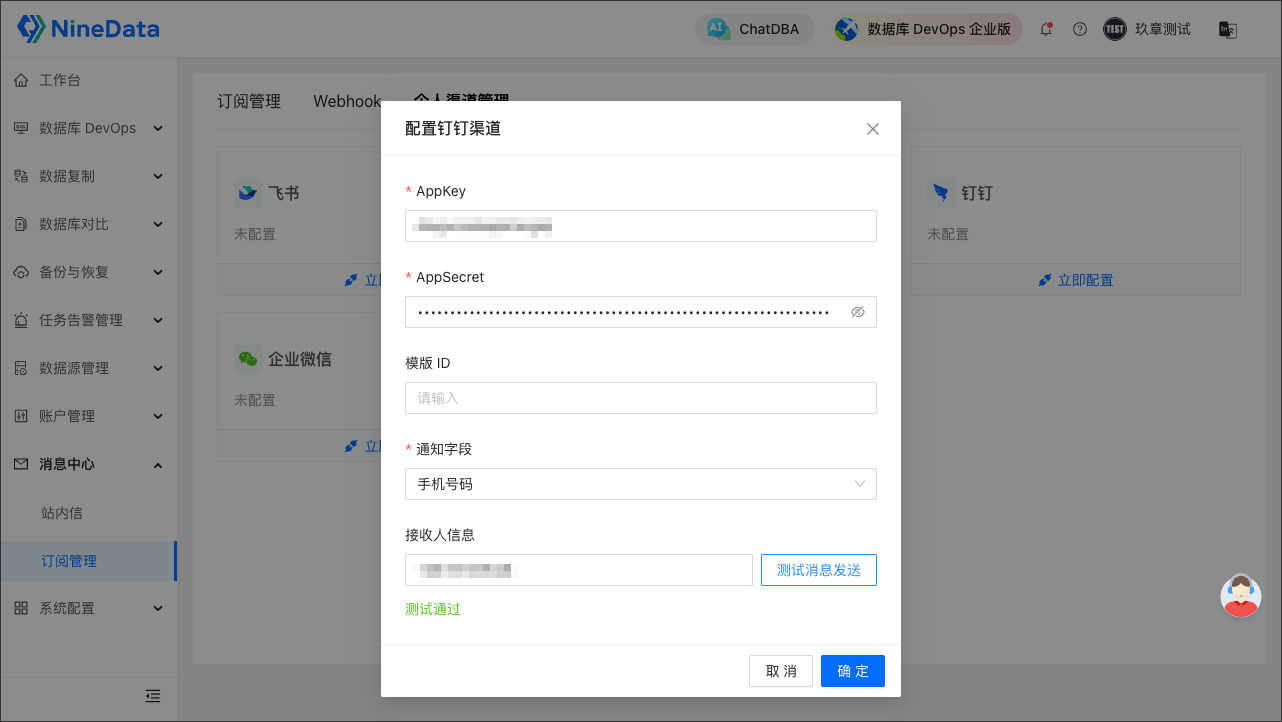
Step 4: Enable the Personal Channel in Subscription Management
Sign in to the NineData Console.
- Go to Notification > Subscription.
- On the Subscription tab, locate the target subscription type and select the checkbox in the Personal Channel column. For more information, see Subscription Management.
Result
After configuration, target users with the personal channel enabled can receive notifications in DingTalk when the workflow reaches the subscribed notification node.