Upgrade NineData Community Edition
NineData Community Edition is updated regularly. This guide describes how to upgrade an existing deployment, verify the upgraded version, and roll back when a rollback is required.
Before you begin
An old version of the NineData Community Edition is already installed on the server. View the current version number in the top-left corner of the NineData Community Edition console.

The server has access to the internet (for downloading new version images).
The remaining disk space usage rate on the server must be below 85%.
Upgrade Steps
Open a terminal window and stop the old NineData container.
docker stop ninedataBack up the data directory of the NineData container to handle special cases where a rollback is needed. By default, the data directory is
/opt/ninedata.In the terminal window, remove the old NineData container.
docker rm ninedataEnter the following command to start the new version container. After the container starts, it detects the existing data directory and begins the upgrade.
docker run -p 9999:9999 --privileged \
-v /opt/ninedata:/u01 \
--name ninedata \
-d swr.cn-east-3.myhuaweicloud.com/ninedata/ninedata:<version number>
Enter
docker logs -f ninedatain the command line to view the progress. The upgrade process restarts the original service and then upgrades it to the new version. This process is expected to take about 20 minutes. The following message indicates that the upgrade has finished.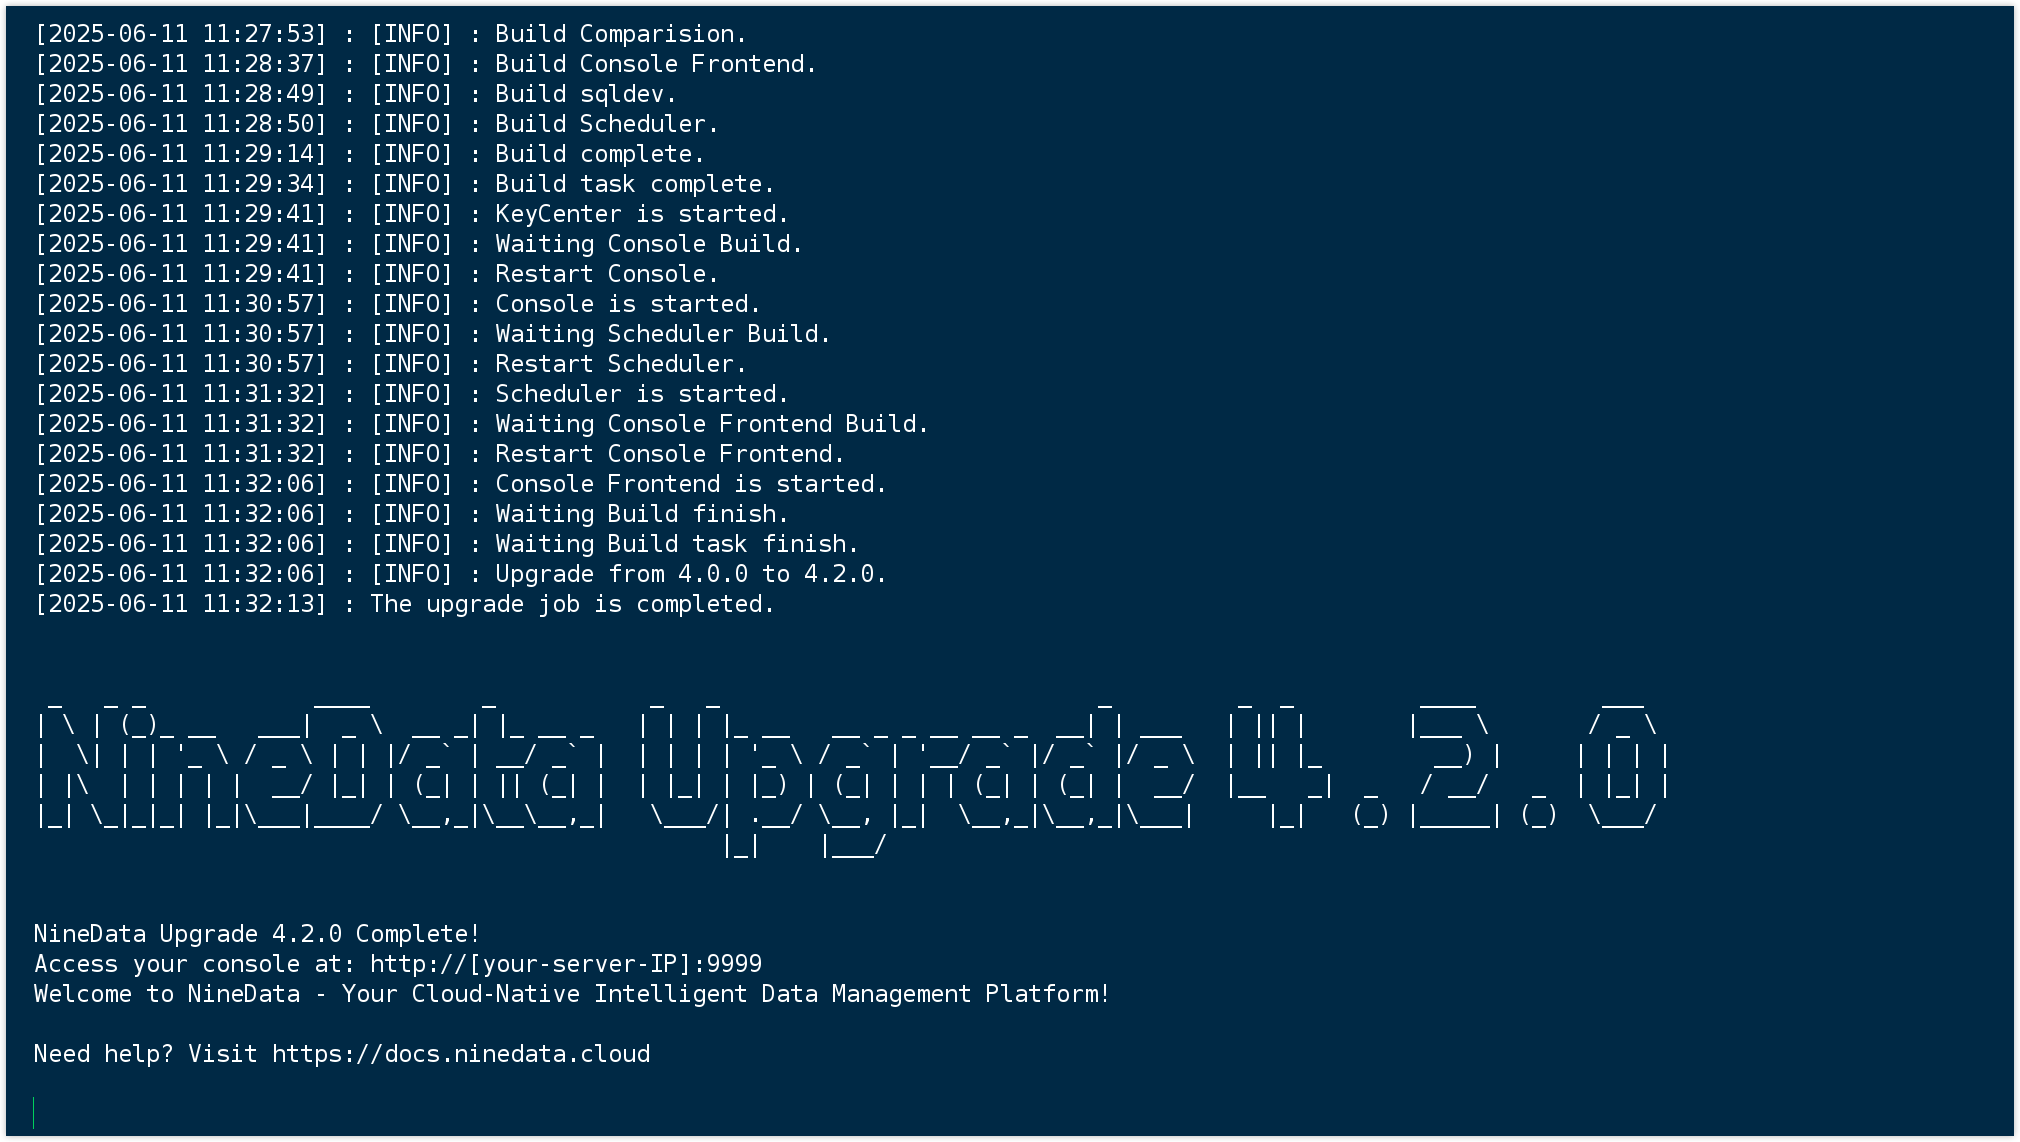
Verify the Upgrade
- Open a browser and visit the NineData Community Edition console, for example
<server-ip>:9999. - Log in with the account and password from the old version.
- Check whether the version number in the top-left corner of the console is the latest version.
- Check whether recent task execution records exist and are consistent.
Roll Back to an Older Version
If a special situation requires a version rollback, follow the rollback steps. The rollback process is generally consistent with the Upgrade Steps. In step 4, specify the old version number when starting the container.
Rolling back clears all data generated after the upgrade. Back up the existing data directory before rolling back.
Open a terminal window and stop the running NineData container.
docker stop ninedata && docker rm ninedataBack up the existing data directory, then completely replace the existing data directory with the data directory backed up in step 2 of the Upgrade Steps.
Run the following command to start the container of the original version.
docker run -p 9999:9999 --privileged \
-v /opt/ninedata:/u01 \
--name ninedata \
-d swr.cn-east-3.myhuaweicloud.com/ninedata/ninedata:<version number>
Enter
docker logs -f ninedatain the command line to view the progress. The following message indicates that the rollback has finished.
Result
After the upgrade or rollback completes, the NineData Community Edition container starts with the target version. Verify the version and task records in the console.