Deploy NineData Community Edition
Use this guide to deploy NineData Community Edition in a Docker container.
Before you begin
- Docker is installed on the server.
- The server architecture is Intel x86_64. A 16-core CPU is recommended; memory must be at least 16 GB, and disk space must be at least 200 GB.
- The operating system must be one of the following:
- CentOS Stream 9, 8, or 7.9
- Ubuntu 24.04, 22.04, 20.04, or 18.04
- Debian 12.10 or 11.11
- OpenSUSE 15.5
- RockyLinux 9.5 or 8.10
Deploy NineData Community Edition
Connect to the server and run the following command:
docker run -p 9999:9999 --privileged -v /opt/ninedata:/u01 --name ninedata -d swr.cn-east-3.myhuaweicloud.com/ninedata/ninedata:latestCommand options:
-p 9999:9999: Maps container port 9999 to server port 9999 so browsers can access NineData through the server.--privileged: Gives the container the privileges required to run NineData.-v /opt/ninedata:/u01: Mounts the server's/opt/ninedatadirectory to the container's/u01directory for data storage.--name ninedata: Sets the container name toninedata. Specify a different container name if required.-d swr.cn-east-3.myhuaweicloud.com/ninedata/ninedata:latest: Pulls the NineData image from the specified image address.
tip- NineData provides image downloads in multiple regions. For faster downloads, replace the image address after
-dwith the closest mirror. See the Appendix for image addresses. - This guide uses the built-in MySQL instance in the container as the metadata database. To use your own MySQL metadata database, see (Optional) Using an External Metadata Database.
After the container starts, NineData deploys and initializes in the container. This process usually takes about 5 to 10 minutes. Check the initialization progress with
docker logs -f ninedata. The following message indicates that NineData has started successfully.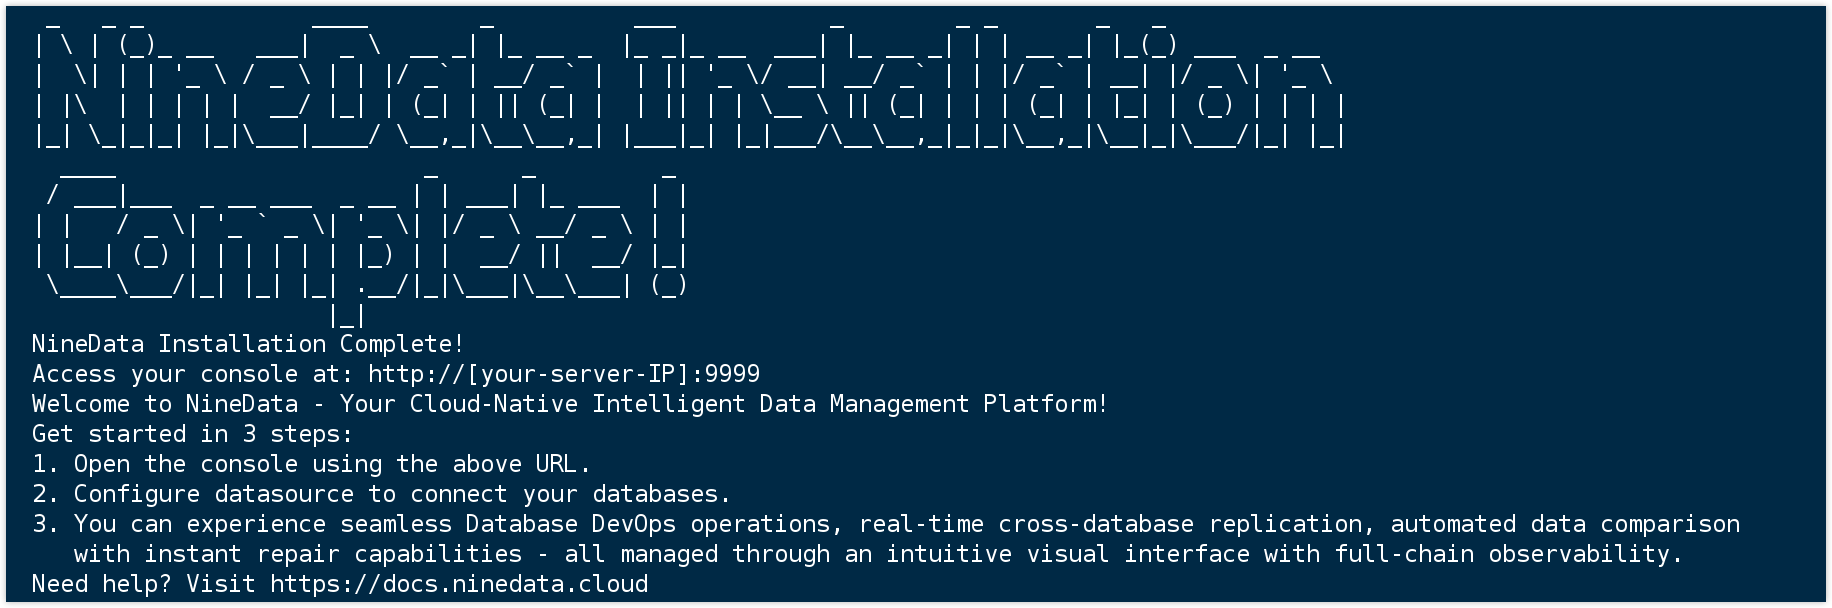 tip
tipIf you specified a different container name in step 1, replace
ninedatain the above command with your actual container name.Open
http://<server_ip>:9999in a browser to access the NineData console login page. The initial administrator account and password are bothadmin. After the first sign-in, change the administrator password when prompted.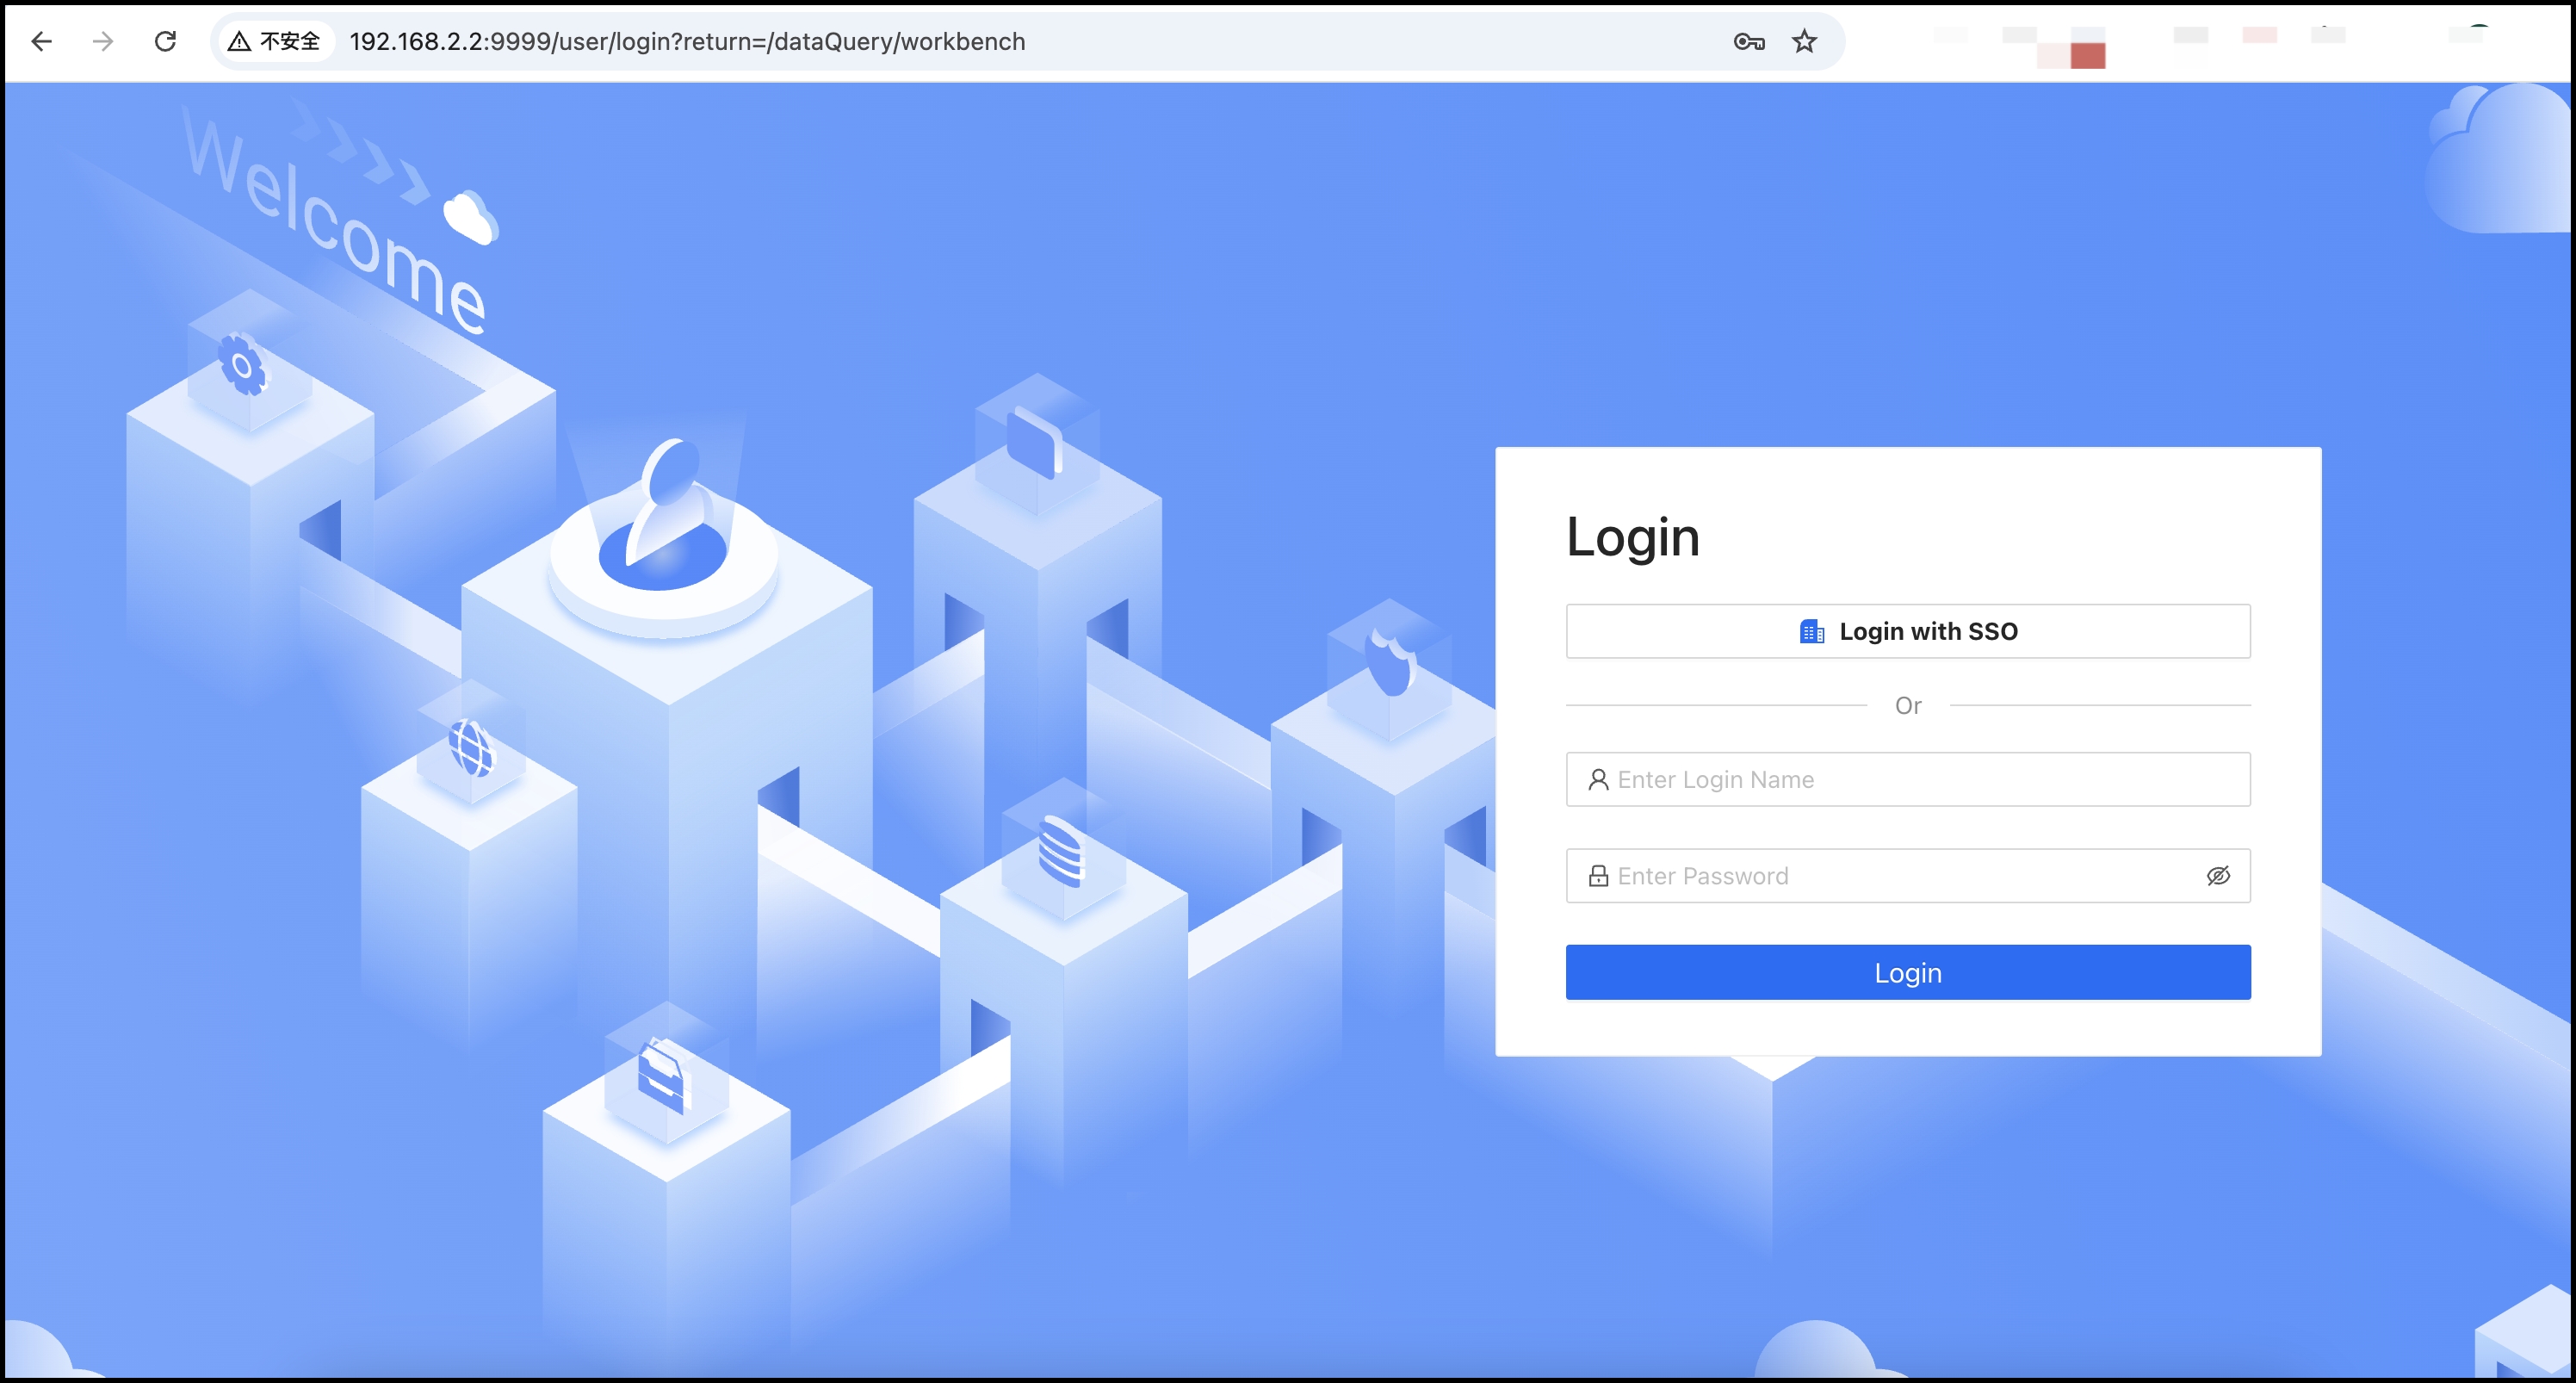
Result
NineData Community Edition is running on the server and the console is available through <server_ip>:9999. Sign in with the initial administrator account, complete the password change, and start configuring NineData.
Next steps
- To use an external metadata database, follow (Optional) Using an External Metadata Database.
- To upgrade an existing deployment, see Upgrade NineData Community Edition.
Appendix: List of NineData Community Edition Image Addresses
North China - Beijing: swr.cn-north-4.myhuaweicloud.com/ninedata/ninedata:latest
East China - Shanghai: swr.cn-east-3.myhuaweicloud.com/ninedata/ninedata:latest
South China - Guangzhou: swr.cn-south-1.myhuaweicloud.com/ninedata/ninedata:latest
Official NineData Docker Hub Address: ninedata/ninedata:latest
Frequently Asked Questions
- Q: The browser can no longer open the Community Edition console and returns a 504 error. What could be the reason?
- Possible cause: The server may not have enough disk space.
- Solution: Increase the disk space, run
docker restart <container ID>, and wait about 10 minutes for startup to complete.
- Q: After running
docker logs -f ninedata, the output says detailed logs are available in/u01/server.logand then stops updating. What could be the reason?- Possible cause: The server may still contain files from a previous deployment in the NineData storage directory, such as
/opt/ninedata. - Solution: Clear the previous deployment directory and rerun the deployment steps in this guide.
- Possible cause: The server may still contain files from a previous deployment in the NineData storage directory, such as
- Q: The NineData container fails to start, and the
server.logcontains the error"Failed to start ContainerManager" err="cannot enter cgroupv2 \"/sys/fs/cgroup/kubepods\" with domain controllers -- it is in an invalid state". What could be the reason?- Possible cause: Newer Linux distributions enable CGroup v2 by default. If Docker attempts to create a sub-CGroup, it may trigger an
invalid stateerror and prevent the container from starting. - Solution: Add
--cgroupns=hostto thedocker runcommand to share the host's CGroup namespace. For example:docker run --cgroupns=host -p 9999:9999 --privileged -v /opt/ninedata:/u01 --name ninedata -d swr.cn-east-3.myhuaweicloud.com/ninedata/ninedata:latest
- Possible cause: Newer Linux distributions enable CGroup v2 by default. If Docker attempts to create a sub-CGroup, it may trigger an
- Q: The NineData container fails to start, and the
server.logcontains the error"kube-proxy exited: iptables is not available on this host". What could be the reason?- Possible cause: The container may not be running in privileged mode or may not have the host's
/lib/modulesdirectory mounted, which prevents it from managing iptables rules. - Solution 1: Adjust container permissions and run the container in privileged mode. Add
--privilegedand grantNET_ADMINcapabilities. For example:docker run --cap-add NET_ADMIN --privileged -v /opt/ninedata:/u01 --name ninedata -d swr.cn-east-3.myhuaweicloud.com/ninedata/ninedata:latest - Solution 2: Mount the kernel module directory. Add
-v /lib/modules:/lib/modulesto mount the host's kernel module directory into the container. For example:docker run -v /lib/modules:/lib/modules --privileged -v /opt/ninedata:/u01 --name ninedata -d swr.cn-east-3.myhuaweicloud.com/ninedata/ninedata:latest
- Possible cause: The container may not be running in privileged mode or may not have the host's
- Q: NineData container fails to start. Running
docker exec -it kubectl get pod -Ato check the service status shows that themetadbservice failed to start. How can this be resolved?- Possible cause: The server's hardware specifications may cause the metadata database to time out during startup.
- Solution: Deploy MySQL as the metadata database yourself and deploy the NineData service using an external metadata database. For more information, see Using an External Metadata Database.