Text2SQL / Chat2SQL
Text2SQL, also referred to as Chat2SQL, converts natural language requirements into SQL statements for drafting queries, completing conditions, and speeding up SQL writing.
What It Does
- Natural-language SQL generation: Convert short Chinese or English requests into SQL statements.
- SQL generation in ChatDBA conversations: After selecting a data source in ChatDBA, describe the query requirement and ChatDBA can generate SQL based on the conversation context.
- Support for complex query drafting: Useful for joins, aggregation, filters, and statistical analysis.
- Schema-aware generation: Uses database, table, column, and comment information to generate more accurate SQL.
Supported Data Sources
Supported data source types include MySQL, PostgreSQL, Oracle, Sybase, SQL Server, Redis, Vastbase, MongoDB, OceanBase, Greenplum, KingbaseES, DaMeng, GaussDB, PolarDB Oracle, TiDB, Doris, ClickHouse, and more. Actual support is subject to the console.
Before you begin
- Add the target data source to NineData first. For more information, see Manage Data Sources.
- Open the SQL Console for the target data source. If you use Text2SQL in ChatDBA, select the target data source in ChatDBA first.
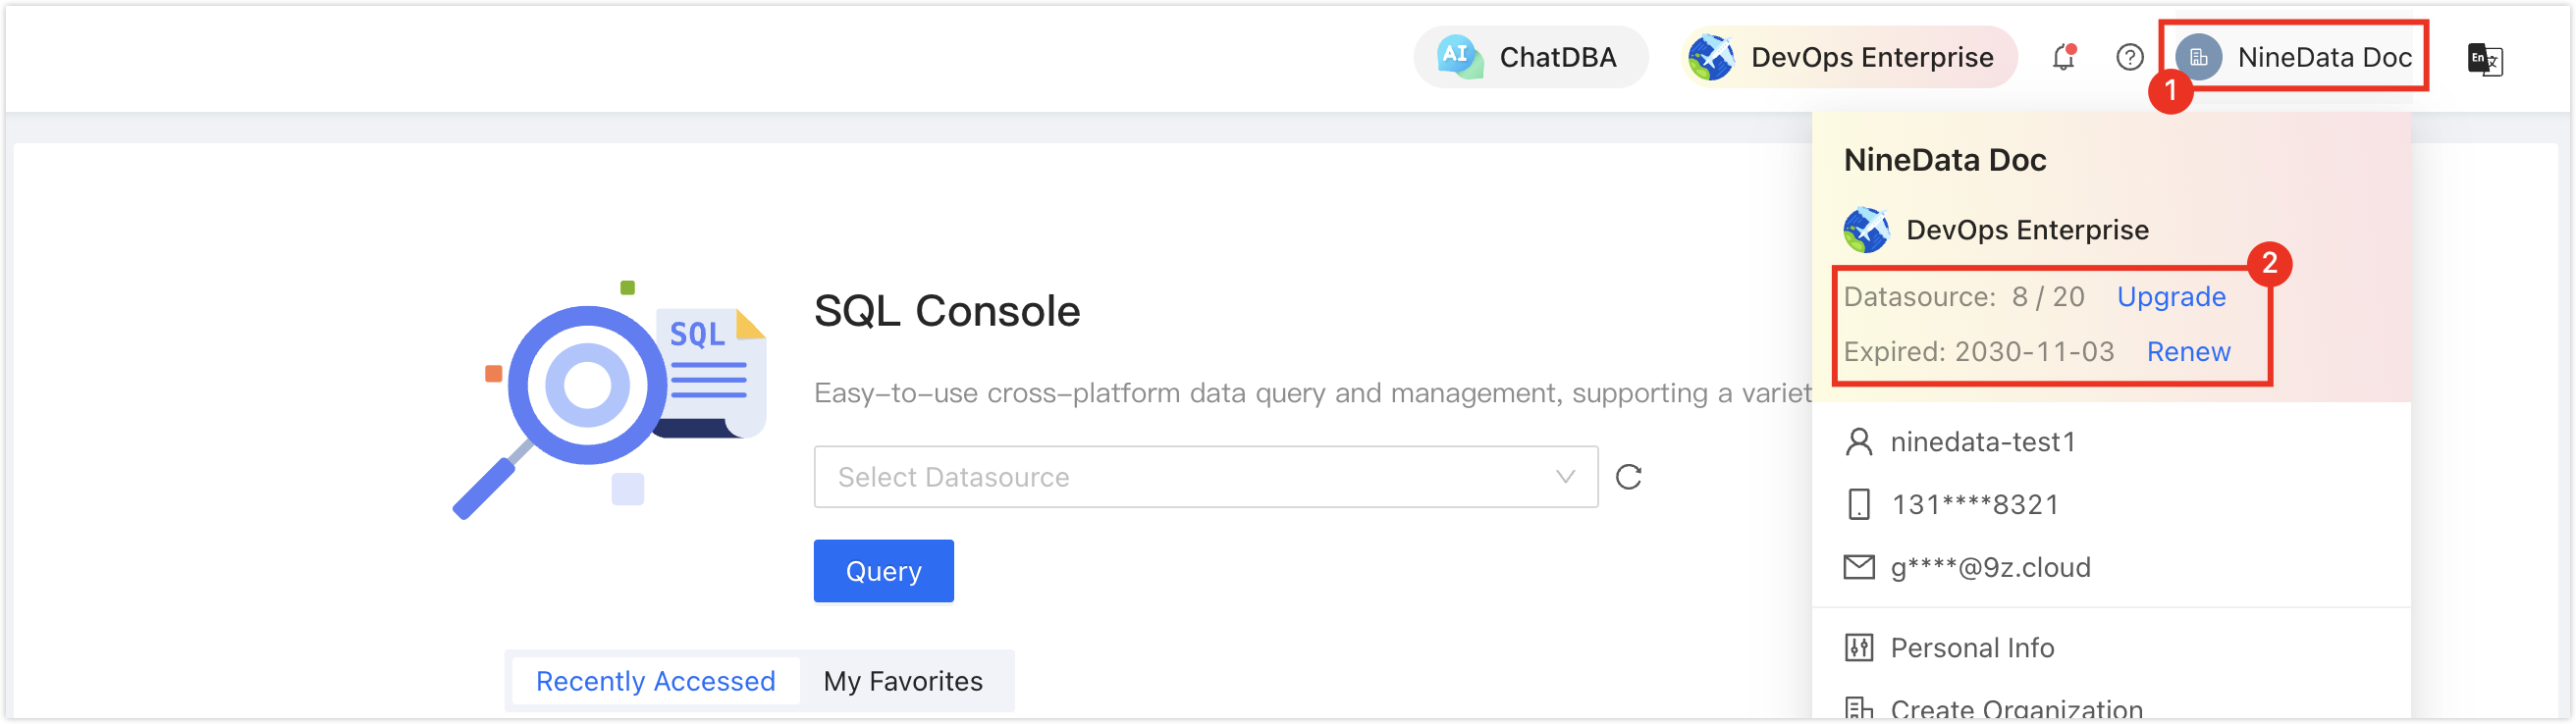
In the commercial versions (DevOps Pro, DevOps Enterprise), make sure your monthly or yearly subscription has not expired. An expired subscription may prevent you from using the Database DevOps service. Check the remaining quota and expiration date in the NineData Console header.
- To further improve accuracy, generate an enhanced E-R diagram for the target data source first. For more information, see Enhanced E-R Diagram.
Generate SQL
Sign in to the NineData Console.
- From the left sidebar, go to DevOps > SQL Console, then open the SQL Console for the target data source.
- In the SQL editor, type / to open the Chat2SQL input box.
- Enter your request, such as filters, metrics, or time ranges, then press Enter or click the send button.
- Review the generated SQL and continue editing or execute it when ready.
Result
NineData inserts the generated SQL into the editor or displays it as a draft based on your request and the available schema context. Before execution, review the data source, schema, table names, filters, joins, aggregation logic, sorting rules, and any DML or DDL impact.
Improve Accuracy with AI Notes
Add AI notes to tables and columns so Text2SQL can better understand business semantics.
Sign in to the NineData Console.
- Open the SQL Console for the target data source.
- In the object tree on the left, right-click the target database, table, or column, then click Add Table Notes For AI.
- Enter table descriptions, column meanings, foreign-key relationships, and other helpful context.
- Click OK to save the configuration.
Next Steps
- Use precise requests that include the time range, metric definition, grouping logic, sorting rule, and required output columns.
- Add AI notes for business-specific fields, enumerated values, and table relationships.
- Generate an enhanced E-R diagram when multi-table joins depend on relationships that are not obvious from names alone.
- Test important SQL in a read-only or non-production context before running it against production data.
Tips
- Include time range, metric definition, sorting rules, and required output columns in your request whenever possible.
- If you want live suggestions while hand-writing SQL, use this feature together with AI SQL Completion.
- For important SQL, review database names, table names, filters, and sorting logic before execution.