Migrate MySQL data with NineData
Use this quickstart to create a one-way MySQL-to-MySQL data replication task in NineData. You will apply for two sample data sources, replicate schema and data, and review the comparison results.
Overview
In this walkthrough, you will:
- Create or sign in to a NineData account.
- Apply for two sample MySQL data sources.
- Create a replication task with schema and full data replication enabled.
- Start a comparison task and review the source and target results.
If you already have a NineData account, go to Sign in to NineData.
Before you begin
- This quickstart uses NineData sample data sources. No external MySQL instances are required for this walkthrough.
- If you use a phone number to register, only Mainland China phone numbers are supported. Users outside the +86 region can receive the verification code by email.
Procedure
1. Create a NineData account
Open the NineData registration page.
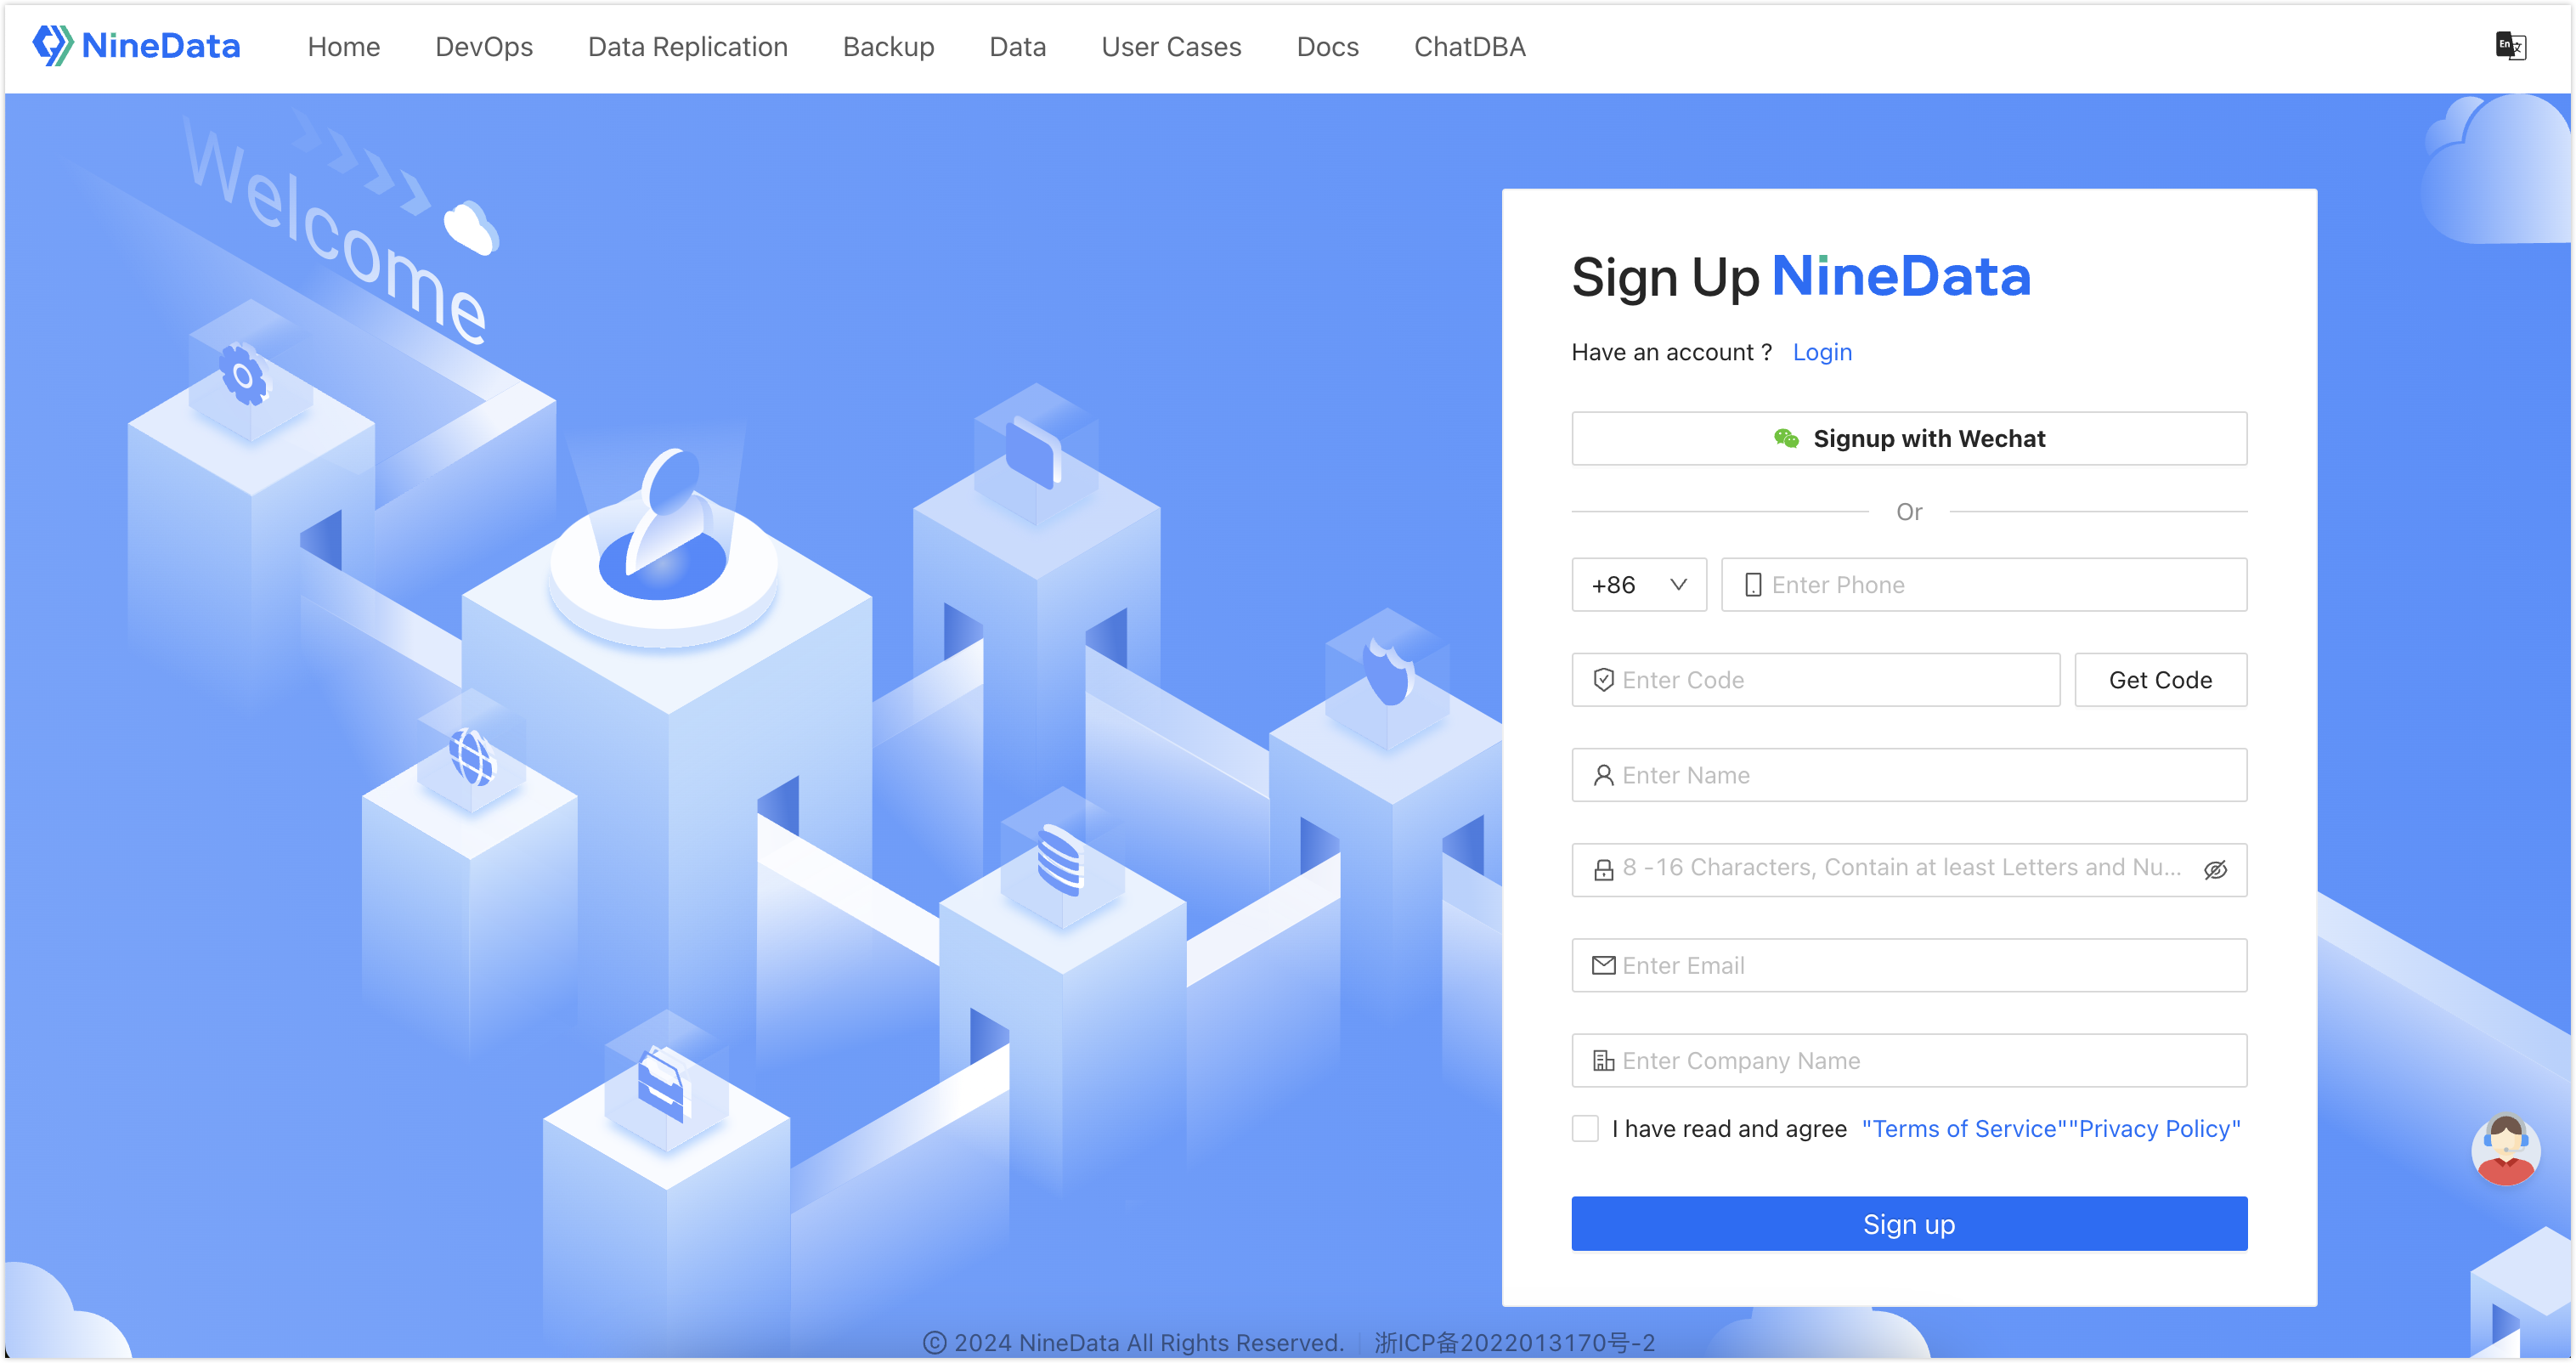
Enter your phone number and click Get Verification Code. After you receive the verification code from NineData, enter the code.
tipOnly phone numbers from Mainland China are currently supported. If you use a phone number outside the +86 region, receive the verification code by email.
Enter your username and password.
tipThe password must meet the following requirements:
- Use letters, numbers, and special characters.
- Use 8 to 16 characters.
- Include both letters and numbers.
- Do not include spaces.
Enter your email address and company name, read the Terms of Service and Privacy Policy, select I have read and agree, and then click Sign up.
tipIf you already entered your email address in an earlier step, skip this field.
2. Sign in to NineData
Open the NineData login page.
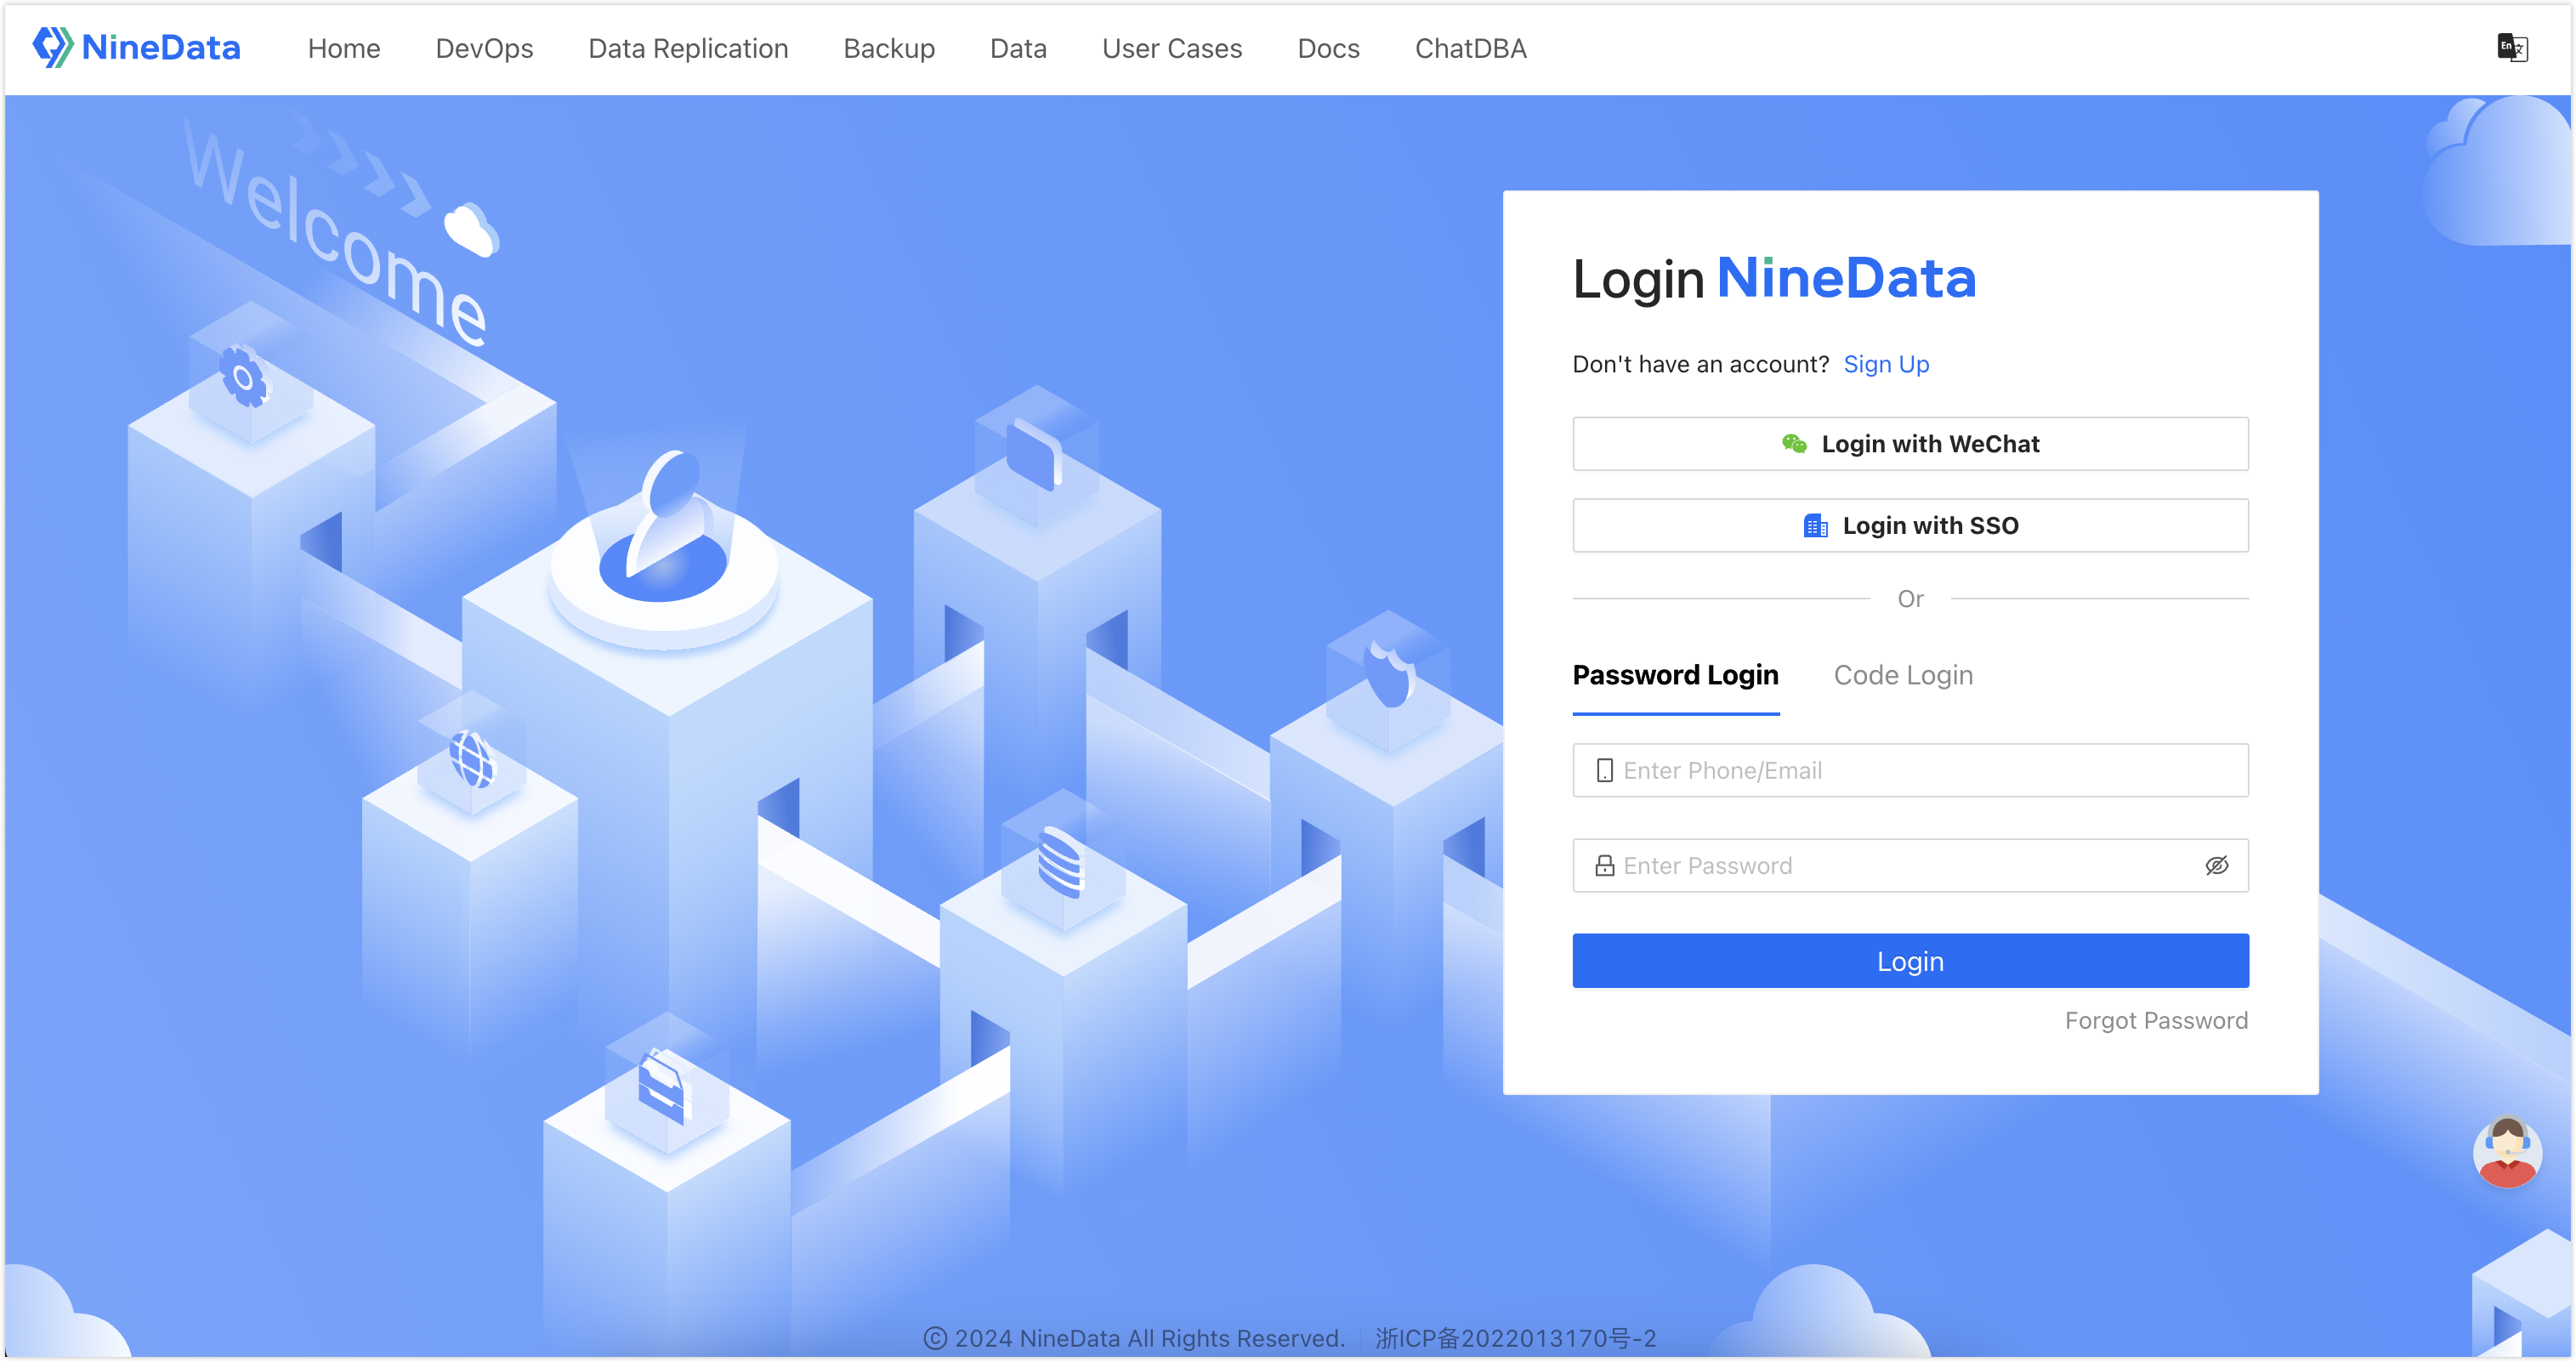
Choose one of the following sign-in methods: Password Login, Code Login, Login With SSO, or Login with WeChat .
Password Login: Enter the phone number or email address used during registration, enter the password, and then click Login.
tip- If you use a phone number outside the +86 region, sign in with the email address used during registration.
- If you forgot your password, click Forgot Password in the bottom right to Reset Password.
Code Login: Click Code Login, enter the phone number used during registration, click Get Code, enter the verification code sent by NineData, and then click Login.
tipIf you use a phone number outside the +86 region, enter the email address used during registration to receive the verification code.
Login With SSO: Sign in with SSO. For details, see Sign in to NineData with SSO.
Login with WeChat : Sign in by scanning the WeChat QR code.
3. Apply for two sample MySQL data sources
In the NineData console, open Datasource > Datasource, and then click Apply Datasource.
tipNew users can also click Apply Datasource on the Home page after signing in. This entry appears only when the current user or organization has not added any data sources.
On the Get Free Datasource page, use Application Qty. to select the number of data sources. Apply for up to two sample data sources.
Click Apply Demo. NineData creates the sample data sources and opens the SQL Console page for the data source.
NineData starts importing the test dataset. The import takes about 30 seconds. After the import finishes, the SQL Console shows Demo dataset imported successfully!.
tipAlternatively, click the
 icon in the SQL Console toolbar, and then click OK to import the test dataset manually.
4. Create a replication task
In the NineData console, open Replication.
On the Replication page, click Create Replication.
On the Source & Target tab, use the following settings, and then click Next.
Parameter Description Name Enter a task name. Use a meaningful name for later search and management. The name can contain up to 64 characters. Source Select 01-ninedata-sample-datasource. Target Select 02-ninedata-sample-datasource. Replication Mode Keep the default value, Uni-directional. Type Keep the default selections: Schema and Full. Target Table Preparation Keep the default value, Pre-Check Error and Stop Task. On the Objects tab, select the database to replicate. In this example, select
sample_employees_4262in Source Object, click the icon to add it to Target Object, and then click Next.
On the Mapping tab, click Save and Pre-Check.
On the Pre-check tab, wait for the precheck to finish. Select Enable data consistency comparison, and then click Launch.
tip- If the precheck fails, click Details in the Actions column for the failed check item, fix the issue, and then click Check Again until the precheck passes.
- Check items whose Result is Warning can be fixed or ignored based on your scenario.
On the Launch page, NineData shows Launch Successfully. Click View Details to open the task detail page and monitor each replication stage.
5. Review comparison results
After the replication task runs, compare the source and target data to confirm that the target matches the source.
On the Details page, click the Comparison tab.
Click Schema Comparison or Data Comparsion to switch between schema comparison and data comparison results.
Result
NineData creates the MySQL-to-MySQL replication task, starts the task after the precheck passes, and provides schema and data comparison results for the source and target data sources.
Next steps
- Review the replication stages on the task detail page before using the target data source.
- Use the comparison results to confirm schema and data consistency.